This translation was generated by a machine and has not been reviewed by a person yet. Speak this language? Review it.
Introduction
The Bluetooth speaker will only work when plugged into power if the battery still has a minimum charge. It is possible that the speaker will work for a while when connected to power, but eventually stop working altogether. If that happens, the replacement battery is likely completely dead. If you remove the replacement battery, the speaker will not work even if a power adapter is connected.
ATTENTION:
Please read the last step, "Battery information," first. It explains what is needed and what to look for when buying a new replacement battery.
Note:
There is one area that is glued, which could damage the speaker. During reassembly, this area must be glued again. Have some hot glue, Pattex, or similar adhesive on hand. Gluing can also be done at the very end.
What you need
-
-
-
Use a suitable tool to pry open the grille cover at the marked positions. It is best to use the small plastic prying tools typically used for phone repairs.
-
The grille cover is a single piece but can be hinged open so that it can be completely removed.
 Ask FixBot
-
-
-
Use a small Phillips screwdriver to remove the 6 screws marked in red.
-
-
-
One end cap, and really only one, is secured with 4 small Phillips screws. It is the end cap at the end where the "volume down" button is located.
-
Remove the 4 screws and remove the end cap.
-
If you can now remove the switch cover strip from the previous step without bending or breaking anything, you can do so now. Otherwise, complete the next step first.
-
-
-
-
The end cap attached to the end of the "volume up" button is glued on, not screwed in. Thanks Sharp!
-
By this point at the latest, the switch cover from the penultimate step can be removed.
-
-
-
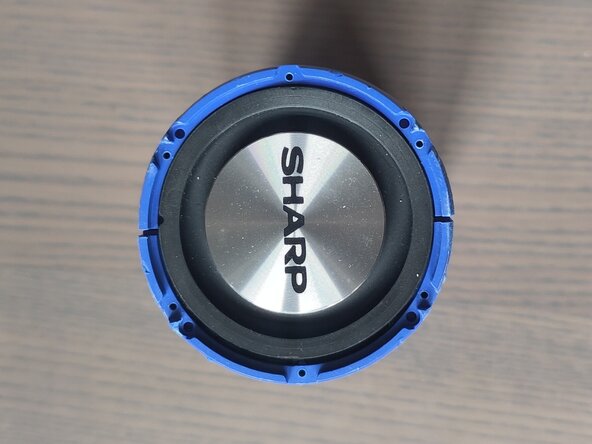
Remove the black ring. Beneath the ring is a rubber membrane; remove this as well. It may be slightly stuck, but it can be easily released.
-
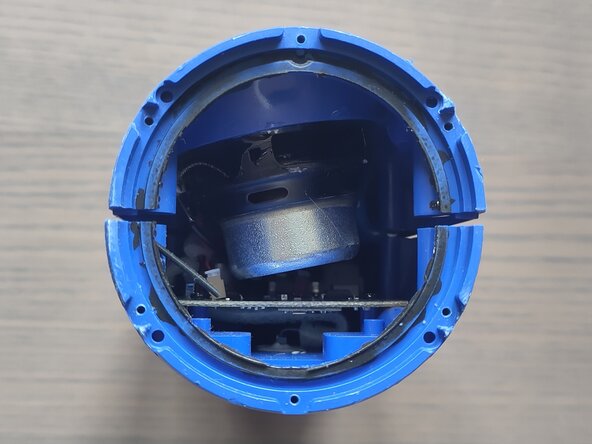
Afterwards, you have an initial look inside. It may be helpful to use a thick rubber band to hold the two halves of the speaker together.
-
Proceed accordingly on the other side of the speaker.
-
-
-
The battery is secured with a bracket held by two screws (only one visible in the image). Release both screws and the battery connector (see second image), then the battery can be removed.
-
-
-
In principle, insert a new battery and reassemble everything. If only the battery were that easy to get...
-
The original battery has the label 1NR19/66 3.7V 2800mAh 10.36Wh on the blue film. If you remove the film, the cell underneath is labeled INR18650P 3.6V. Both type designations are basically okay. But...
-
The battery has 3 terminals; the third terminal (white wire) is for battery monitoring. It is essential to buy a battery of the above type with 3 wires. Furthermore, the connector must have the same pinout as the original, meaning the wire for battery monitoring must be in the middle.
-
There are various models available to buy in German shops (15-20 EUR), as well as on AliExpress (3 EUR). If the wiring does not match, as was the case for me, then unsolder the old cable and solder it to the new battery according to the correct polarity.
-
After resoldering, if that was necessary, reseal the blue plastic film with electrical tape.
-
-




Follow these steps in reverse order to reassemble your device.

