Introduction
This guide shows you how to replace the battery of your Sharp EL-510RN calculator. Calculators are an essential tool for many students, and this guide shows you how to replace the battery with a few inexpensive tools that are easily obtainable. For this fix, there are no special requirements; all that is necessary is a clean workspace free of anything that causes electrostatic discharge.
This repair is needed because while a calculator is a cheap everyday tool, eventually the battery will die. Rather than throwing it out, replacing the battery should keep the calculator working for many years to come. Students also tend to not have much disposable income, so this guide will help many students save money.
What you need
-
-
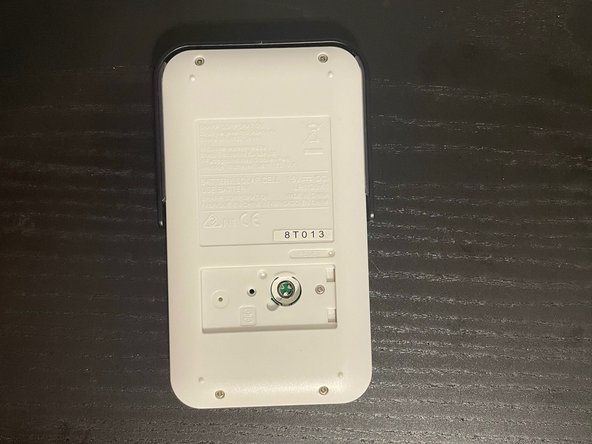
Find a clean workspace free of clutter.
-
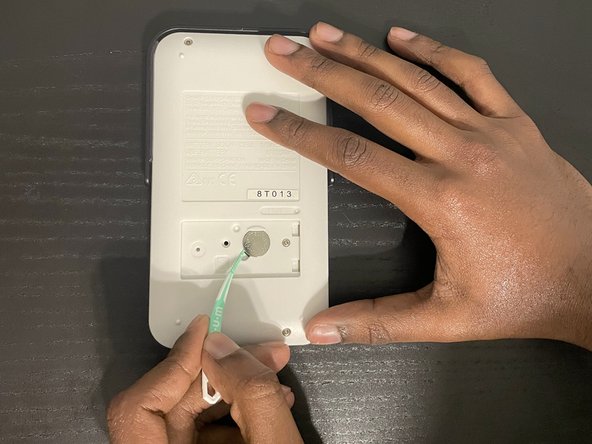
Cover the calculator with the gray screen it came with. This will prevent any buttons from being pressed when it's flipped over.
-
-


To reassemble your device, follow these instructions in reverse order.
To reassemble your device, follow these instructions in reverse order.
Team

York University, Team 4-5, Allen Fall 2022 Member of York University, Team 4-5, Allen Fall 2022
YORK-ALLEN-F22S4G5
2 Members
7 Guides authored