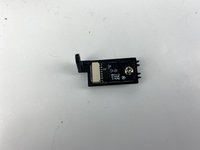
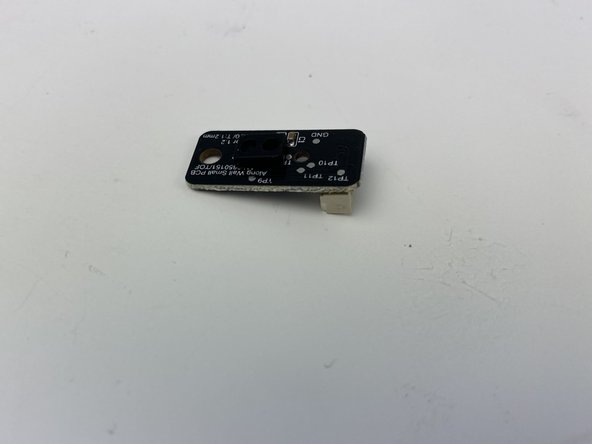
Free Shipping on Domestic Orders $75+

Shark ION Robot R75 Side Sensor Replacement

What you need

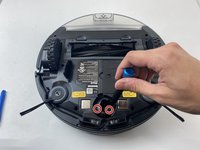
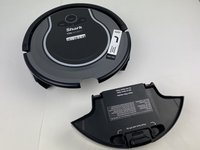
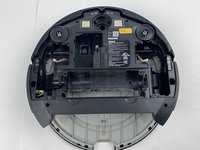
    1. Shark ION Robot R75 Side Sensor Replacement, Battery: step 1, image 1 of 3 Shark ION Robot R75 Side Sensor Replacement, Battery: step 1, image 2 of 3 Shark ION Robot R75 Side Sensor Replacement, Battery: step 1, image 3 of 3
      • Make sure the robot is shut off by pressing the power button on top.

      • Flip the R75 over so that the underside is facing up.

      • Using a Phillips #1 screwdriver, remove the 4mm screw in the battery cover.

      • Remove the battery cover.

      Ask FixBot

      Add Comment

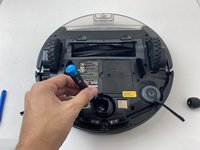
    2. Shark ION Robot R75 Side Sensor Replacement: step 2, image 1 of 3 Shark ION Robot R75 Side Sensor Replacement: step 2, image 2 of 3 Shark ION Robot R75 Side Sensor Replacement: step 2, image 3 of 3
      • Be careful when removing the battery, as it will still be connected to a wire.

      • Slowly pull the white tabs outward to remove the battery.

      Ask FixBot

      Add Comment

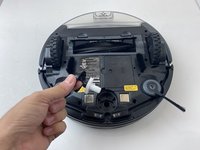
    3. Shark ION Robot R75 Side Sensor Replacement: step 3, image 1 of 2 Shark ION Robot R75 Side Sensor Replacement: step 3, image 2 of 2
      Tool used on this step:
      Tweezers
      $4.99
      Buy
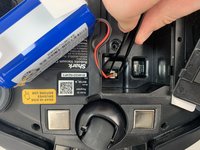
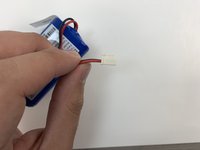
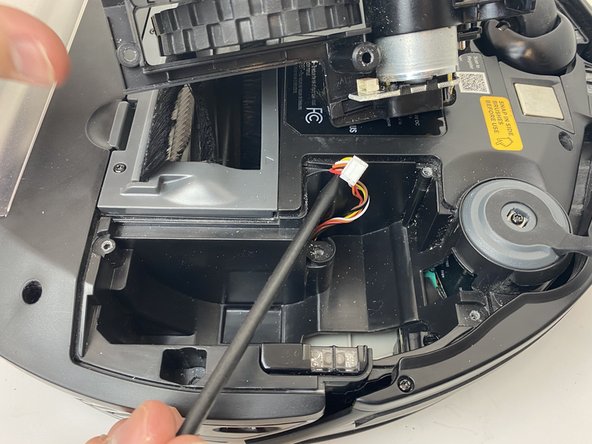
      • Be careful when removing the connector, as the part can break if too much force is used.

      • Push down on the tab of the battery connector using a set of tweezers and pull the connector away from the robot to free the wire.

      • Remove the battery from the device.

      Ask FixBot

      Add Comment

    1. Shark ION Robot R75 Side Sensor Replacement, Main Brush: step 4, image 1 of 1
      • Push on the two tabs on the edge of the main brush cover and pull up to remove the cover.

      Ask FixBot

      Add Comment

    2. Shark ION Robot R75 Side Sensor Replacement: step 5, image 1 of 1
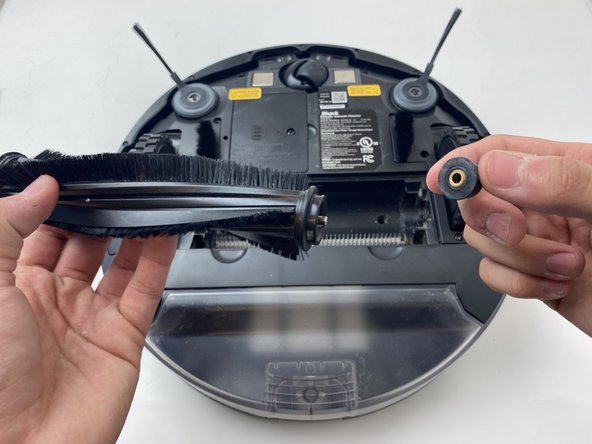
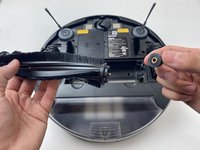
      • Pull the main brush slightly to the right to remove it from the compartment.

      Ask FixBot

      Add Comment

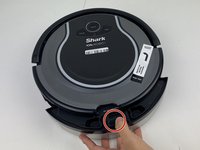
    3. Shark ION Robot R75 Side Sensor Replacement: step 6, image 1 of 2 Shark ION Robot R75 Side Sensor Replacement: step 6, image 2 of 2
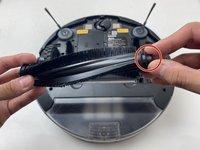
      • Remove the rubber end cap indicated by the red circle.

      • This step is not needed for a replacement. However, it is important for maintenance. Hair will build up in this area over time, and will cause error messages to pop up, as well as stopping the R75 from cleaning and moving.

      • Inspect this component at least every six months. This time may be less if you have animals.

      Ask FixBot

      Add Comment

    1. Shark ION Robot R75 Side Sensor Replacement, Side Brush: step 7, image 1 of 3 Shark ION Robot R75 Side Sensor Replacement, Side Brush: step 7, image 2 of 3 Shark ION Robot R75 Side Sensor Replacement, Side Brush: step 7, image 3 of 3
      • Grab the side brushes by the plastic tab at the base of the bristles, and gently lift up.

      • It's recommended to clean the area with a dry microfiber cloth during replacement, as debris can collect beneath the brush during use.

      Ask FixBot

      Add Comment

    1. Shark ION Robot R75 Side Sensor Replacement, Drive Wheel Assembly: step 8, image 1 of 1
      • Flip the R75 to its underside.

      • Make sure the R75 is shut off.

      • For extra security, disconnect the battery by following the prerequisite guide.

      Ask FixBot

      Add Comment

    2. Shark ION Robot R75 Side Sensor Replacement: step 9, image 1 of 3 Shark ION Robot R75 Side Sensor Replacement: step 9, image 2 of 3 Shark ION Robot R75 Side Sensor Replacement: step 9, image 3 of 3
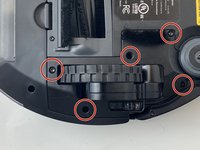
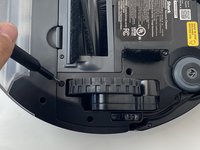
      • Using a Torx T15 screwdriver, remove the five screws from the drive wheel assembly.

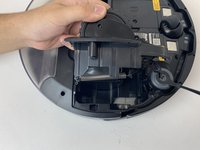
      • Carefully lift the drive wheel assembly from the wheel well by gently pulling up on the wheel.

      • The assembly will still be connected to the motherboard via a cable, so be sure not to pull so hard that the cable rips.

      Ask FixBot

      Add Comment

    3. Shark ION Robot R75 Side Sensor Replacement: step 10, image 1 of 3 Shark ION Robot R75 Side Sensor Replacement: step 10, image 2 of 3 Shark ION Robot R75 Side Sensor Replacement: step 10, image 3 of 3
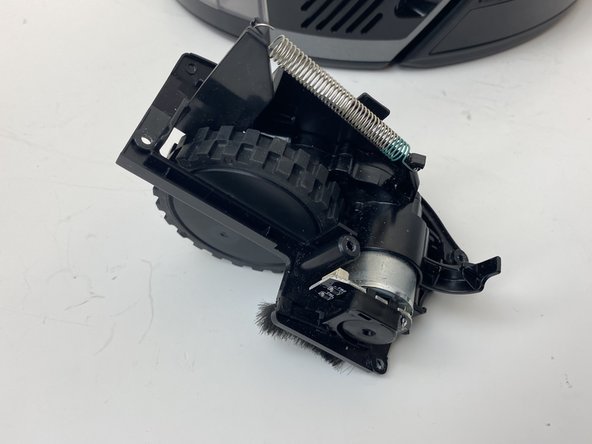
      • Flip the wheel assembly over and disconnect the cable connector on its underside.

      • Remove the drive wheel assembly.

      • Repeat this process for the other side if necessary.

      Ask FixBot

      Add Comment

    1. Shark ION Robot R75 Side Sensor Replacement, Shark ION Robot R75 Caster Wheel: step 11, image 1 of 1
      • Orient the device with the bottom facing up.

      Ask FixBot

      Add Comment

    2. Shark ION Robot R75 Side Sensor Replacement: step 12, image 1 of 3 Shark ION Robot R75 Side Sensor Replacement: step 12, image 2 of 3 Shark ION Robot R75 Side Sensor Replacement: step 12, image 3 of 3
      • Using a plastic opening tool, pry first one side of the wheel, then the other out of the caster.

      • Remove the wheel.

      Ask FixBot

      Add Comment

    3. Shark ION Robot R75 Side Sensor Replacement: step 13, image 1 of 3 Shark ION Robot R75 Side Sensor Replacement: step 13, image 2 of 3 Shark ION Robot R75 Side Sensor Replacement: step 13, image 3 of 3
      • Using a Torx TR9 screwdriver, remove both screws from the caster assembly beneath the wheel.

      • Pull the caster assembly up from its slot in the device.

      Ask FixBot

      Add Comment

    1. Shark ION Robot R75 Side Sensor Replacement, Top Cover: step 14, image 1 of 3 Shark ION Robot R75 Side Sensor Replacement, Top Cover: step 14, image 2 of 3 Shark ION Robot R75 Side Sensor Replacement, Top Cover: step 14, image 3 of 3
      • Push down on the black tab and remove the dust bin

      Ask FixBot

      Add Comment

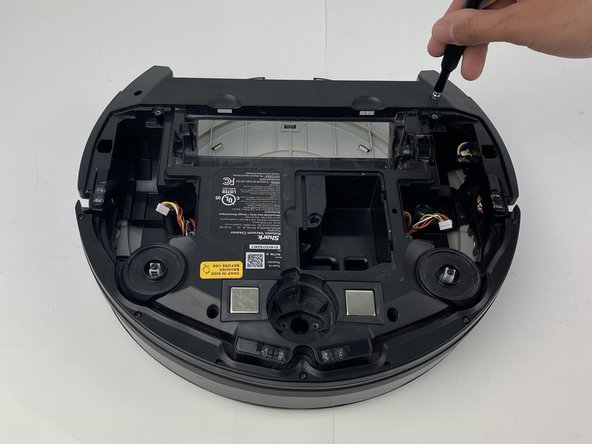
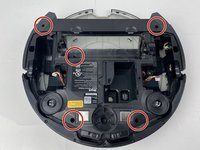
    2. Shark ION Robot R75 Side Sensor Replacement: step 15, image 1 of 2 Shark ION Robot R75 Side Sensor Replacement: step 15, image 2 of 2
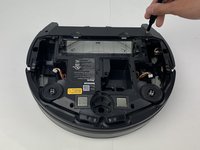
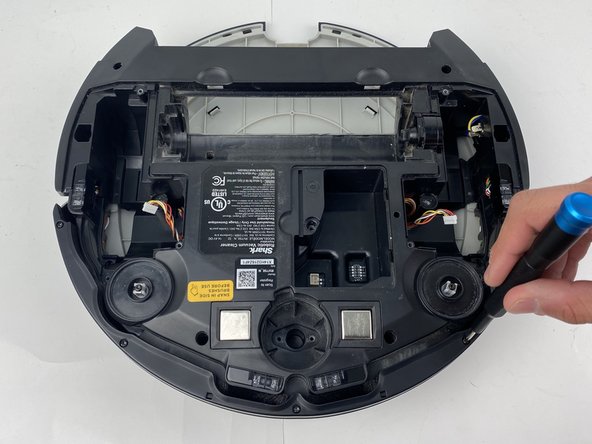
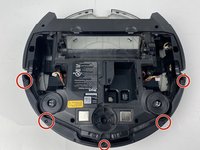
      • Using a Torx TR15 screwdriver, remove the five screws from the bottom cover.

      Ask FixBot

      Add Comment

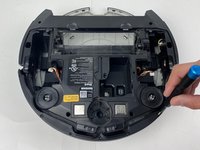
    3. Shark ION Robot R75 Side Sensor Replacement: step 16, image 1 of 3 Shark ION Robot R75 Side Sensor Replacement: step 16, image 2 of 3 Shark ION Robot R75 Side Sensor Replacement: step 16, image 3 of 3
      • Make sure the robot is facing rearward

      • Using a Torx TR15 screwdriver, remove the five screws along the front edge of the device.

      • Pull the bottom part of the bump guard away from the body of the device.

      Ask FixBot

      Add Comment

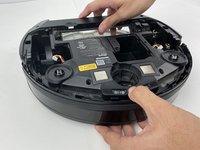
    4. Shark ION Robot R75 Side Sensor Replacement: step 17, image 1 of 3 Shark ION Robot R75 Side Sensor Replacement: step 17, image 2 of 3 Shark ION Robot R75 Side Sensor Replacement: step 17, image 3 of 3
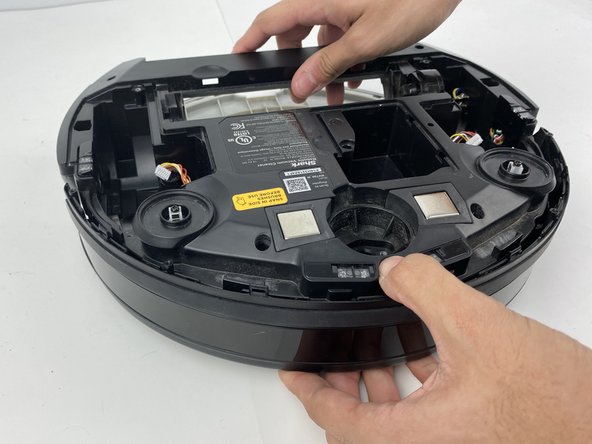
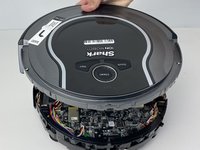
      • Lift the top cover up from the rear of the robot to separate the top cover from the rest of the robot.

      • Be careful when separating the top from the rest of the robot, as the plastic clips can break if excessive force is applied.

      • From here, easy access to all sensors, the main brush motor, and the fan are all granted.

      Ask FixBot

      Add Comment

    1. Shark ION Robot R75 Side Sensor Replacement, Side Sensor: step 18, image 1 of 2 Shark ION Robot R75 Side Sensor Replacement, Side Sensor: step 18, image 2 of 2
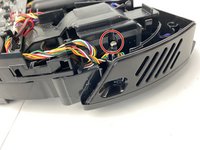
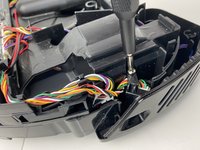
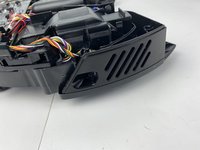
      • Using a Phillips #00 screwdriver, remove the screw holding down the diagonally vented side cover.

      • Slide the sensor out from the base of the robot

      Ask FixBot

      Add Comment

    2. Shark ION Robot R75 Side Sensor Replacement: step 19, image 1 of 2 Shark ION Robot R75 Side Sensor Replacement: step 19, image 2 of 2
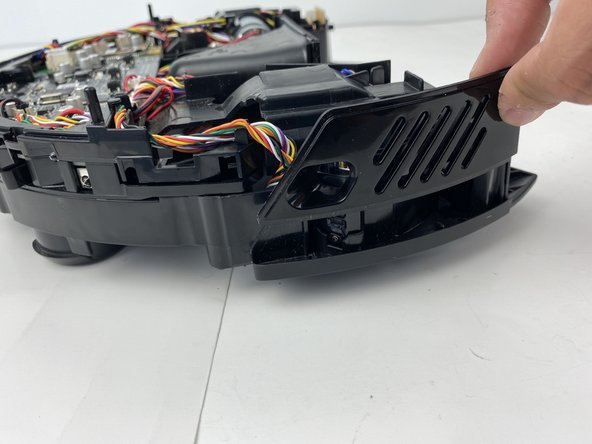
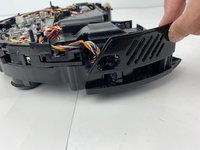
      • Lift up the diagonally vented cover on the side of the robot containing the side sensor.

      Ask FixBot

      Add Comment

    3. Shark ION Robot R75 Side Sensor Replacement: step 20, image 1 of 2 Shark ION Robot R75 Side Sensor Replacement: step 20, image 2 of 2
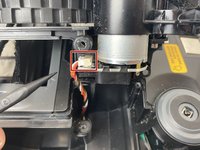
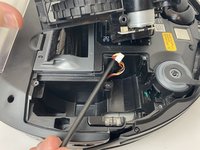
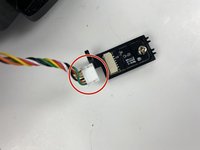
      • Disconnect the white connector from the sensor.

      Ask FixBot

      Add Comment

    4. Shark ION Robot R75 Side Sensor Replacement: step 21, image 1 of 2 Shark ION Robot R75 Side Sensor Replacement: step 21, image 2 of 2
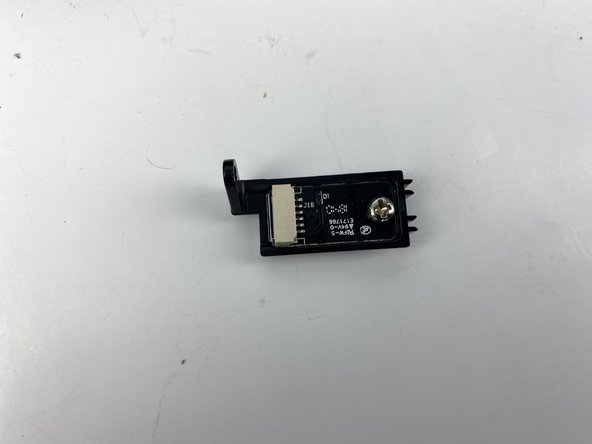
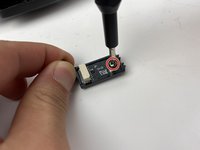
      • Using a Phillips #00 screwdriver, remove the screw on the sensor.

      • Remove the sensor from its mount.

      Ask FixBot

      Add Comment

Conclusion

To reassemble your device, follow these instructions in reverse order.

Cancel: I did not complete this guide.

One other person completed this guide.

1 Guide Comment

Curious if anyone ever saw the WiFi die in these? I cannot get the shark WiFi to show so I can add it to the network. I press both the bottoms and the icon flashes but shark WiFi never shows so the app can continue.

Shawn Winters - Reply Share
Add Comment

View Statistics:

Past 24 Hours: 1

Past 7 Days: 7

Past 30 Days: 45

All Time: 20,098