Shark ION Robot R75 Drive Wheel Assembly Replacement

What you need

  1. Shark ION Robot R75 Drive Wheel Assembly Replacement, Battery: step 1, image 1 of 3 Shark ION Robot R75 Drive Wheel Assembly Replacement, Battery: step 1, image 2 of 3 Shark ION Robot R75 Drive Wheel Assembly Replacement, Battery: step 1, image 3 of 3
    • Make sure the robot is shut off by pressing the power button on top.

    • Flip the R75 over so that the underside is facing up.

    • Using a Phillips #1 screwdriver, remove the 4mm screw in the battery cover.

    • Remove the battery cover.

  2. Shark ION Robot R75 Drive Wheel Assembly Replacement: step 2, image 1 of 3 Shark ION Robot R75 Drive Wheel Assembly Replacement: step 2, image 2 of 3 Shark ION Robot R75 Drive Wheel Assembly Replacement: step 2, image 3 of 3
    • Be careful when removing the battery, as it will still be connected to a wire.

    • Slowly pull the white tabs outward to remove the battery.

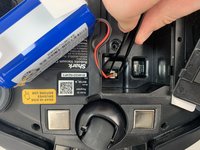
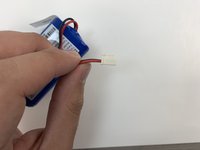
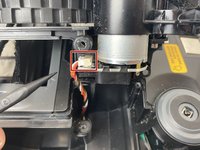
  3. Shark ION Robot R75 Drive Wheel Assembly Replacement: step 3, image 1 of 2 Shark ION Robot R75 Drive Wheel Assembly Replacement: step 3, image 2 of 2
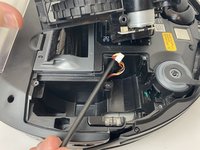
    • Be careful when removing the connector, as the part can break if too much force is used.

    • Push down on the tab of the battery connector using a set of tweezers and pull the connector away from the robot to free the wire.

    • Remove the battery from the device.

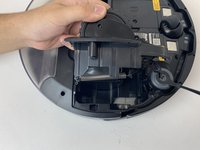
  4. Shark ION Robot R75 Drive Wheel Assembly Replacement, Drive Wheel Assembly: step 4, image 1 of 1
    • Flip the R75 to its underside.

    • Make sure the R75 is shut off.

    • For extra security, disconnect the battery by following the prerequisite guide.

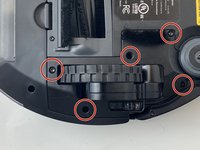
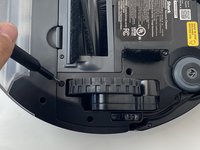
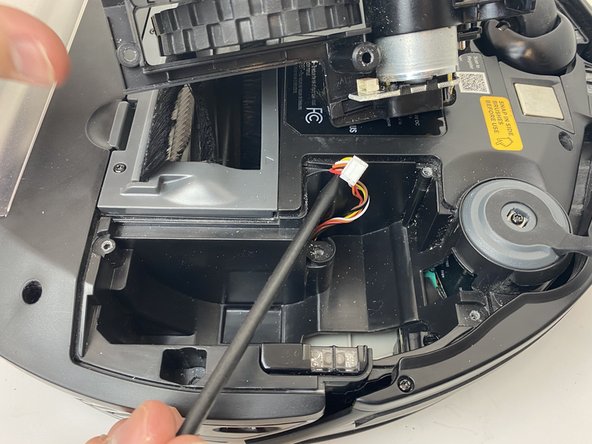
  5. Shark ION Robot R75 Drive Wheel Assembly Replacement: step 5, image 1 of 3 Shark ION Robot R75 Drive Wheel Assembly Replacement: step 5, image 2 of 3 Shark ION Robot R75 Drive Wheel Assembly Replacement: step 5, image 3 of 3
    • Using a Torx T15 screwdriver, remove the five screws from the drive wheel assembly.

    • Carefully lift the drive wheel assembly from the wheel well by gently pulling up on the wheel.

    • The assembly will still be connected to the motherboard via a cable, so be sure not to pull so hard that the cable rips.

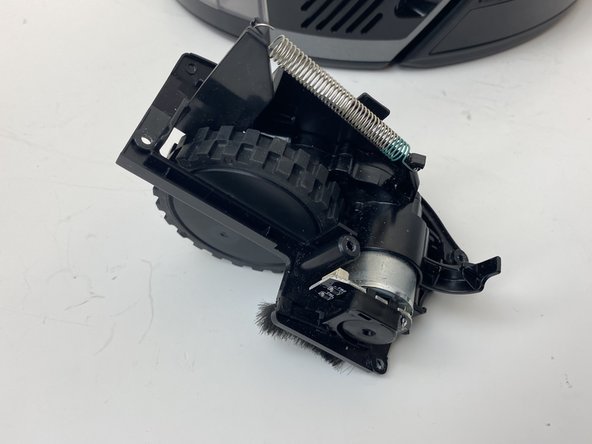
  6. Shark ION Robot R75 Drive Wheel Assembly Replacement: step 6, image 1 of 3 Shark ION Robot R75 Drive Wheel Assembly Replacement: step 6, image 2 of 3 Shark ION Robot R75 Drive Wheel Assembly Replacement: step 6, image 3 of 3
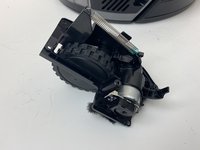
    • Flip the wheel assembly over and disconnect the cable connector on its underside.

    • Remove the drive wheel assembly.

    • Repeat this process for the other side if necessary.

Conclusion

To reassemble your device, follow these instructions in reverse order.

3 other people completed this guide.

6 Comments

Where I can buy the Shark ION Robot R75 Drive Wheel Assembly Replacement?

Thanks for your help!

xoxolo - Reply

Do you know what the drive wheel motor cable is (see Step 6)? It's a 6 pin to 5 pin and the grooves are on the thin side and pitch of ~1.4mm. Possible a JST ZH?

Seth T - Reply

I appreciate the step-by-step instructions with pictures... this was very helpful. However, my rv750 doesn't have the screws by the wheel assembly.

I've removed the screws, but it appears that I will need to separate the bottom from the top to access the wheel assemblies. Do you have a step=by step for the rv750 that has the wheel assembly enclosed?

RandiB - Reply

The right wheel ass has a small gear striped inside, can you buy the small gears to repair the wheel drive?

Jerry Rotenberry - Reply

Add Comment

View Statistics:

Past 24 Hours: 1

Past 7 Days: 10

Past 30 Days: 46

All Time: 9,710