Introduction
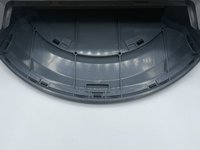
Suppose the Shark ION R750‘s outer shell is cracked or damaged due to wear and tear, accidental drops, or other potentially damaging impacts. In that case, you must replace the casing to avoid further damage to the vacuum's internal components.
The Shark's outer shell protects the vacuum's internal components from debris, dust, and contaminants that will clog the vacuum, impact the motor, or damage the device's overall performance. Therefore, it is crucial to immediately replace the outer shell so the vacuum continues functioning correctly.
What you need
-
-
-
Flip over the vacuum on a flat and uncluttered service with the bottom facing upwards.
-
Remove all seven 9.1mm Torx T15 screws from the device’s front bumper.
-
Remove the nine 9.1mm Torx T6 bolts from outer shell.
 Ask FixBot
-
-
-
Slightly pull front bumper to expose internal wiring.
-
Unplug the device’s front bumper wiring and completely remove front bumper.
-
-
-
-
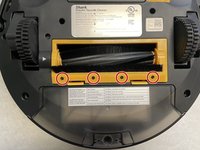
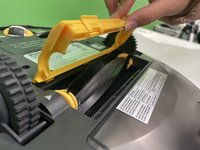
Remove the four 9.5mm Torx T6 bolts on the yellow brush frame.
-
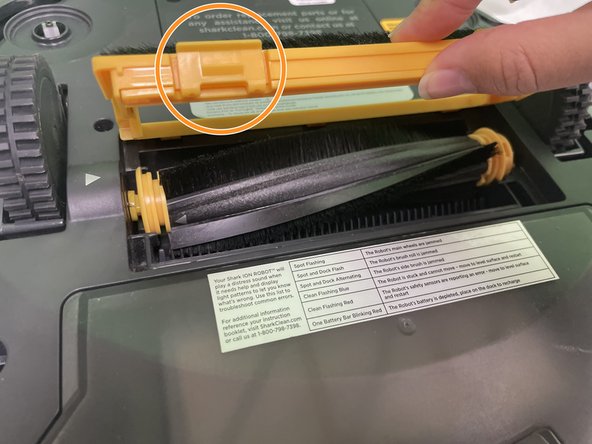
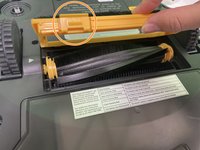
Gently depress the two tabs on the frame, then lift the frame to remove it.
-
-
-
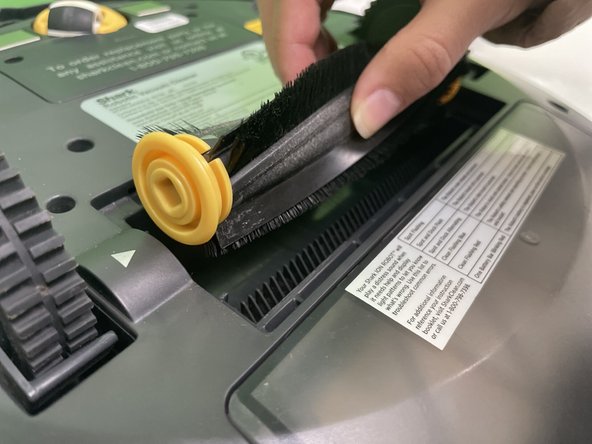
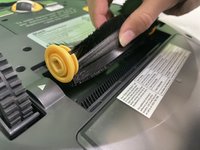
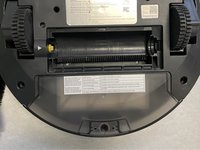
Pick up the brush and remove it from the vacuum.
-
Push the brush to your right and lift it.
-
-





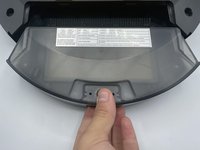

To reassemble your device, follow these instructions in reverse order.

Team

University of North Texas, Team 1-7, Kilpatrick Fall 2023 Member of University of North Texas, Team 1-7, Kilpatrick Fall 2023
UNT-KILPATRICK-F23S1G7
4 Members
60 Guides authored
