Introduction
Genuine leather jackets are expensive and replacing them is not a cost-conscious decision. Often, people stop wearing their leather jackets if they have a tear in them. When fixing a tear in a leather jacket, you can extend the wear of the jacket. This proposal will thoroughly go through all the materials needed for the repair as well as a detailed repair method. It will also include how this guide is different from other published guides and my qualifications for this repair.
What you need
-
-
Turn the leather to the part that is not visible when using or wearing.
 Ask FixBot
-
-
-
Use "Duck" invisible scotch tape to tape over the tear. This tape will hold the tear closed.
-
-
-
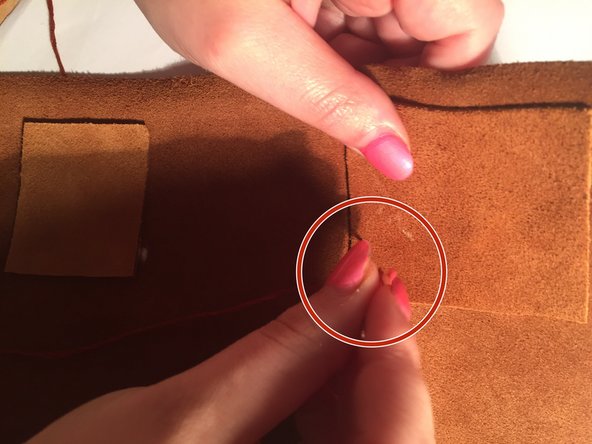
Cut a piece of leather for the patch that is slightly larger than the tear. The tear in this procedure was 1" long so the piece of leather that was cut was 1 and a 1/2" on each side.
-
-
-
-
Put a thin layer of fabric glue and the patch and lightly touch it on the tear.
-
Put the fabric glue in every section of the leather square so that it is secure over the tear.
-
-
-
Turn the leather jacket back to its original side and put a little dab of it in between the hole. Also, squeeze the tear together gently to make sure that the glue is holding it closed. After this, wait for two hours for glue to completely dry.
-
-
-
After the glue has dried, remove the tape over the tear completely and be careful.
-
-
-
Turn the leather jacket inside out again and sew the patch of leather you put over the tear to the inside of the jacket. After this is done, the repair is complete.
-


Leather is a difficult fabric to deal with and a tear can cost you an expensive repair. This repair is a fairly easy way to fix a repair that will save you time and money as well as add years to your leather item.
Cancel: I did not complete this guide.
2 other people completed this guide.

Team

USF Sarasota-Manatee, Team 1-1, Stewart Spring 2017 Member of USF Sarasota-Manatee, Team 1-1, Stewart Spring 2017
USFSM-STEWART-S17S1G1
19 Members
68 Guides authored