
Sew a Ladder Stitch

Brittany McCrigler and 4 other contributors
Last updated on Apr 21, 2025
Views: 16K
View statistics:
- Past 24 Hours:
- 14
- Past 7 Days:
- 95
- Past 30 Days:
- 375
- All Time:
- 16,443
Comments: 2
2 comments on steps.
Completed: 3 4
3 people have marked this guide "completed." Will you be next?
4 people have marked this guide "completed." Including you — great job!
Favorites: 28 29
28 people have favorited (and subscribed to) this guide. Will you be next?
29 people have favorited (and subscribed to) this guide — including you!
Introduction
Go to step 1 ↓A ladder stitch, or closure stitch, is a sewing technique that allows you to close a tear without leaving the stitching visible.
The trick is to make the stitches as small and as even as possible. This technique works for repairing almost any type of tear.
What you need
Parts
Tools


-
-
-
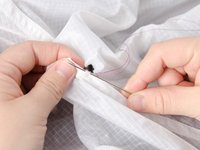
Thread your needle and tie a knot in the end.
-
Drive the needle from the back of the material, just before where the tear starts.
-
Pull the thread taut.
 Ask FixBot
-
-
-
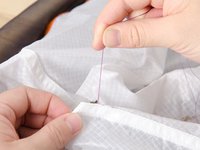
Take a small stitch, going in and out of the material, on one side of the tear only.
-
Pull the thread taut.
-
-
-
-
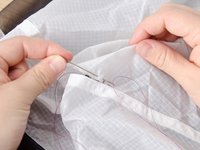
Take a small stitch, going in and out of the material, on the other side of the tear, directly opposite of the stitch you just took.
-
Pull the thread taut. This should cinch the material together.
-
-
-
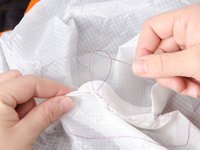
Continue stitching, switching from side to side as described in step 2 and 3 of this guide, pulling the thread taut after each stitch.
-
Stitch until you come to the end of the tear.
-
-
-
One the last stitch, drive the needle through both sides of the fabric, taking as small of a stitch as possible.
-
Slowly pull the thread. As you pull, a loop will form. Draw the needle through this loop, and pull the thread taut.
-
Repeat this step, taking a tiny stitch, drawing the needle through the loop, and pulling taut.
-
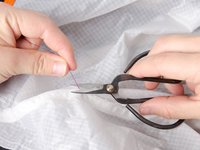
Ensure that the stitches are tight, and cut any excess threads.
-
-











Cancel: I did not complete this guide.
3 other people completed this guide.

