Introduction
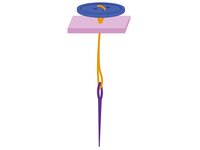
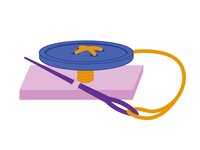
Sewing a button onto garments made of heavy fabric—like wool coats, denim, or heavy-duty canvas—requires a special technique. Unlike standard button sewing, which keeps the button flush with the fabric, thick materials require a shank—a small column of thread that lifts the button, allowing space for the thick fabric to fasten beneath it.
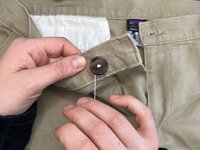
This guide demonstrates how to sew on a button to the waistband of Patagonia® work pants using the shank technique. To learn how to sew on a button without a shank, see Sew a Button.
Hand sewn repairs are a fun and effective way to extend the life of gear at home. DIY repairs won't void the Patagonia warranty—they're actually encouraged!
WARNING! Small Parts. Patagonia does not recommend conducting these repairs on garments intended for children age 3 or under. Instead, we recommend return of the product for professional repair services.
Patagonia items can also be taken in to a local retail store for repair evaluation or sent in to Patagonia through their mail-in repair service.
Let's get fixing!
Related Tutorials
Related Articles
What you need
-
-
-
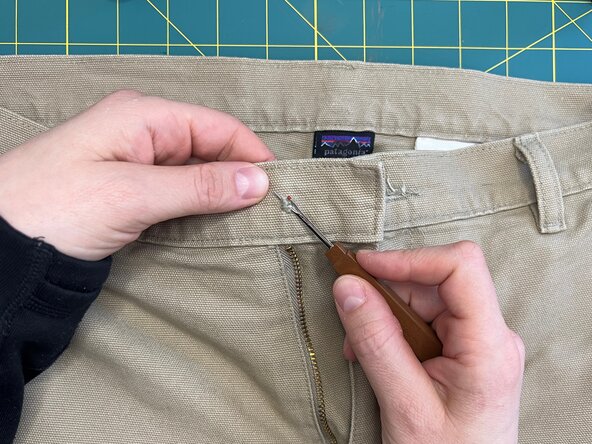
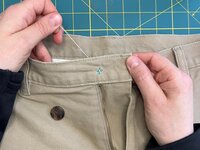
Locate the damaged area and remove any remaining thread.
-
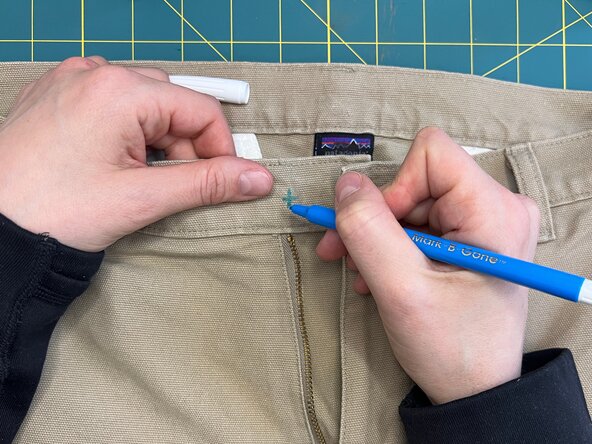
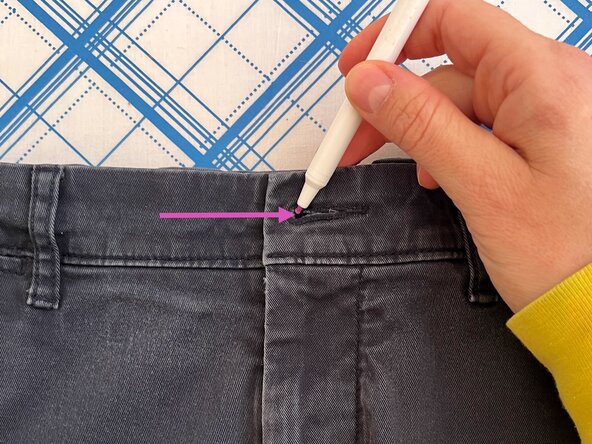
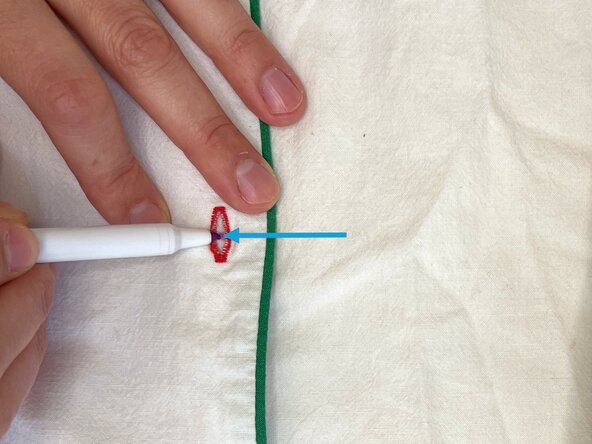
Mark the placement for the button using chalk or a heat-erasable pen.
 Ask FixBot
-
-
-
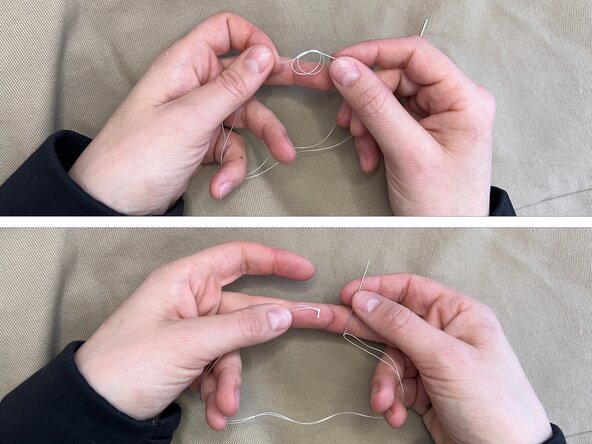
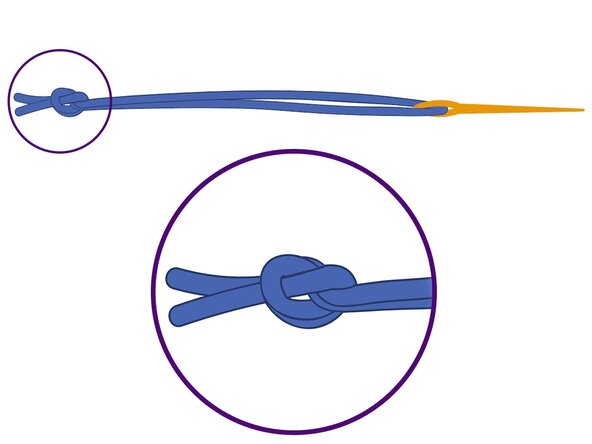
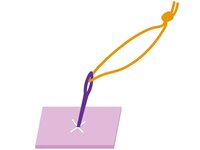
Thread the needle with a length of thread approximately 24 inches (~61 cm) long and tie an overhand knot with both ends of the thread to create a doubled thread.
-
-
-
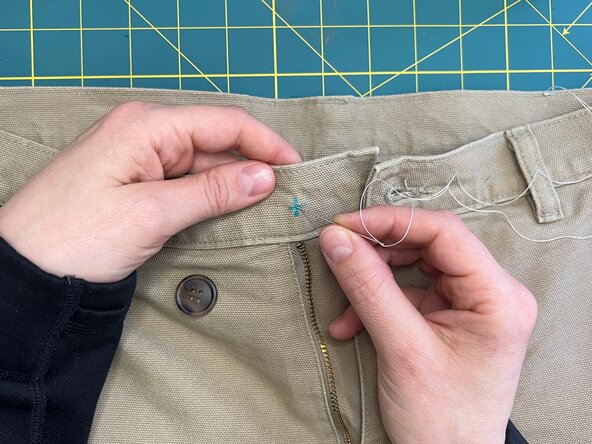
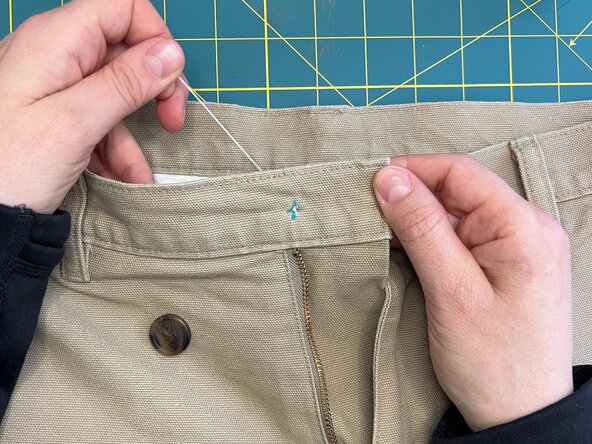
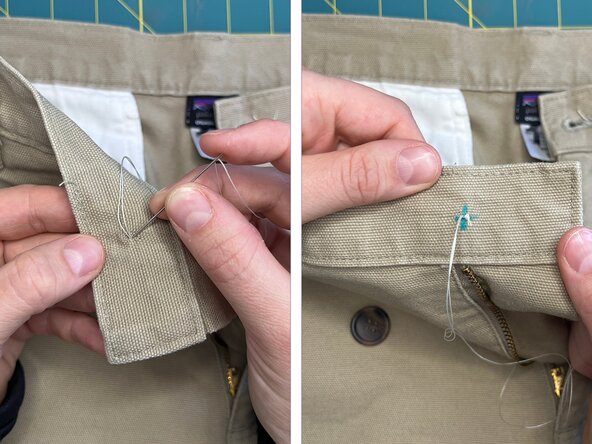
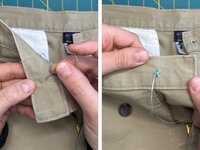
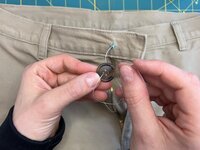
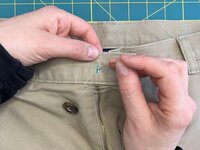
Pierce the needle into the marked spot from the front side and pull through so the knot rests flush against the outside fabric.
-
-
-
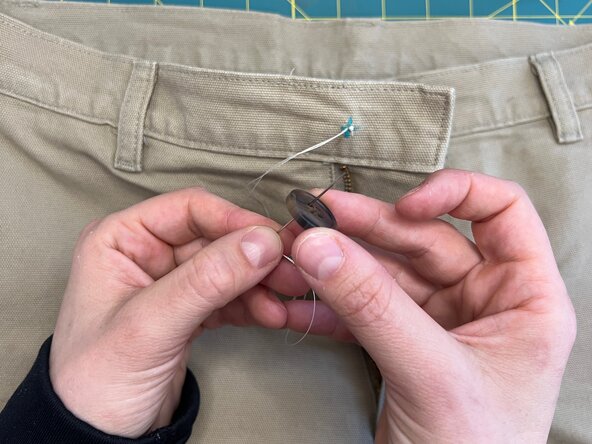
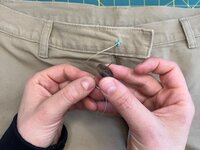
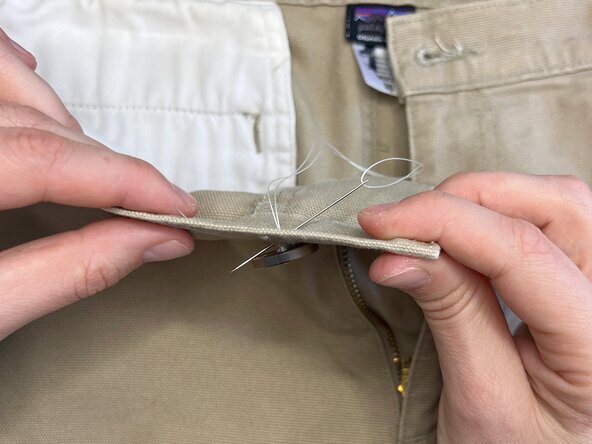
Bring the needle back up through (approximately) the same spot and thread it through one hole of the button.
-
-
-
Pass the needle down through the buttonhole that's diagonal to the first hole.
-
Without pulling the thread tight, pierce into the fabric in the same marked spot and pull through.
-
-
-
-
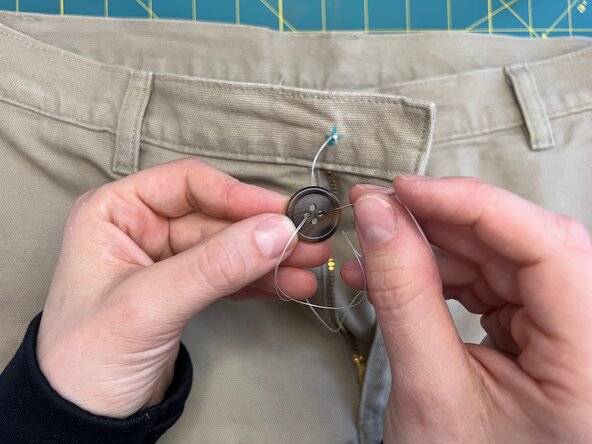
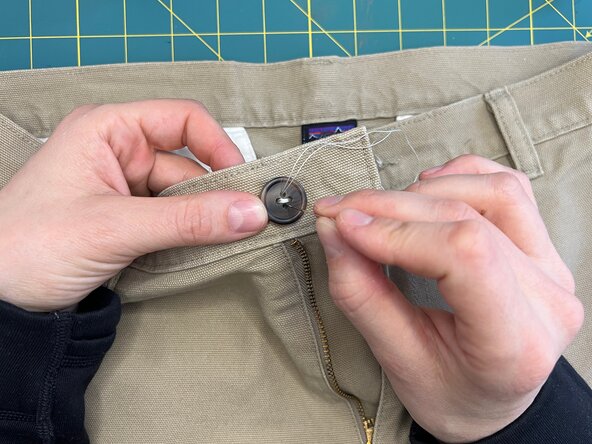
Pull the thread through to maintain a slightly loose tension. There should be enough space under the button to make a shank. Don't pull so tight that the button is flush with the fabric.
-
-
-
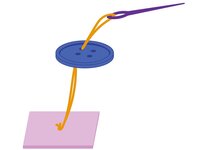
Loop the needle and thread up and down through the fabric and the first diagonal pair of holes two to three times, ending on the backside.
-
Repeat the process with the remaining two holes, creating an "X" pattern on the top of the button.
-
Finish by pulling the needle through to the backside of the fabric.
-
-
-
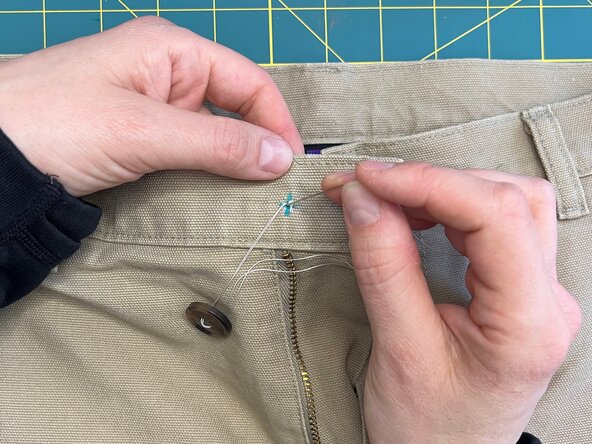
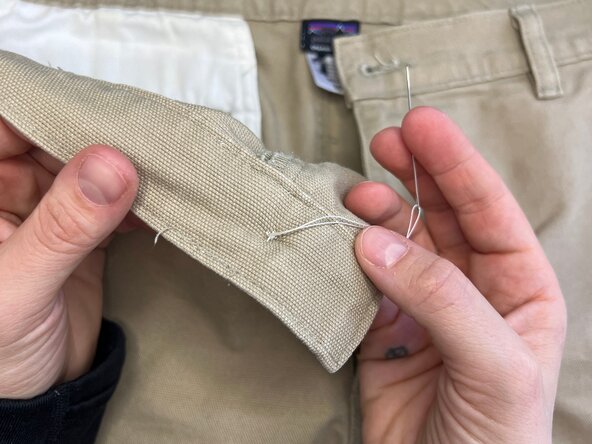
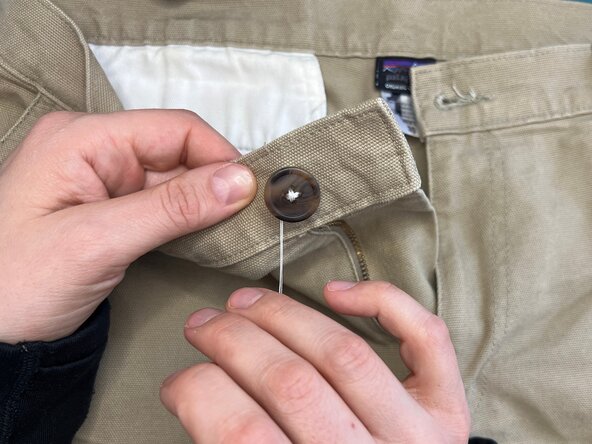
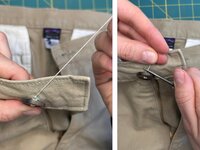
Bring the needle up through the fabric but not through the button so that the thread is emerging between the back of the button and the face of the fabric.
-
Pull the needle and thread through.
-
-
-
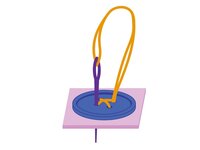
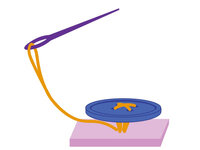
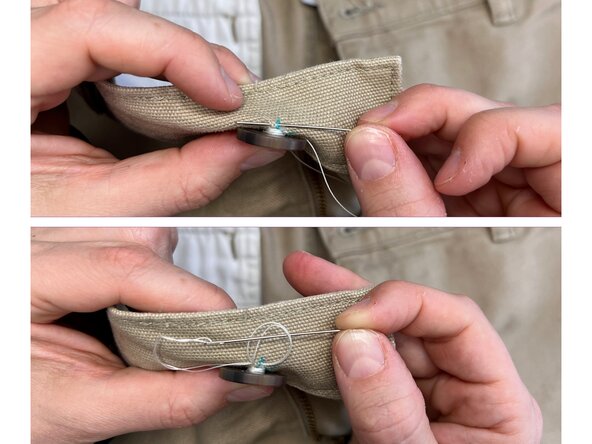
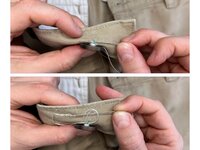
Wrap the thread around the loose stitches at least three to four times to bind the stitches together and create a shank. See the next step for video instructions.
-
-
-
This video shows how to create a shank by following the instructions in the previous step.
-
-
-
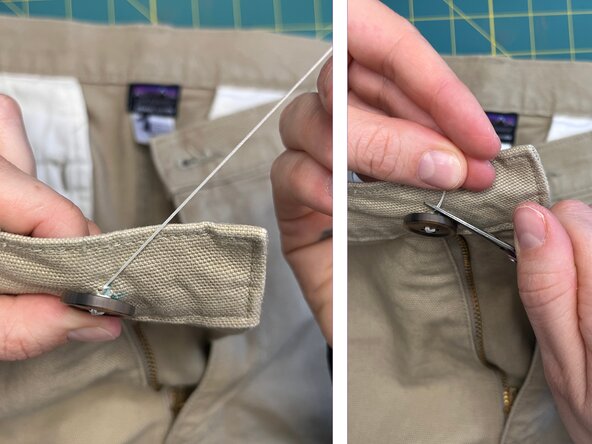
Make a small stitch in the fabric near the shank.
-
Make a secure knot using one of the techniques from Knot Thread to the Fabric (2 Ways).
-
Pull the knot tight and trim the thread.
-
-
-
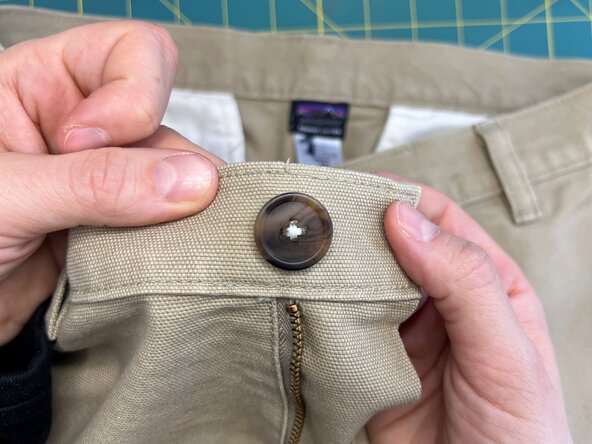
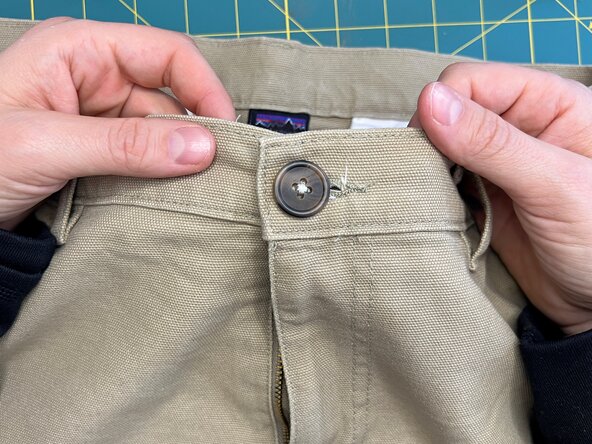
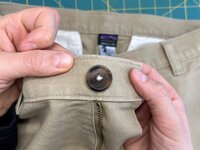
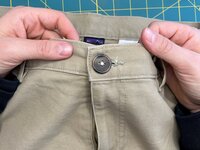
Ensure the button is securely attached, the shank is sturdy, and all knots are hidden between the button and the fabric.
-
Then check that the button passes smoothly through the buttonhole and that the shank is long enough to accommodate the thickness of the fabric around the buttonhole.
-
-
-
NEW BUTTON SIZE: If attaching a new button, test that it fits through the buttonhole before attaching it. The perfect sized button has a diameter that's 1/8 inch (~3 mm) smaller than the length of the buttonhole.
-
PLACING BUTTON: To mark the placement of a button without a guide or remnant stitches to follow, position the fabric pieces as they would sit if the button was fastened, then:
-
Horizontal Buttonhole - Slide the heat-erasable pen through the buttonhole at the end closer to the fabric edge and make a mark onto the fabric underneath. This will be the placement for the the new button.
-
Vertical Buttonhole - Slide the heat-erasable pen through the buttonhole at the exact center and make a mark onto the fabric underneath. This will be the placement for the the new button.
-
-














Cancel: I did not complete this guide.
2 other people completed this guide.


