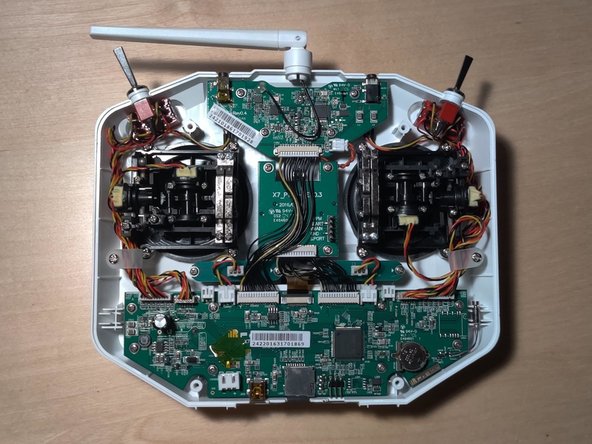
Introduction
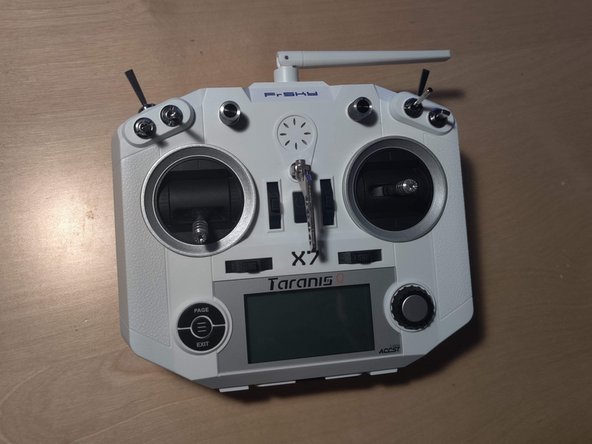
The Taranis QX7 is a highly capable and customizable RC Transmitter. However, it comes out of the box with both sticks centered vertically, which is not suitable for flying model aircraft.
This guide will teach you how to convert the QX7 from the stock configuration to Mode 2 (throttle on the left stick). Converting to Mode 1 (throttle on the right stick) is as simple as following the guide with the right gimbal rather than the left.
What you need
-
-
The FrSky Taranis QX7 comes out of the box with both sticks centered on both axes.
-
In order to fly model aircraft, one stick must move freely in the vertical direction to act as throttle control.
-
This guide will show how to convert the QX7 into Mode 2, where the throttle is on the left stick.
-
If you wish to convert the radio into Mode 1, simply follow this guide with the right stick rather than the left.
-
-
-
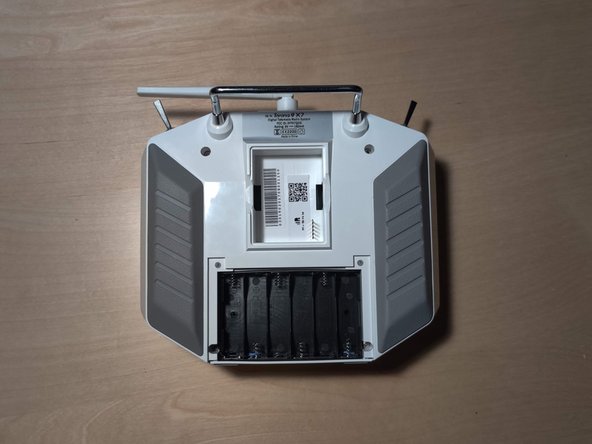
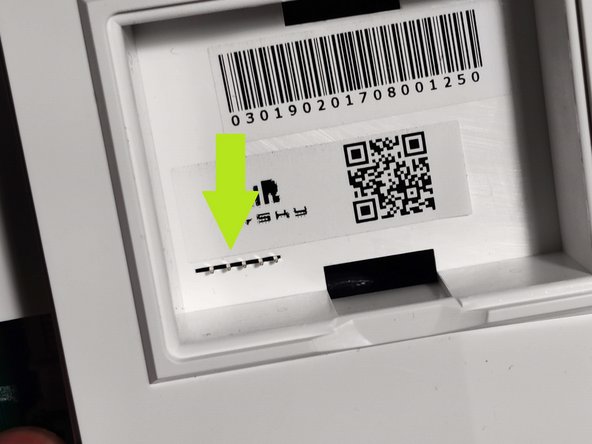
Using your thumbs, push out and towards you on the sides of the battery case and remove it from the battery bay.
-
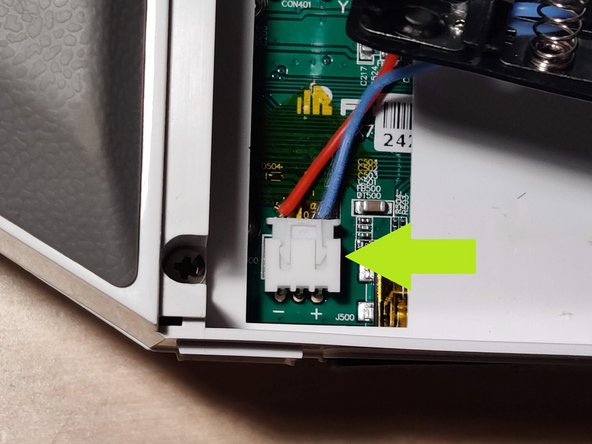
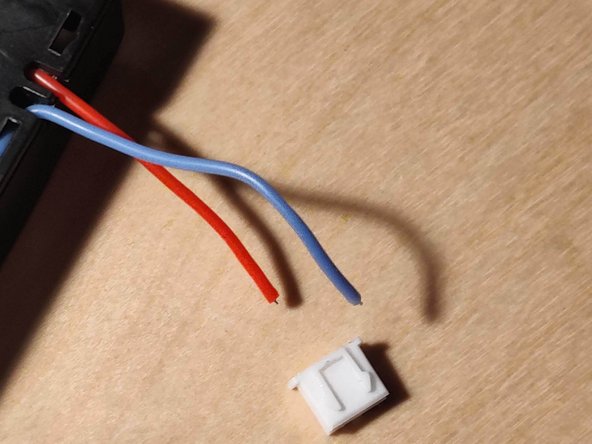
Taking care to not strain the cable connecting the batteries to the radio, disconnect the battery connector. Make sure to grab the actual connector and not pull by the cable (like I did). A small pry tool may make this step easier.
-
If the connector wont budge, do NOT try to force the cable out (like I did) as it may be stuck on a small surface mounted diode on the circuit board. Simply pull the connector towards you slightly to get it unstuck. The cable should now disconnect freely by pulling it upwards.
-
-
-
-
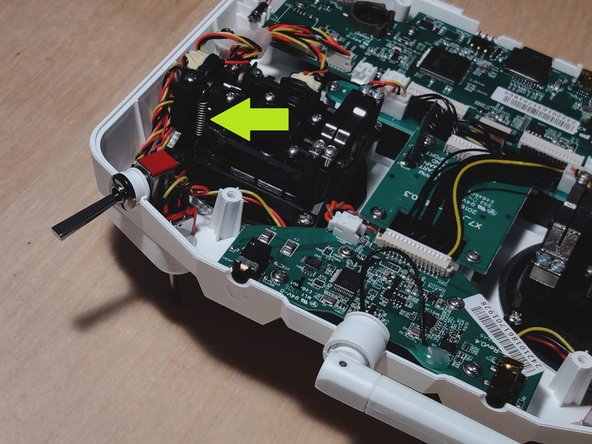
To remove spring tension on the vertical axis, find the denoted screw. It should be almost completely unscrewed from its hole and sticking out of the gimbal.
-
With a #1 Phillips head screwdriver, tighten this screw until it is snug. As you screw it down, you should notice the spring on the other side of the gimbal slowly expand into an extended position.
-
The stick should now flop around freely on the vertical axis.
-
-
-
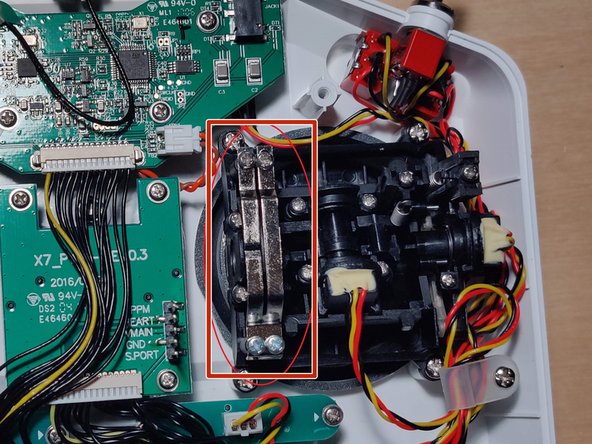
In order to add resistance to the vertical axis, find the set of metal bands on the side of the gimbal.
-
Note that one side of the bands is completely screwed in, while the other has room for adjustment. Pick one of the screws on the latter side.
-
For a ratcheting throttle that clicks when adjusted, screw in the band with a notch. For a smooth throttle, screw in the band without the notch.
-
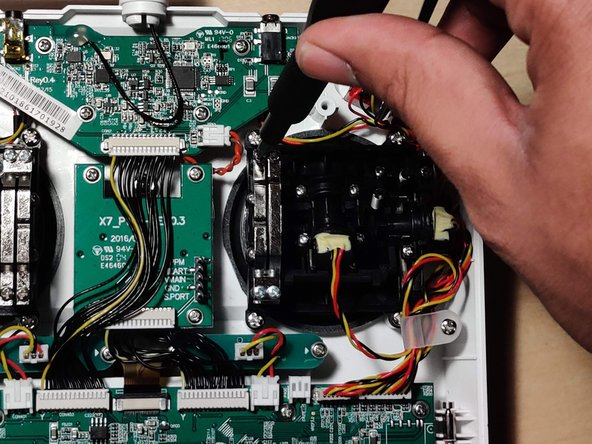
Using a #1 Phillips head screwdriver, tighten the selected screw until the desired amount of resistance is reached.
-
The throttle should now stay in a set position without unwanted movement.
-


If you wish to convert your radio to Mode 1 (throttle on the right stick) simply follow the guide with the right gimbal rather than the left.
**Before flying, ensure that all 4 stick channels are responding properly within the radio’s firmware!