Introduction
If your Sega Saturn fails to read discs properly, use this guide to replace the disc reader.
The disc reader transmits data from a disc to the Saturn itself. A misaligned or damaged disc reader will stop the disc from spinning or cause the Saturn to display a “Drive Empty” message.
Before using this guide, clean the disk reader lens with a cotton ball and rubbing alcohol, as a dirty optical drive may be the cause of a disc reading failure.
What you need
-
-
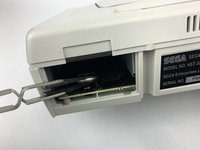
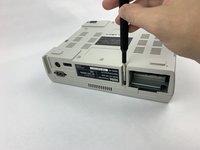
Press on the plastic lever on the back of the Sega Saturn to pop open the battery slot.
 Ask FixBot
-
-
-
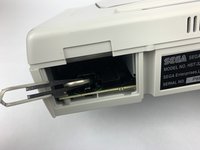
Push up the edge of the battery with the iFixit opening tool to get the battery out of its socket.
-
-
Tool used on this step:Tweezers$4.99
-
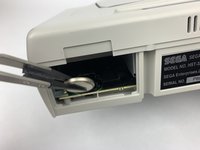
Use the ESD safe tweezers to pull the battery out of its slot.
-
-
-
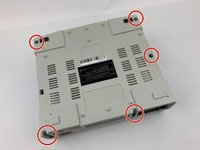
Remove the five black 13.5mm JIS#1 screws on the bottom of the device. One might be hidden by a sticker.
-
-
-
-
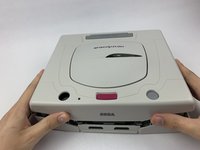
Flip the device over so it rests right side up.
-
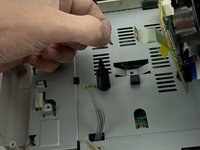
Lift gently across the seam of the Sega Saturn. If parts get stuck, a light shake or prying with the iFixit opening tool should free it up. Do not use any brute force, as this can damage the case so it doesn't close again.
-
-
Tool used on this step:Tweezers$4.99
-
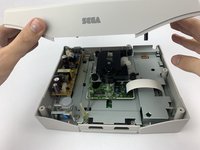
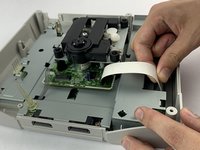
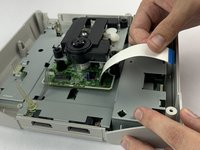
Pry the second cable out of its socket on the disk reader with the iFixit opening tool or ESD safe tweezers. When the lip of the cable gets enough distance out of the socket, it can be wiggled free.
-
-
-
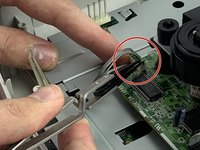
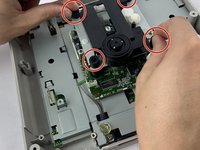
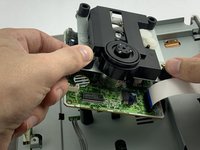
Lift the laser reader slowly out of its slot hosted by these four pins. There is a screw underneath with a cable attached to the motherboard.
-
-
-
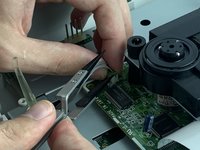
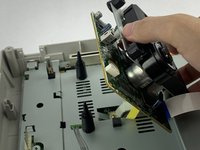
Remove the metallic 12.2mm JIS #1 screw. This will need additional hands in reverse to hold the disk reader steady.
-
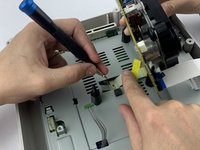
Remove the yellow tape on the reader strip and gently remove the disc reader without touching the laser reader.
-


To reassemble your device, follow these instructions in reverse order.
Cancel: I did not complete this guide.
One other person completed this guide.
Team

USF Tampa, Team S1-G6, Leahy Fall 2019 Member of USF Tampa, Team S1-G6, Leahy Fall 2019
USFT-LEAHY-F19S1G6
3 Members
18 Guides authored