Introduction
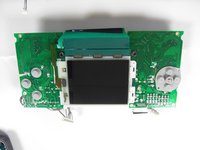
A guide to installing a replacement screen on a Sega Game Gear.
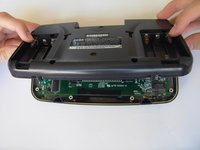
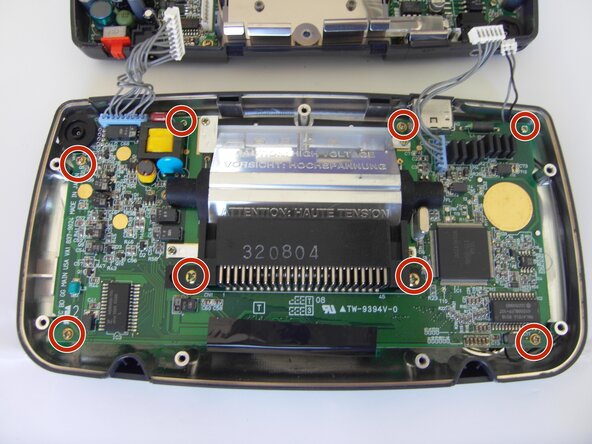
What you need


To reassemble your device, follow these instructions in reverse order.
Cancel: I did not complete this guide.
15 other people completed this guide.
Team

Cal Poly, Team 28-33, Regan Spring 2010 Member of Cal Poly, Team 28-33, Regan Spring 2010
CPSU-REGAN-S10S28G33
5 Members
20 Guides authored
12 Guide Comments
any one know where to get a new display that wont bleed me dry?
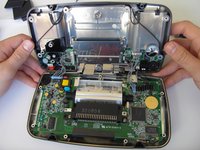
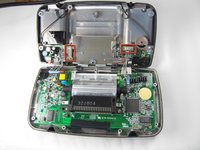
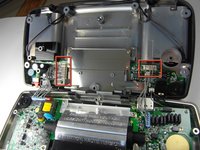
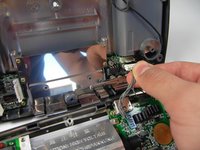
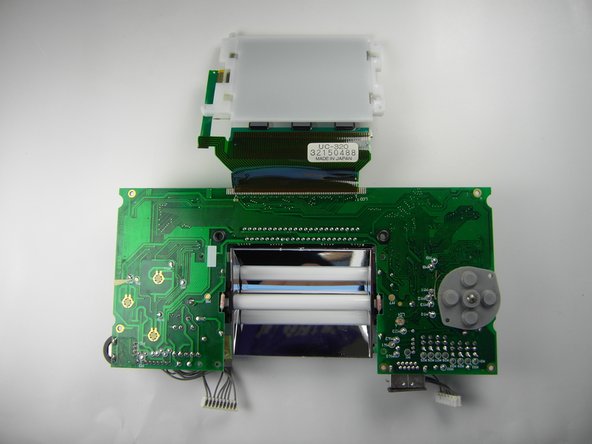
Due to the nature a Game Gear screen attaches, a ribbon directly soldered to the mainboard, replacing it requires a soldering iron and some fairly advanced technique.
This guide, titled “Sega Game Gear Screen Replacement”, only takes us to the point you remove the ribbon. There is much work left.
Thank you. I was wondering why they left this out.
Does the screen get fixed at the end?