Introduction
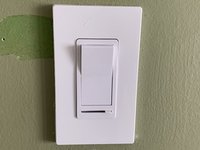
This guide will show you how to replace an old light switch wall plate (also called a faceplate) with a screwless one. Reasons to replace faceplates include but are not limited to:
- Switching from a regular wall plate to a more modern-looking screwless wall plate.
- Change of color of older wall plates that happens with the passage of time.
- Damage to the wall plate due to an accident or incorrect use.
Caution: Before beginning this guide, turn the light switch off and turn off power to the switch at the circuit breaker.
What you need
-
-
-
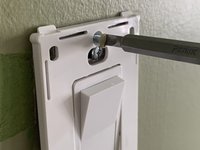
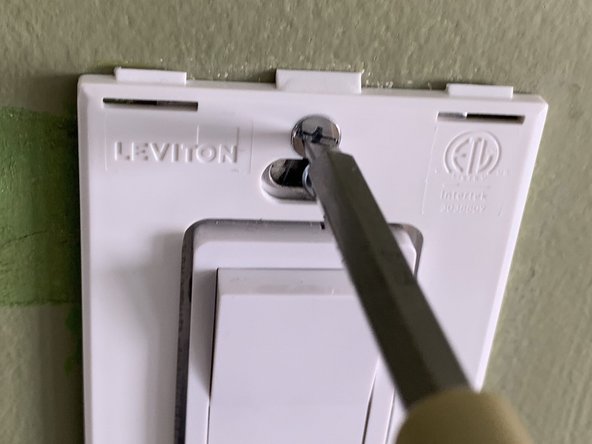
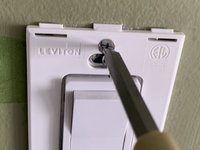
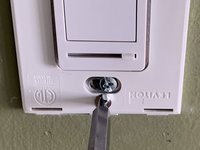
Insert a prying tool into the two catches on the top of the light switch.
-
Slowly turn the prying tool or use it as a lever to push the outer plate away from the wall.
-
-
-
-
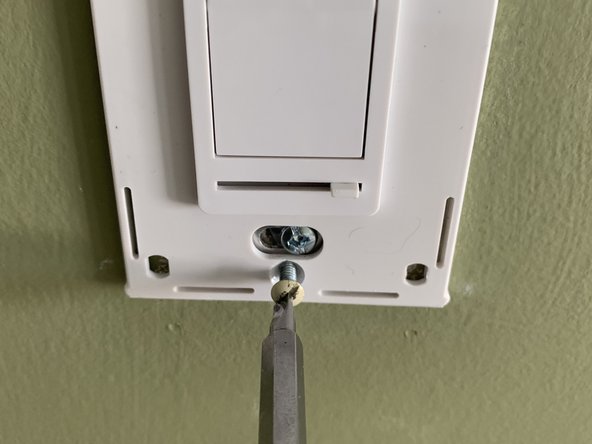
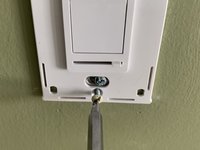
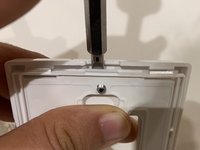
Remove the inner part of the faceplate by unscrewing the two screws on the top and the bottom.
-
-
-
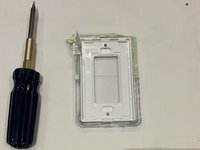
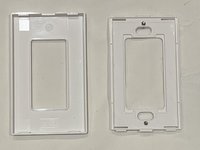
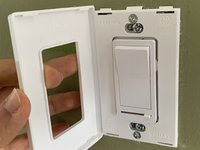
Unbox the new faceplate.
-
Just like Step 2, remove the outer layer of the new faceplate by inserting a prying tool in the catches on its top and bottom, pushing the two layers away from each other.
-
-
-
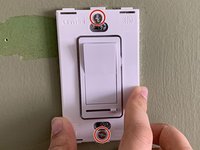
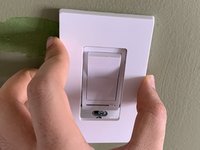
Hold the inner layer of the faceplate against the wall.
-
Align the holes in the plate with the existing holes on the light switch or power outlet.
-
Tighten the two screws on the top and bottom.
-
-
-
Attach the outer layer of the faceplate by putting it on top of the inner layer and slightly pushing it until you hear a click sound.
-


You can follow this guide to replace a power outlet faceplate as the procedure is essentially the same.
Cancel: I did not complete this guide.
7 other people completed this guide.

Team

York University, Team S1-G7, Woodhouse Winter 2021 Member of York University, Team S1-G7, Woodhouse Winter 2021
YORK-WOODHOUSE-W21S1G7
1 Member
14 Guides authored