
Sanyo-PM 8200 Back Casing Replacement

Prerequisite Only
This guide is only intended to be used as a prerequisite for other guides. It's incomplete by itself.

What you need

  1. Sanyo-PM 8200 Back Casing Replacement, Back Casing: step 1, image 1 of 1
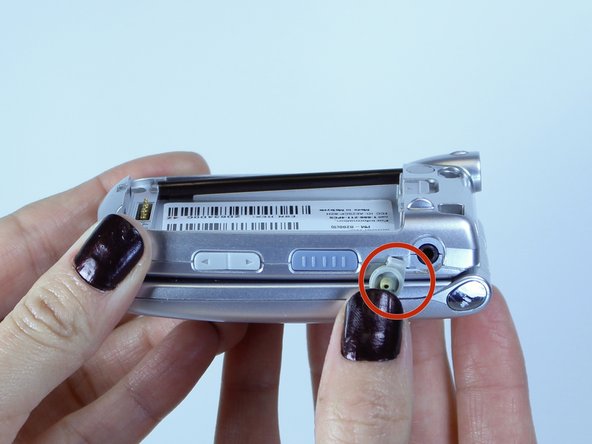
    • Use a push pin or tweezers to remove the neoprene screw-cover located on the upper, left corner of the back casing.

  2. Sanyo-PM 8200 Back Casing Replacement: step 2, image 1 of 1
    • Unscrew all four, 5mm Tri-Wing screws.

  3. Sanyo-PM 8200 Back Casing Replacement: step 3, image 1 of 2 Sanyo-PM 8200 Back Casing Replacement: step 3, image 2 of 2
    • Pry the back casing off the device using a spudger. Work your way along the edges to completely separate the back casing from the device.

    • This step may require extra force. But too much force could break the back casing.

    • Remove the headphone jack cover when separating the back casing. The headphone jack is located on the opposite side of the antenna.

Conclusion

To reassemble your device, follow these instructions in reverse order.

Cassandra Stavros

Member since: 10/07/14

28 Reputation

2 Guides authored

Team

USF Tampa, Team 1-6, Leahy Fall 2014 Member of USF Tampa, Team 1-6, Leahy Fall 2014

USFT-LEAHY-F14S1G6

6 Members

10 Guides authored

0 Comments

Add Comment

View Statistics:

Past 24 Hours: 0

Past 7 Days: 3

Past 30 Days: 3

All Time: 46