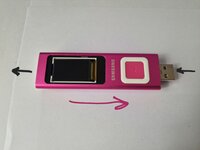
Free Shipping on Domestic Orders $75+

Samsung YP-U6 Battery Replacement

What you need

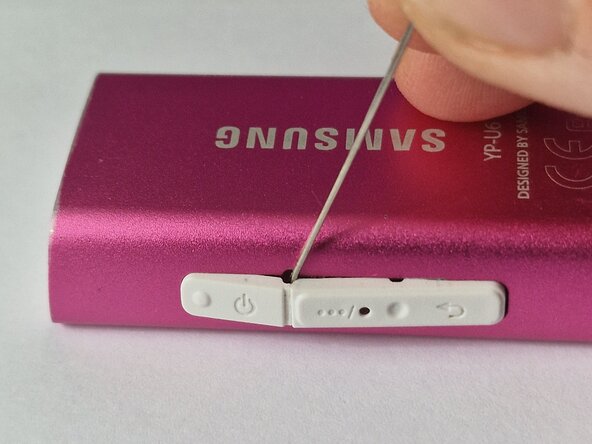
    1. Samsung YP-U6 Battery Replacement, Battery: step 1, image 1 of 3 Samsung YP-U6 Battery Replacement, Battery: step 1, image 2 of 3 Samsung YP-U6 Battery Replacement, Battery: step 1, image 3 of 3
      • Use a sewing needle to pry off the controls on the side of the U6, this will open up a small hole that will be used later.

      • The buttons are made of plastic so I'd recommend not bending them too much when prying off.

      Ask FixBot

      Add Comment

    2. Samsung YP-U6 Battery Replacement: step 2, image 1 of 3 Samsung YP-U6 Battery Replacement: step 2, image 2 of 3 Samsung YP-U6 Battery Replacement: step 2, image 3 of 3
      • Next, remove the little plastic push button on the back of the device.

      • This can also be done (probably easier) with just a fingernail, as long as you do it from where the spudger is shown in the picture, it should come off relatively easy.

      Ask FixBot

      Add Comment

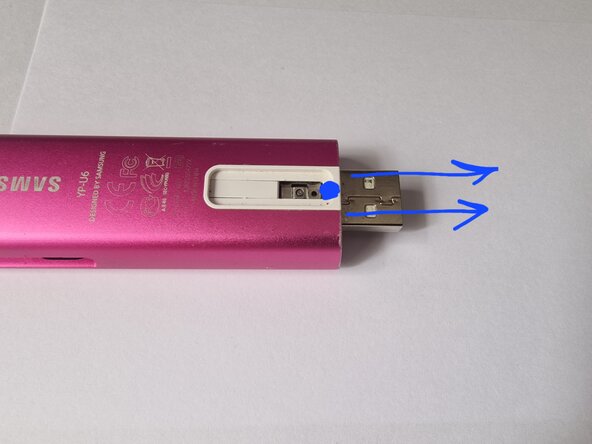
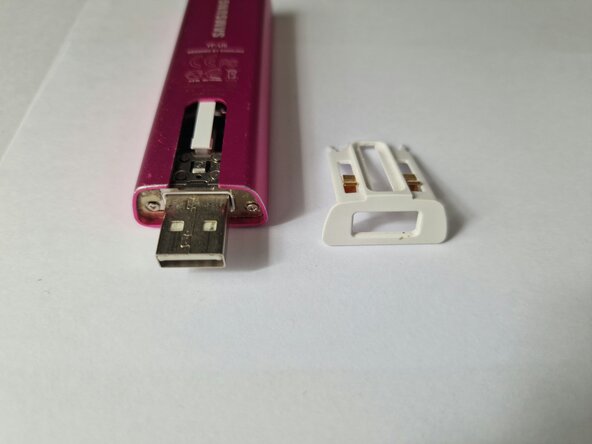
    3. Samsung YP-U6 Battery Replacement: step 3, image 1 of 3 Samsung YP-U6 Battery Replacement: step 3, image 2 of 3 Samsung YP-U6 Battery Replacement: step 3, image 3 of 3
      • The plastic that surrounds the USB connector comes off next, the easiest way I have found is to use a fingernail do pull the plastic part away from the device from the blue spot shown in the image.

      • This part is lightly adhered to the metal underneath it, so it'll come off slightly harder the first time round.

      Ask FixBot

      Add Comment

    4. Samsung YP-U6 Battery Replacement: step 4, image 1 of 2 Samsung YP-U6 Battery Replacement: step 4, image 2 of 2
      • Remove the two roughly Size 0 Phillips head screws holding in the metal plate to the chassis.

      Ask FixBot

      Add Comment

    5. Samsung YP-U6 Battery Replacement: step 5, image 1 of 3 Samsung YP-U6 Battery Replacement: step 5, image 2 of 3 Samsung YP-U6 Battery Replacement: step 5, image 3 of 3
      • Use a heat gun (or hairdryer) on low heat to loosen the adhesive of the glass screen.

      • Don't heat it TOO much as that could damage components, the adhesive is not terribly strong.

      • Use the SIM ejector tool to gently push the screen off the chassis enough to get a thin pick or opening tool under it.

      • DO NOT use only the SIM ejector tool to push the screen off as that could bend the glass too much and snap it.

      • Slice off the adhesive and pop the glass off.

      Ask FixBot

      Add Comment

    6. Samsung YP-U6 Battery Replacement: step 6, image 1 of 3 Samsung YP-U6 Battery Replacement: step 6, image 2 of 3 Samsung YP-U6 Battery Replacement: step 6, image 3 of 3
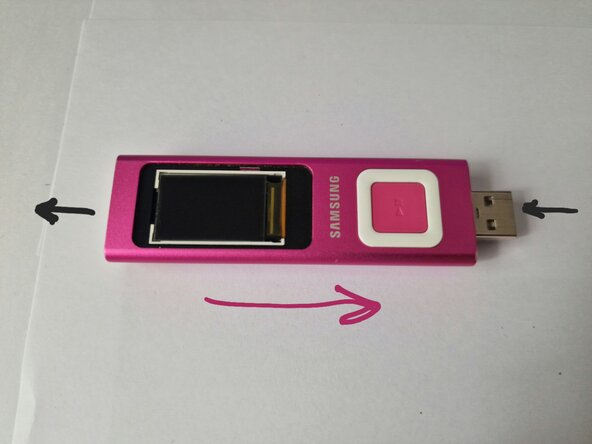
      • With the screen off, the entire assembly should push out from the top (I pushed from the USB connector as it is a metal assembly and should be strong enough).

      • There may still be some resistance from any leftover adhesive or an expanded battery, overall it should still slide relatively easily.

      • The button assembly will fall out of place, when reassembling it's useful to put them in place first and slide the assembly back in with the device button-side down so they stay in place (remember to check they're the right orientation beforehand).

      Ask FixBot

      Add Comment

    7. Samsung YP-U6 Battery Replacement: step 7, image 1 of 3 Samsung YP-U6 Battery Replacement: step 7, image 2 of 3 Samsung YP-U6 Battery Replacement: step 7, image 3 of 3
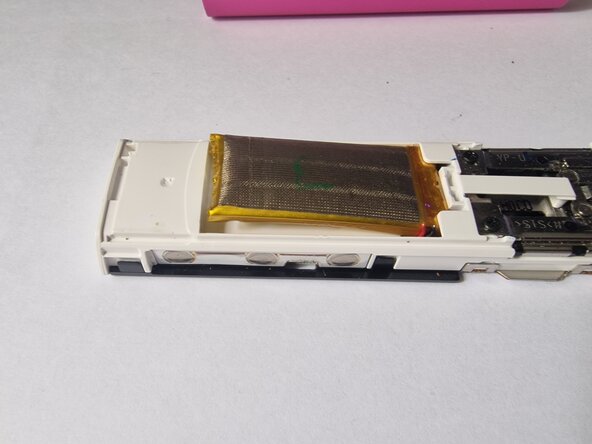
      • The battery is located on the back on the assembly and relatively easy access.

      • HOWEVER, these players are quite old and not as popular as the iPods, therefore 1:1 replacement parts are near impossible to find, so using a standard-part battery of same voltage and size is a valid strategy to revive these types of players.

      Ask FixBot

      Add Comment

    8. Samsung YP-U6 Battery Replacement: step 8, image 1 of 3 Samsung YP-U6 Battery Replacement: step 8, image 2 of 3 Samsung YP-U6 Battery Replacement: step 8, image 3 of 3
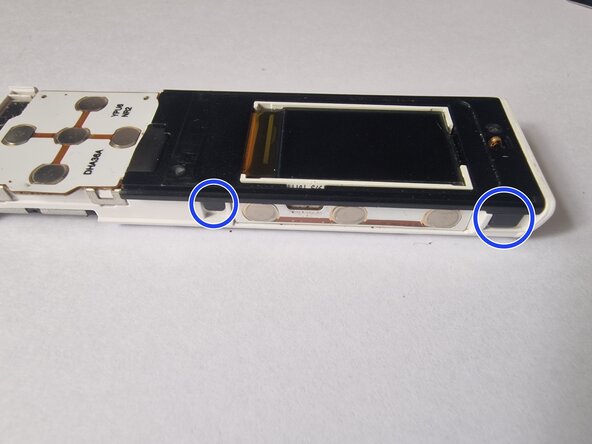
      • The connector is located on the front of the device under a plastic cover held by 4 small clips.

      • The small 90-degree connector leads around the motherboard to the back, where the battery is.

      • Unfortunately, Samsung have opted to use a very small proprietary 90-degree connector to connect the battery to the motherboard, meaning you would have to solder on a new battery to the old connector, which is very difficult considering the position of it unless you disassemble more of the device.

      Ask FixBot

      Add Comment

Conclusion

To reassemble your device, follow these instructions in reverse order.

Cancel: I did not complete this guide.

Swkzle

Member since: 08/19/26

16 Reputation

1 Guide authored

0 Guide Comments

Add Comment

View Statistics:

Past 24 Hours: 0

Past 7 Days: 4

Past 30 Days: 30

All Time: 30