Introduction
If your Samsung TL220 is rattling from the inside of the camera, use this guide to replace the battery spring and hold the camera battery in place.
The spring inside the camera is responsible for holding the battery in place. If the spring got loose or no longer supports the battery. It can cause damage to the inside of the camera.
Make sure the camera is completely turned off before starting.
What you need
-
-
Begin by unscrewing all seven 4 mm phillip's screws located on the outside of the camera.
-
Using the plastic opening tool carefully pry open the camera, lifting the back casing off.
 Ask FixBot
-
-
-
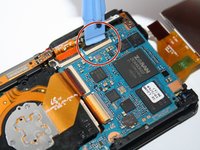
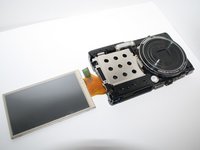
Now that you have the back casing off, gently move the LCD screen from the camera to the right and lay it facing down on the table.
-
Next unscrew the three 4 mm Philips screws on the back panel with the same screw driver.
-
-
-
Tool used on this step:Tweezers$4.99
-
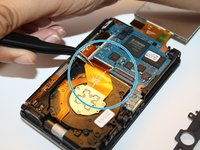
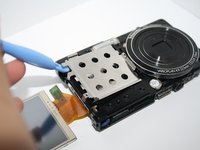
Unclip the four connectors with the plastic opening tool which holds down the orange film strips.
-
Gently with the tweezers remove the four orange film strips from the connectors.
-
-
-
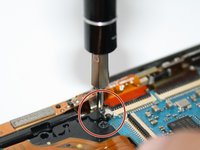
Once the orange film strips have been released from the connectors, unscrew the Phillips 4 mm silver screw which holds down the top of the camera's frame.
-
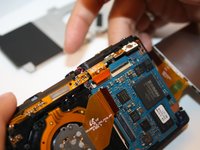
With your fingers gently push up the camera's top frame. Once the camera's top frame is off you can than gently remove the camera's front casing off, as well.
-
-
-
Flip the entire camera over so that the lenses are facing upward with the LCD screen showing to the side.
-
Now remove the silver case, seen demonstrated in the picture.
-
-
-
After all the parts are disassembled, you will reach the spring part of the camera.
-


To reassemble your device, follow these instructions in reverse order.
Cancel: I did not complete this guide.
2 other people completed this guide.
Team
