Introduction
Use this guide to replace the keyboard if the keys do not work or jam or stick when they are pressed.
What you need
-
-
Remove the battery by pushing out the locks on either end then pushing the battery away from you.
-
-
-
Using the J0 Japanese Industrial Standard screwdriver, remove the 4.5mm screw on the ODD/HDD Memory panel.
-
-
-
Using the J0 Japanese Industrial Standard screwdriver, remove the 4.5mm screw next to the label “ODD."
-
Remove the three 4.5mm screws from around the memory drive nest.
-
-
-
Using the J1 Japanese Industrial Standard screwdriver, remove the thirteen 9.5mm screws from the panel that cover the bottom of the computer.
-
-
-
Begin removing the computer casing by prying beside the disk drive with the iFixit opening tool and the spudger, working counterclockwise.
-
Lift the panel from the computer.
-
-
-
Using the J0 Japanese Industrial Standard screwdriver, remove the two 7mm screws that hold down the plug-in to the disc drive.
-
-
-
Using the J0 Japanese Industrial Standard screwdriver, remove the 3.5mm screw from the chip connected to the USB ports.
-
-
-
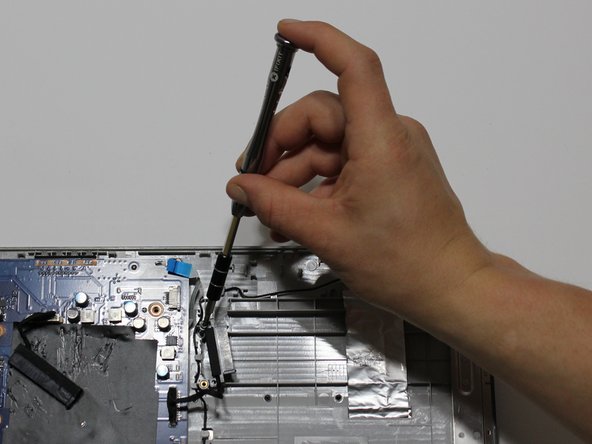
Using the J0 Japanese Industrial Standard screwdriver, remove the 4.5mm screw holding down the chip next to the power prongs where the battery connects.
-
Gently pull the chip from its connector.
-
-
-
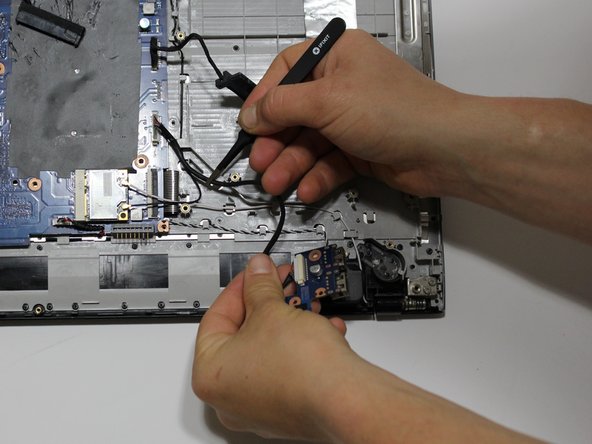
Using the blunt tweezers, unthread the wires that connect the motherboard to the speakers from their holders, without crimping the wires.
-
-
-
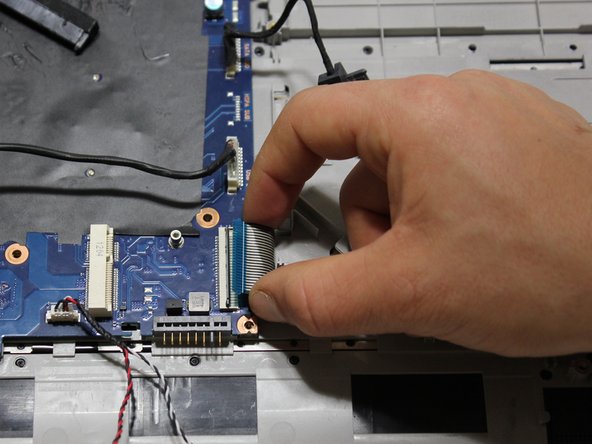
Using the iFixit opening tool, gently pry up the plastic clasp that holds the keyboard power circuit down, and pull out the strip from the connection.
-
-
-
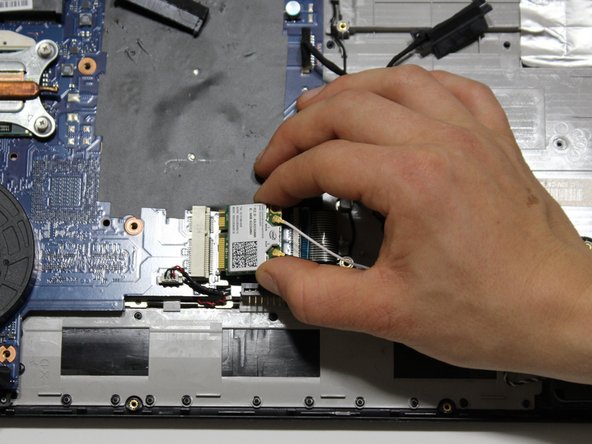
Using the J0 Japanese Industrial Standard screwdriver, remove the four 4.5mm screws from the corners of the motherboard.
-
Lift the motherboard from the computer.
-
-
-
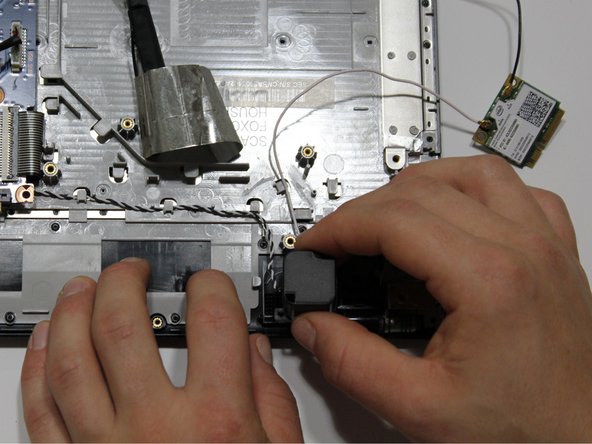
Using the J0 Japanese Industrial Standard screwdriver, remove the four 4.5mm screws on the attachments that connect the screen and keyboard (2 on each end).
-


Team

Carson-Newman University, Team S1-G1, Sobiech Spring 2019 Member of Carson-Newman University, Team S1-G1, Sobiech Spring 2019
CNU-SOBIECH-S19S1G1
5 Members
6 Guides authored