Free Shipping on Domestic Orders $75+

Samsung SGH-F480 Disassembly

What you need

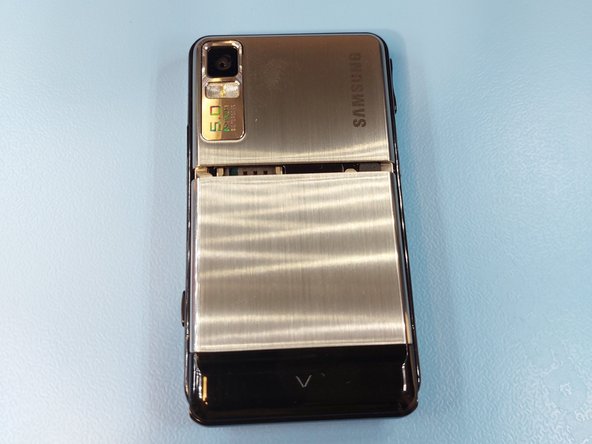
    1. Samsung SGH-F480 Disassembly, Removing the back panel: step 1, image 1 of 2 Samsung SGH-F480 Disassembly, Removing the back panel: step 1, image 2 of 2
      • Flip the device around and remove the back panel by pulling it down.

      Ask FixBot

      Add Comment

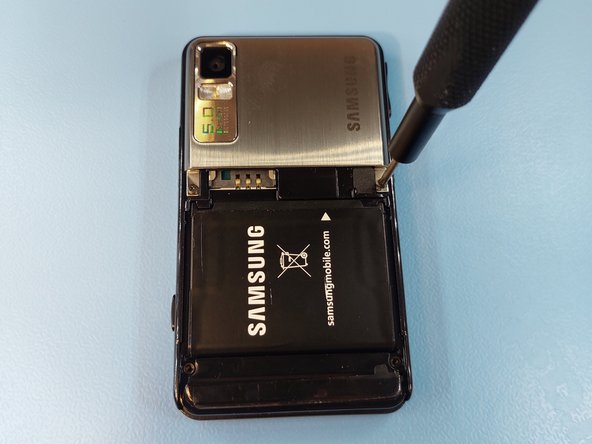
    2. Samsung SGH-F480 Disassembly: step 2, image 1 of 2 Samsung SGH-F480 Disassembly: step 2, image 2 of 2
      • Remove the four Phillips #00 screws.

      Ask FixBot

      Add Comment

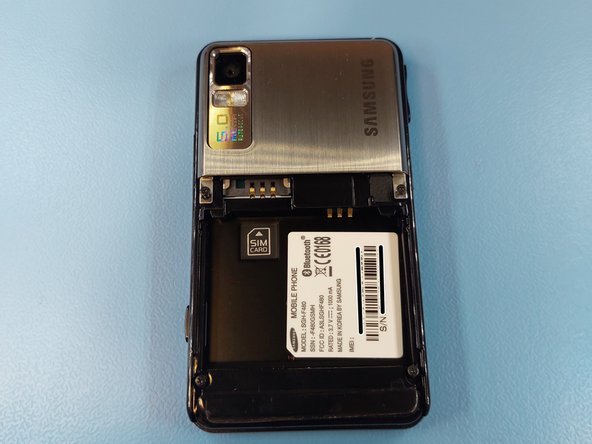
    3. Samsung SGH-F480 Disassembly, Removing the battery: step 3, image 1 of 2 Samsung SGH-F480 Disassembly, Removing the battery: step 3, image 2 of 2
      • The battery can be removed with a gentle tap on the screen.

      Ask FixBot

      Add Comment

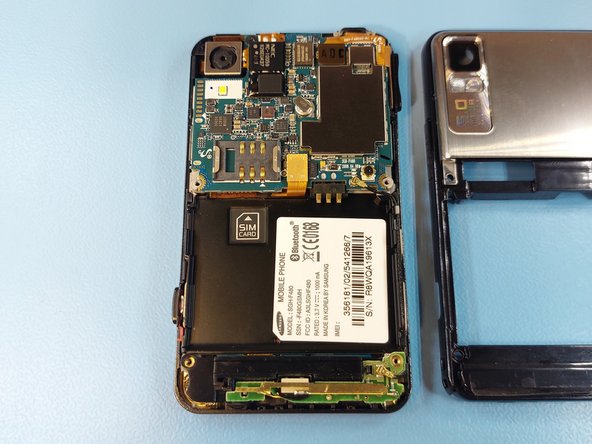
    4. Samsung SGH-F480 Disassembly: step 4, image 1 of 2 Samsung SGH-F480 Disassembly: step 4, image 2 of 2
      • Further inside can be got by separating the frames. Slide an opening pick between the frames, starting from the bottom corners.

      • Do not try to separate the frames by pulling, the plastic is fragile and will break if bent.

      Ask FixBot

      Add Comment

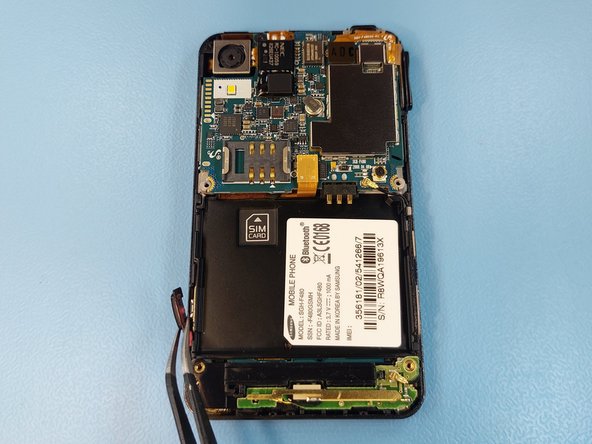
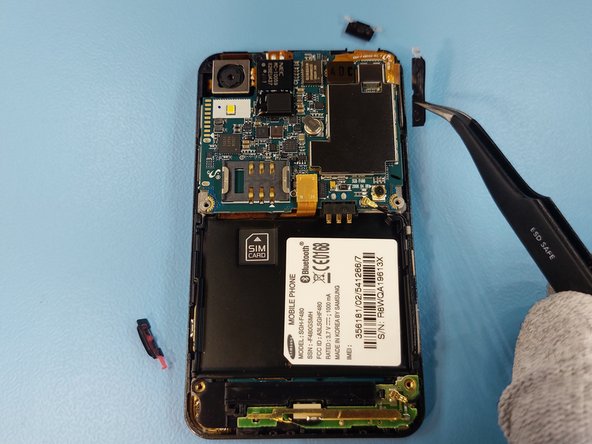
    5. Samsung SGH-F480 Disassembly: step 5, image 1 of 3 Samsung SGH-F480 Disassembly: step 5, image 2 of 3 Samsung SGH-F480 Disassembly: step 5, image 3 of 3
      • Remove all the button caps, as they may drop out later on.

      Ask FixBot

      Add Comment

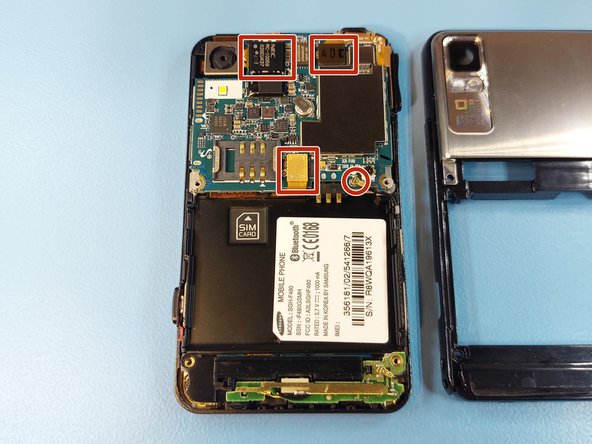
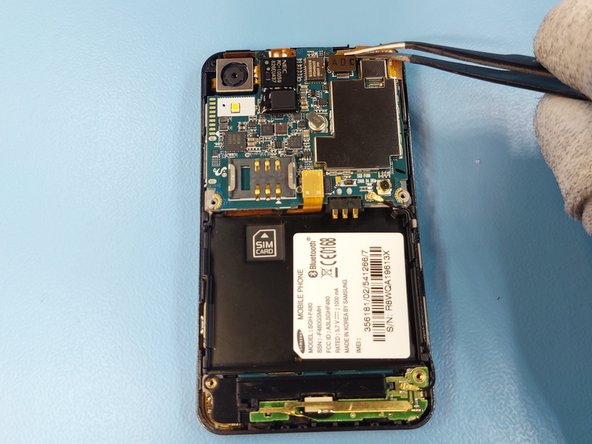
    6. Samsung SGH-F480 Disassembly: step 6, image 1 of 3 Samsung SGH-F480 Disassembly: step 6, image 2 of 3 Samsung SGH-F480 Disassembly: step 6, image 3 of 3
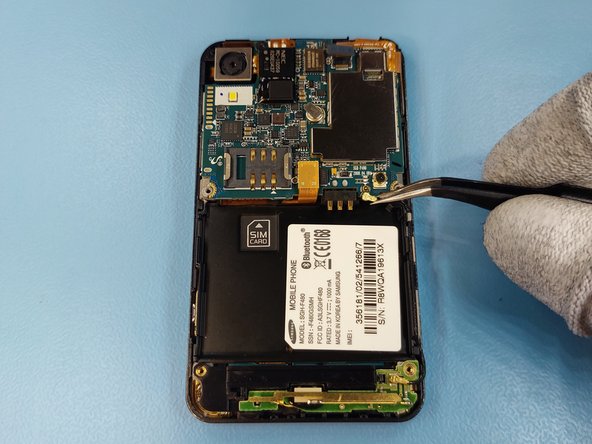
      • Disconnect all the connectors on the motherboad.

      Ask FixBot

      Add Comment

    7. Samsung SGH-F480 Disassembly: step 7, image 1 of 1
      • Remove the one Phillips #00 screw from next to the camera module.

      Ask FixBot

      Add Comment

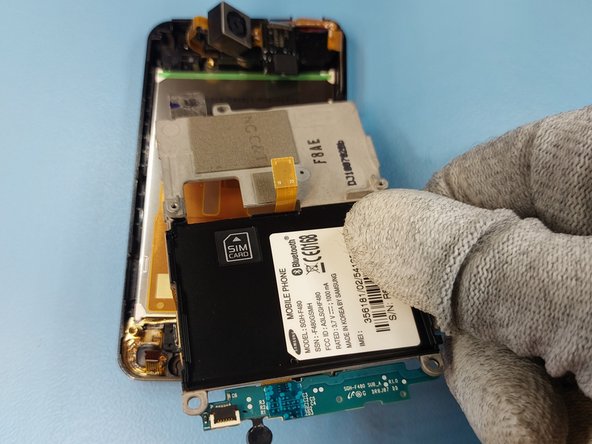
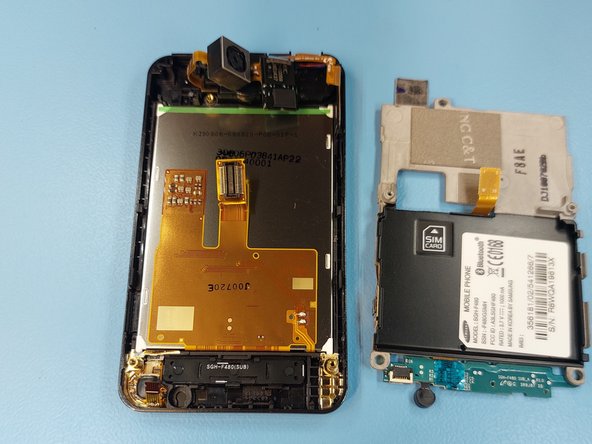
    8. Samsung SGH-F480 Disassembly, Removing the motherboard: step 8, image 1 of 2 Samsung SGH-F480 Disassembly, Removing the motherboard: step 8, image 2 of 2
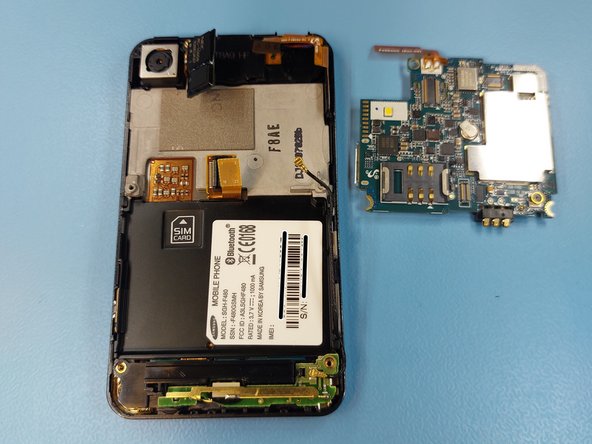
      • Remove the motherboard by lifting.

      • Be careful when removing the motherboard, as it is surrounded by fragile cables, that will rip very easily.

      Ask FixBot

      Add Comment

    9. Samsung SGH-F480 Disassembly: step 9, image 1 of 1
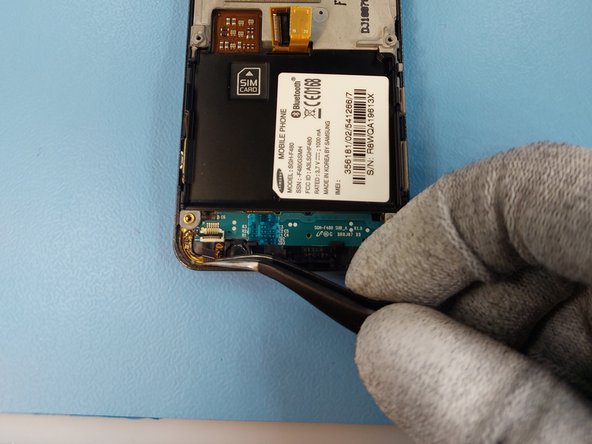
      • The component from the bottom can be removed easily by lifting as it isn't held by anything anymore.

      Ask FixBot

      Add Comment

    10. Samsung SGH-F480 Disassembly: step 10, image 1 of 2 Samsung SGH-F480 Disassembly: step 10, image 2 of 2
      • Open the connectors latch and pull the cable out of the connector.

      Ask FixBot

      Add Comment

    11. Samsung SGH-F480 Disassembly: step 11, image 1 of 2 Samsung SGH-F480 Disassembly: step 11, image 2 of 2
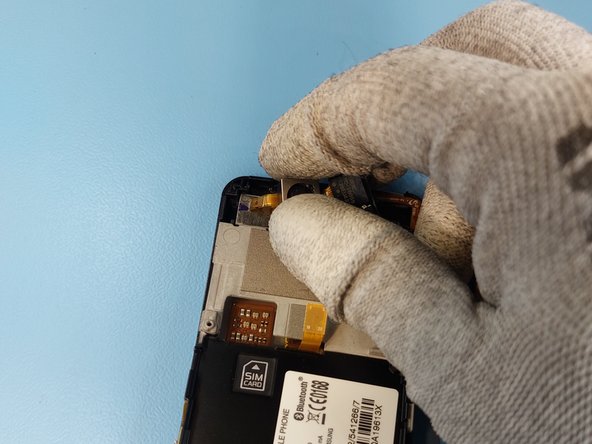
      • The camera module is installed to the frame with glue. Separate it by sliding a Jimmy tool under the module.

      Ask FixBot

      Add Comment

    12. Samsung SGH-F480 Disassembly: step 12, image 1 of 3 Samsung SGH-F480 Disassembly: step 12, image 2 of 3 Samsung SGH-F480 Disassembly: step 12, image 3 of 3
      • The frame can be separated from the screen by sliding the Jimmy tool as shown on the image.

      Ask FixBot

      Add Comment

    13. Samsung SGH-F480 Disassembly: step 13, image 1 of 1
      • Remove the menu button by lifting.

      Ask FixBot

      Add Comment

    14. Samsung SGH-F480 Disassembly: step 14, image 1 of 1
      • Remove the front earpiece by sliding the Jimmy tool between the frame and the module.

      Ask FixBot

      Add Comment

    15. Samsung SGH-F480 Disassembly, Removing the camera module: step 15, image 1 of 1
      • Lift the camera module from its socket.

      Ask FixBot

      Add Comment

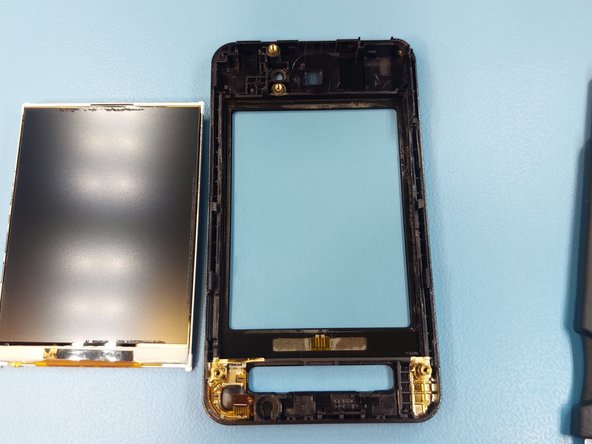
    16. Samsung SGH-F480 Disassembly, Removing the display: step 16, image 1 of 2 Samsung SGH-F480 Disassembly, Removing the display: step 16, image 2 of 2
      • The display can be removed by sliding a Jimmy tool between the frame and the display.

      • Be careful not to slide it too far as the display itself is extremely fragile.

      Ask FixBot

      Add Comment

Conclusion

To reassemble your device, follow these instructions in reverse order.

Cancel: I did not complete this guide.

One other person completed this guide.

HoPo-_

Member since: 07/07/23

726 Reputation

3 Guides authored

0 Guide Comments

Add Comment

View Statistics:

Past 24 Hours: 2

Past 7 Days: 9

Past 30 Days: 54

All Time: 853