Introduction
This guide will instruct the user how to replace the camera of the Samsung SGH-A237 cell phone. Prior experience of replacing the camera is not necessary.
What you need
-
-
-
Place the phone on a flat surface with the camera facing upwards.
-
Have a designated space to keep track of each small part.
 Ask FixBot
-
-
Tool used on this step:Tweezers$4.99
-
Open the phone.
-
Remove the two rubber soft screw covers below the viewing screen using a pair of tweezers.
-
-
-
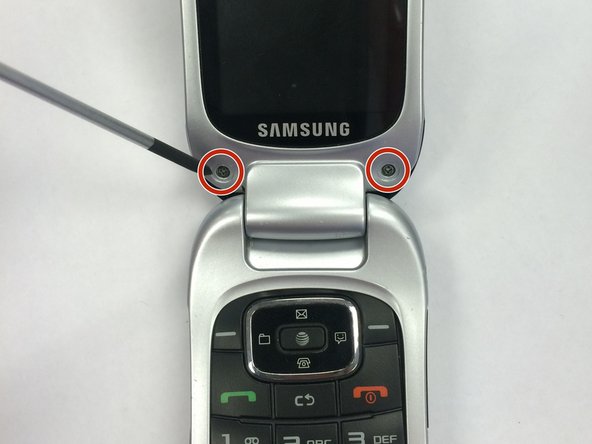
Loosen the screws under the soft screw covers using a Phillips #00 screwdriver.
-
-
-
-
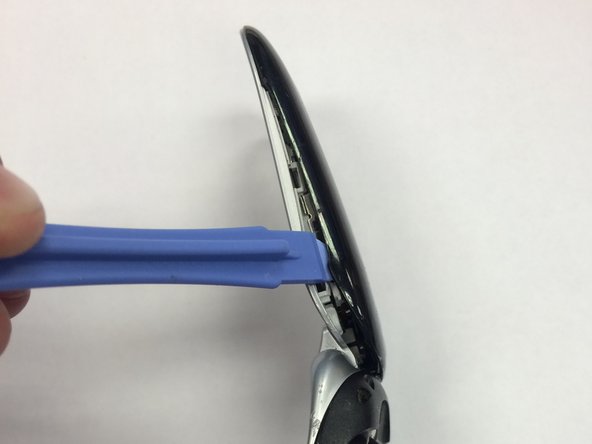
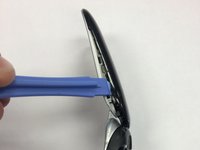
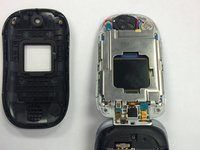
Locate the black cover plate on the back side of the viewing screen. It will show the AT&T and Samsung logos.
-
Look on the right side of the phone for the crease in between the black back cover and the front silver cover of the viewing screen.
-
Pry the cover plate off using a plastic opening tool.
-
-
-
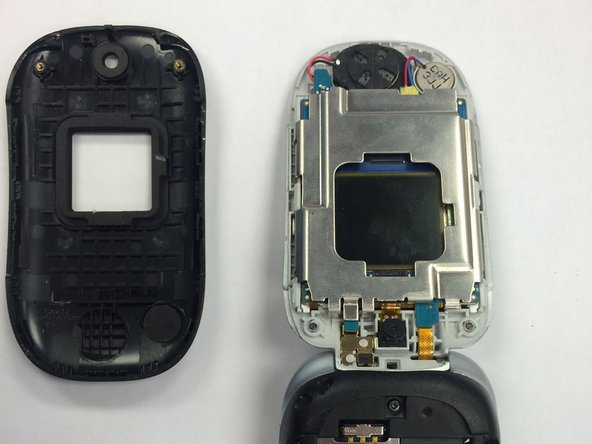
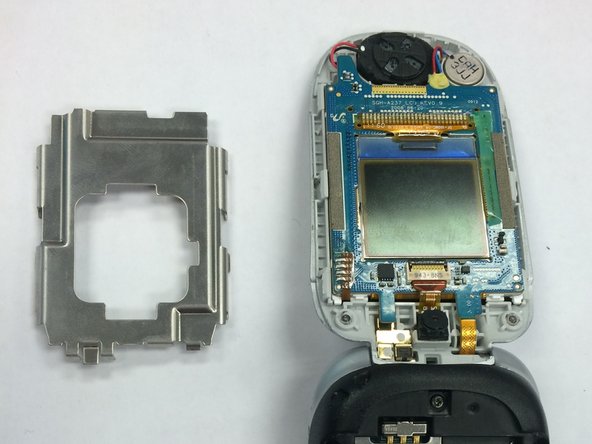
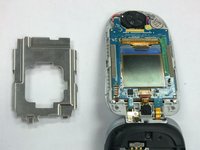
Identify the metal bracket that covers the internal body.
-
Identify the metal tabs surrounding the metal bracket mentioned in the previous step.
-
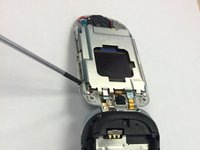
Remove the metal bracket using a small pick or a Phillips #00 screwdriver.
-
Close the phone.
-
-
-
Find the camera on the upper part of the phone. It will be displayed as a small black circle.
-
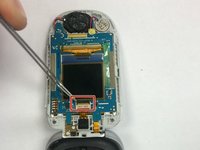
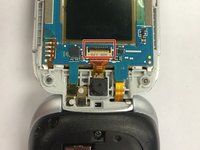
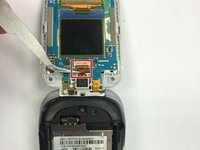
Follow the copper ribbon connected to the camera downward to the black connection port.
-
-
-
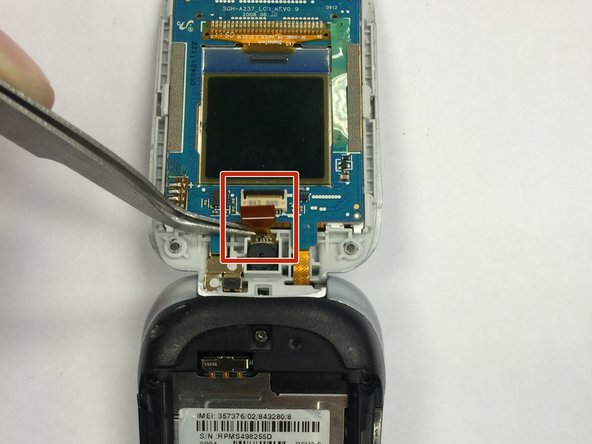
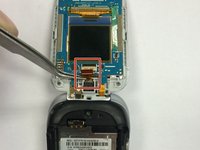
Pry up the black connector using a pick. This should lock the black connector into an upward position, which will release the copper ribbon connected to the phone's camera.
-
-
-
Gently grasp the copper ribbon attached to the camera using a pair of tweezers.
-
Gently pull copper ribbon towards the camera. This should pull the copper ribbon out completely.
-
-








To reassemble your device, follow these instructions in reverse order.

Team

Ohio State, Team 1-4, Mccook Fall 2014 Member of Ohio State, Team 1-4, Mccook Fall 2014
OSU-MCCOOK-F14S1G4
3 Members
11 Guides authored
