Introduction
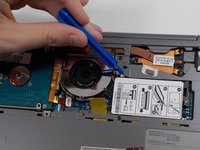
This guide covers how to replace the fan for the Samsung Series 5 NP540U3C-A02UB.
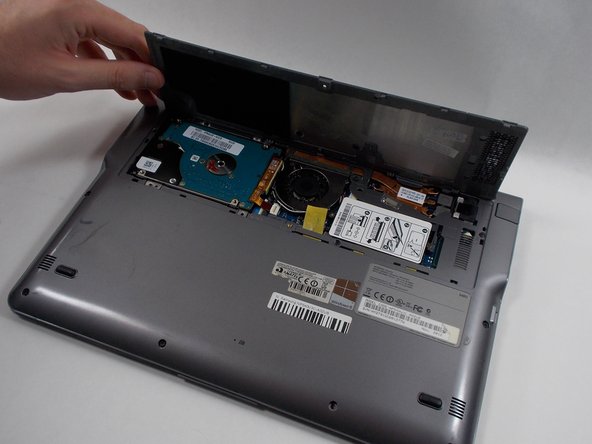
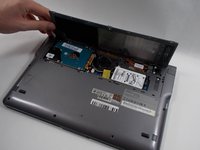
The fan provides cooling for the internal components of the laptop. After long periods of use or intensive use of the laptop, the internal components heat up. This is mitigated by removing heat from the inside of the laptop using a fan, as components may become damaged when overheated. If you believe your laptop is experiencing overheating, see our troubleshooting guide for possible causes before attempting to replace the fan.
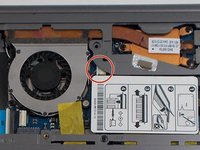
Before replacing the fan, inspect the fan for dust and debris that may be affecting the fans ability to cool the laptop. Debris can be removed from the fan using a soft cloth or cotton swabs and dust can be removed using a compressed air duster. Make sure the vents of the laptop are also clear of dust and debris to eliminate any possibilities short of a failing fan.
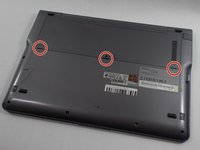
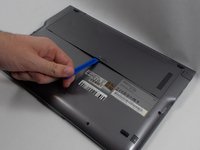
What you need


To reassemble your device, follow these instructions in reverse order.
Cancel: I did not complete this guide.
One other person completed this guide.

Team

UMass Dartmouth, Team C-1, Gurgel Spring 2022 Member of UMass Dartmouth, Team C-1, Gurgel Spring 2022
UMASSD-GURGEL-S22SCG1
4 Members
6 Guides authored