
Samsung NP-R540-JA09US Hard Drive Replacement

Conner Patterson and 2 other contributors
Last updated on Jan 3, 2019
Views: 1.5K
View statistics:
- Past 24 Hours:
- 3
- Past 7 Days:
- 29
- Past 30 Days:
- 93
- All Time:
- 1,545
Comments: 0
No one has left comments on this guide. Will you be first?
Go to guide commentsCompleted: 2 3
2 people have marked this guide "completed." Will you be next?
3 people have marked this guide "completed." Including you — great job!
Favorites: 0 1
No one has favorited (and subscribed to) this guide. Will you be the first?
1 person has favorited (and subscribed to) this guide — and that's you!
Introduction
Go to step 1 ↓Is your computer not loading filed properly or are you out of storage? Consider using this guide to replace the hard drive in your laptop.
What you need
Tools

-
-
-
Flip the device to the bottoms-up position and locate the panel that says HDD.
 Ask FixBot
-
-
-
Remove the two 3.7mm securing screws with a Phillips #0 screwdriver.
-
After removing the screws, remove the panel covering the HDD.
-
-
-
-
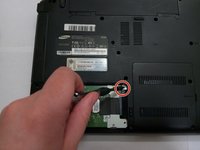
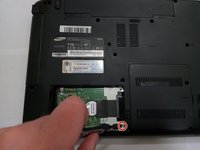
Remove the screws on the bracket and then remove the bracket by pulling up.
-
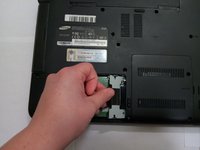
Once the bracket has been removed, slide the hard drive towards the gap in the cavity and then remove it from the device.
-
-


To reassemble your device, follow these instructions in reverse order.
Cancel: I did not complete this guide.
2 other people completed this guide.

Team

University of North Texas, Team S6-G4, Thompson Fall 2018 Member of University of North Texas, Team S6-G4, Thompson Fall 2018
UNT-THOMPSON-F18S6G4
4 Members
72 Guides authored
