Introduction
This guide will provide the necessary steps to remove the fan. It will involve unplugging cables from the motherboard that can be easily damaged. Make sure to be gentle when removing connections from the motherboard.
What you need
-
-
Turn off the computer.
-
Disconnect the charging cable from the laptop.
-
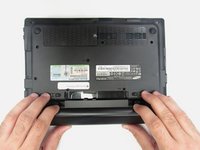
Flip the laptop upside down with the front face down on a flat surface.
 Ask FixBot
-
-
-
While holding the left and right hand switches in the "unlocked" position, push the battery away from the computer.
-
-
-
Using the Phillip's 00 screwdriver, unscrew the fourteen 7mm screws until the back panel comes loose.
-
-
-
-
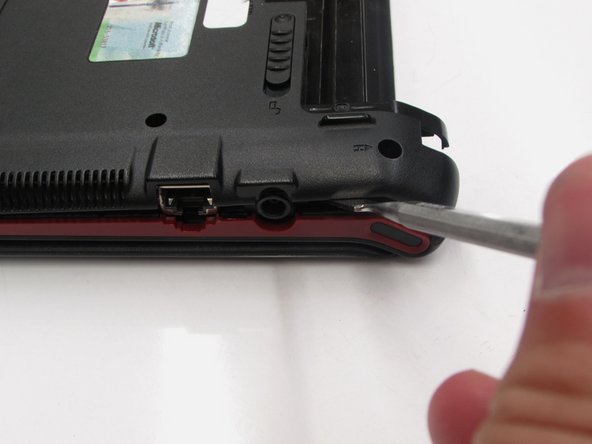
Using either the blue plastic opening tools or spudger tool, wedge one in between the back panel and the laptop.
-
Apply pressure upwards till the back panel pops off.
-
-
-
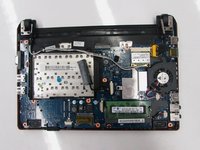
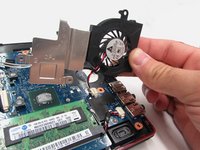
The computer should be open with the motherboard exposed and internal components exposed. You should now be able to access the Fan and RAM. There are more necessary steps to follow before accessing the screen and keyboard.
-
-
-
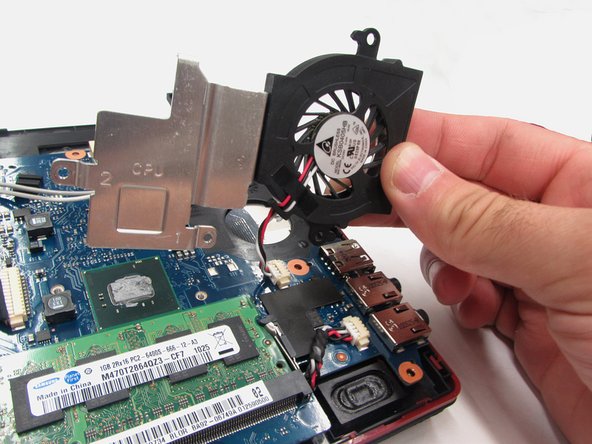
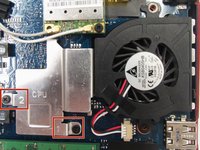
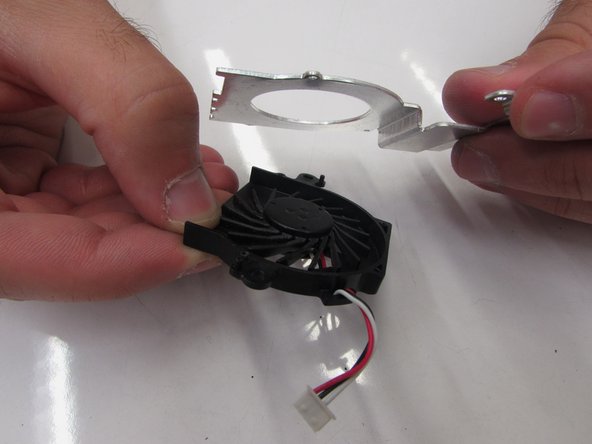
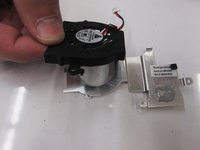
Use the phillips #00 screwdriver, to unscrew the two 5mm mounting screws labeled 1 & 2 on the right and left hand side of the metal casing labeled CPU.
-
-
-
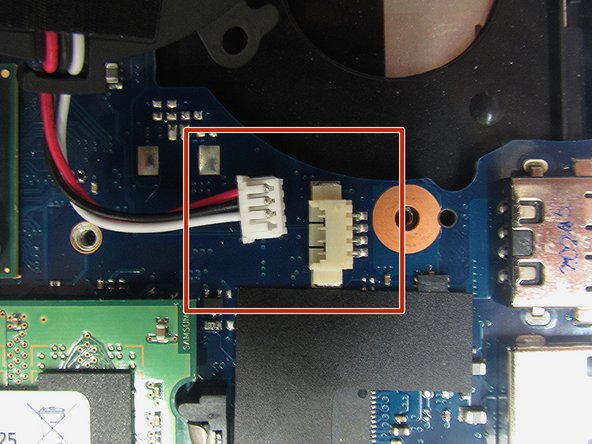
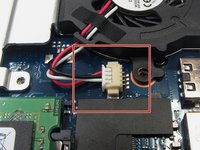
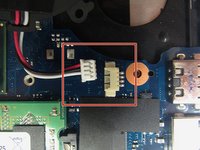
Unplug the the wires from the white connector attached to the motherboard, by pulling the wires toward you.
-


To reassemble your device, follow these instructions in reverse order.
Cancel: I did not complete this guide.
One other person completed this guide.

Team

Eastern Washington University, Team 2-3, Andersen Spring 2016 Member of Eastern Washington University, Team 2-3, Andersen Spring 2016
EWU-ANDERSEN-S16S2G3
5 Members
6 Guides authored