
Samsung Galaxy Y LCD Display Replacement

What you need

  1. Samsung Galaxy Y LCD Display Replacement, Back Panel: step 1, image 1 of 3 Samsung Galaxy Y LCD Display Replacement, Back Panel: step 1, image 2 of 3 Samsung Galaxy Y LCD Display Replacement, Back Panel: step 1, image 3 of 3
    • Use the blue plastic opening tool to pry the back-panel off of the device.

  2. Samsung Galaxy Y LCD Display Replacement, LCD Display: step 2, image 1 of 3 Samsung Galaxy Y LCD Display Replacement, LCD Display: step 2, image 2 of 3 Samsung Galaxy Y LCD Display Replacement, LCD Display: step 2, image 3 of 3
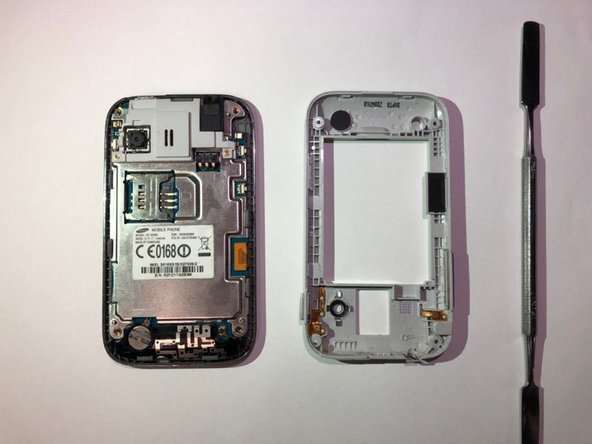
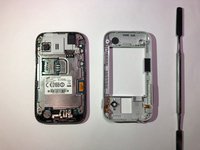
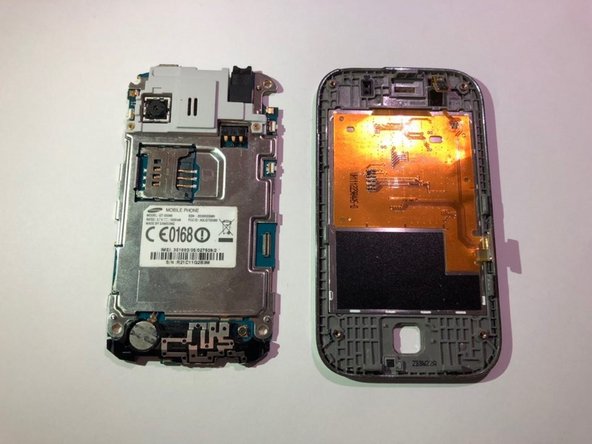
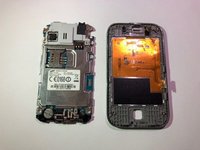
    • Use a Phillips #000 screwdriver to remove the four 5mm screws located in the corner of the interior back panel.

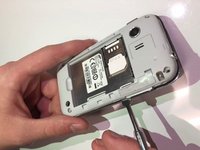
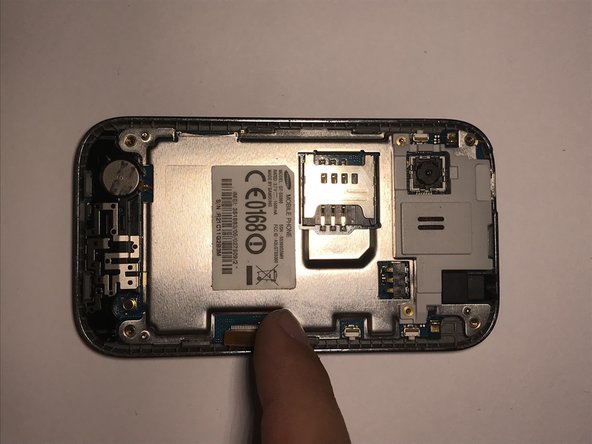
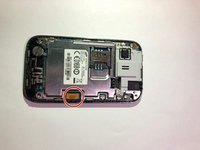
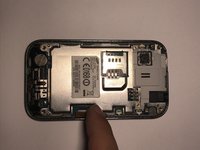
    • Remove the SD card as well by sliding the card out of it's slot.
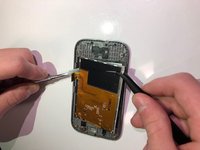
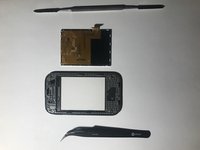
  3. Samsung Galaxy Y LCD Display Replacement: step 3, image 1 of 2 Samsung Galaxy Y LCD Display Replacement: step 3, image 2 of 2
    • Use the metal pry tool to separate the interior back panel from the interior hardware and screen.

  4. Samsung Galaxy Y LCD Display Replacement: step 4, image 1 of 3 Samsung Galaxy Y LCD Display Replacement: step 4, image 2 of 3 Samsung Galaxy Y LCD Display Replacement: step 4, image 3 of 3
    • Disconnect the orange motherboard connection, then remove the interior hardware from the front screen display.

  5. Samsung Galaxy Y LCD Display Replacement: step 5, image 1 of 2 Samsung Galaxy Y LCD Display Replacement: step 5, image 2 of 2
    • Gently remove the LCD screen lens from the outer screen using a pair of tweezers and the metal pry tool. Replace the faulty LCD.

    • The LCD maybe be glued in place, so the device might need to be heated to remove the part.

Conclusion

To reassemble your device, follow these instructions in reverse order.

0 Comments

Add Comment

View Statistics:

Past 24 Hours: 1

Past 7 Days: 3

Past 30 Days: 9

All Time: 544