Introduction
The phones motherboard is the hub of all activity on the phone. It is a very important component, and is essential for the phone to operate.
What you need
-
-
-
Power down your device and make sure that it is turned off.
-
Place the phone with the screen facing down on a clean flat surface.
 Ask FixBot
-
-
-
Use your Supdger to remove the back cover of the phone using notch located in the top left corner of the phone.
-
Remove battery by using your Supdger on the notch located directly underneath battery location.
-
-
-
-
-
Remove the SIM Card from the SIM Card holder by gently sliding the SIM Card horizontally.
-
Remove the stylus from the stylus holder.
-
-
-
-
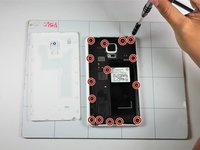
Using a Phillips #000 Screwdriver, remove the fifteen 4mm screws that secure the rear chassis.
-
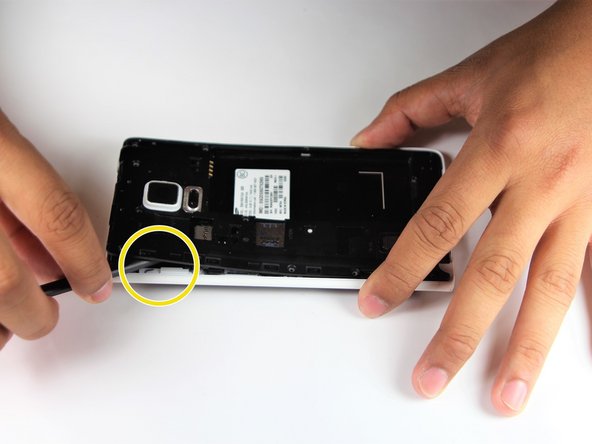
Insert your spudger into the stylus socket and pry the midframe from the phone.
-
Move the spudger around edge of phone, carefully prying the midframe from the phone until midframe is entirely separated.
-
-
-
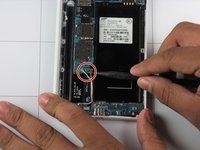
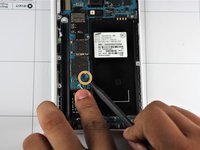
With the pointed end of your spudger, disconnect the two wires (pink and white) located near the bottom of the phone.
-
Using pointed end of your dpudger, disconnect the finger print scanner cable- it is located directly above the pink and white cables.
-
-
-
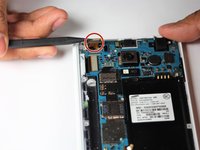
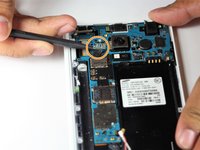
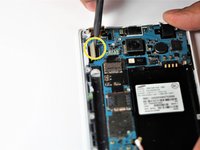
Using your Spudger's pointed end, pry off the following leads that connect these parts to the logic board in the top left hand corner:
-
Front Facing Camera
-
AMOLED Display Screen
-
AMOLED Capacitive Screen
-
-
-
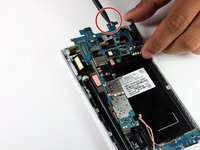
At the top end, gently insert pointed end of spudger underneath the motherboard.
-
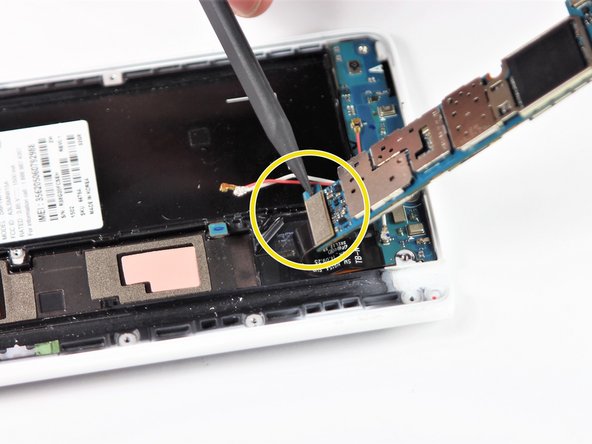
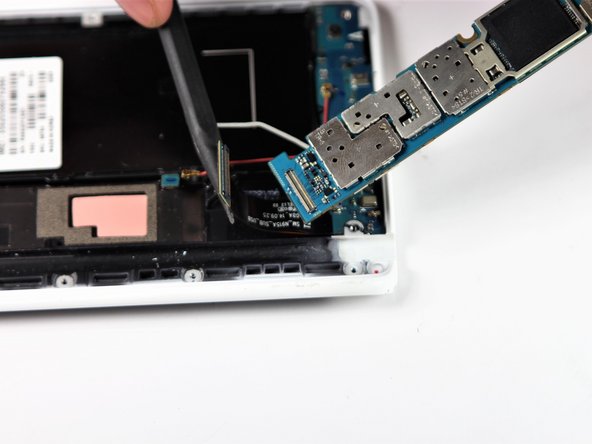
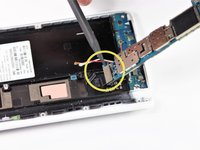
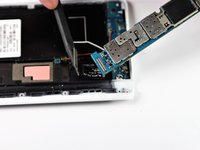
Lift the motherboard up gently. Disconnect the cable connecting the daughter board. It is attached to the underside of the motherboard.
-
Remove the motherboard from the device.
-
-







To reassemble your device, follow these instructions in reverse order.
Cancel: I did not complete this guide.
4 other people completed this guide.

Team

Cal Poly, Team S22-G6, Maness Spring 2018 Member of Cal Poly, Team S22-G6, Maness Spring 2018
CPSU-MANESS-S18S22G6
4 Members
60 Guides authored
