Free Shipping on Domestic Orders $75+

Samsung Galaxy Note Display Assembly Replacement

What you need

  1. Samsung Galaxy Note Display Assembly Replacement, Stylus: step 1, image 1 of 2 Samsung Galaxy Note Display Assembly Replacement, Stylus: step 1, image 2 of 2
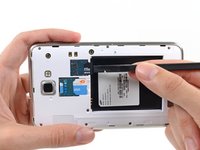
    • Grasp the cap of the stylus and remove it from its slot in the midframe.

    Ask FixBot
  2. Samsung Galaxy Note Display Assembly Replacement, Rear Case: step 2, image 1 of 2 Samsung Galaxy Note Display Assembly Replacement, Rear Case: step 2, image 2 of 2
    • Pry with a plastic opening tool, or your fingernail, in the divot to the right of the rear-facing camera, near the volume rocker.

    Ask FixBot
  3. Samsung Galaxy Note Display Assembly Replacement: step 3, image 1 of 2 Samsung Galaxy Note Display Assembly Replacement: step 3, image 2 of 2
    • Lift and remove the rear case from the phone.

    Ask FixBot
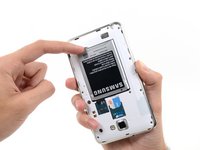
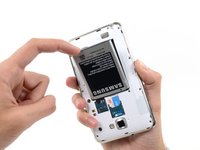
  4. Samsung Galaxy Note Display Assembly Replacement, Battery: step 4, image 1 of 2 Samsung Galaxy Note Display Assembly Replacement, Battery: step 4, image 2 of 2
    • Insert your finger in the notch of the battery compartment.

    • Press the battery toward the rear facing camera while pulling outward.

    Ask FixBot
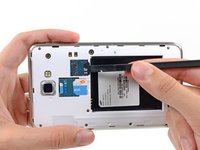
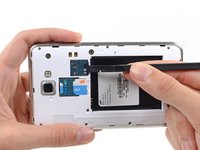
  5. Samsung Galaxy Note Display Assembly Replacement, MicroSD Card: step 5, image 1 of 3 Samsung Galaxy Note Display Assembly Replacement, MicroSD Card: step 5, image 2 of 3 Samsung Galaxy Note Display Assembly Replacement, MicroSD Card: step 5, image 3 of 3
    • Use the flat end of a spudger, or your fingernail, to press the microSD card slightly deeper into its slot until you hear a click.

    • After the click, release the card and it will pop out of its slot.

    • For reassembly, push the microSD card into the slot until it clicks in place.

    Ask FixBot
  6. Samsung Galaxy Note Display Assembly Replacement: step 6, image 1 of 1
    • Remove the microSD card from its slot in the midframe.

    Ask FixBot
  7. Samsung Galaxy Note Display Assembly Replacement, SIM Card: step 7, image 1 of 2 Samsung Galaxy Note Display Assembly Replacement, SIM Card: step 7, image 2 of 2
    • Use a plastic opening tool, or your fingernail, to push the SIM card out of its compartment.

    Ask FixBot
  8. Samsung Galaxy Note Display Assembly Replacement: step 8, image 1 of 2 Samsung Galaxy Note Display Assembly Replacement: step 8, image 2 of 2
    • Slide the SIM card out the rest of the way with your thumb and remove it from the device.

    Ask FixBot
  9. Samsung Galaxy Note Display Assembly Replacement, Midframe: step 9, image 1 of 1
    • Remove the nine 3.4 mm Phillips #00 screws securing the midframe to the display assembly.

    Ask FixBot
  10. Samsung Galaxy Note Display Assembly Replacement: step 10, image 1 of 2 Samsung Galaxy Note Display Assembly Replacement: step 10, image 2 of 2
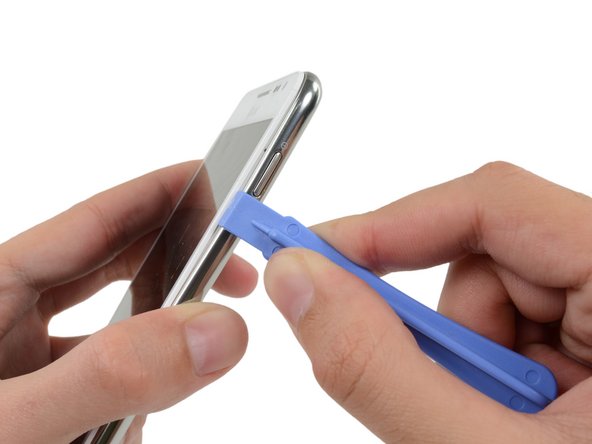
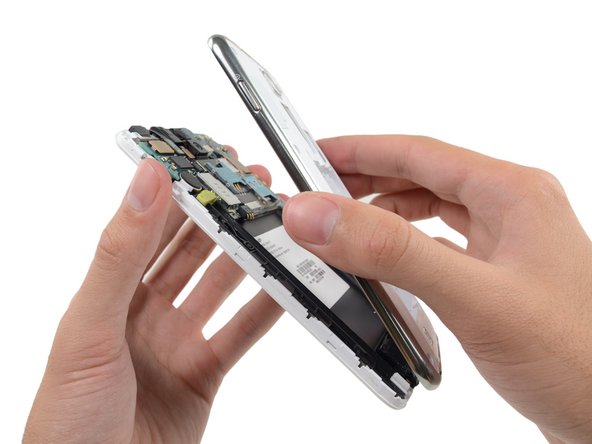
    • Insert your plastic opening tool to the left of the power button between the midframe and the front panel assembly and pry.

    Ask FixBot
  11. Samsung Galaxy Note Display Assembly Replacement: step 11, image 1 of 3 Samsung Galaxy Note Display Assembly Replacement: step 11, image 2 of 3 Samsung Galaxy Note Display Assembly Replacement: step 11, image 3 of 3
    • Slide the plastic opening tool down the seam.

    Ask FixBot
  12. Samsung Galaxy Note Display Assembly Replacement: step 12, image 1 of 3 Samsung Galaxy Note Display Assembly Replacement: step 12, image 2 of 3 Samsung Galaxy Note Display Assembly Replacement: step 12, image 3 of 3
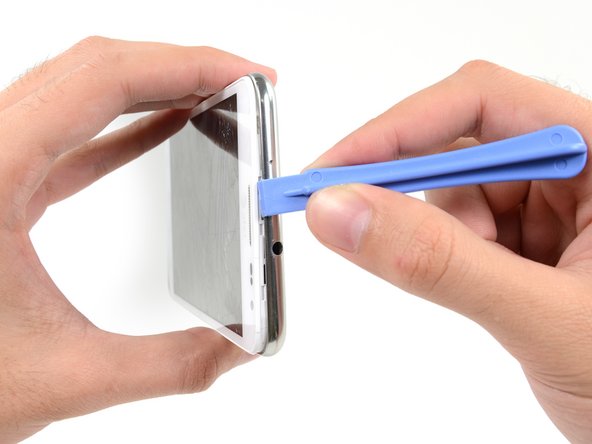
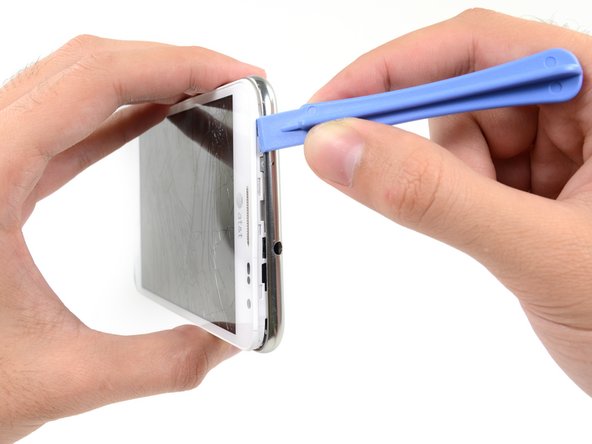
    • Insert your plastic opening tool to the left of the headphone jack between the midframe and the display assembly.

    • Slide the opening tool along the top edge of the phone.

    • Continue to run the plastic opening tool around the perimeter of the phone until the midframe is separated.

    Ask FixBot
  13. Samsung Galaxy Note Display Assembly Replacement: step 13, image 1 of 2 Samsung Galaxy Note Display Assembly Replacement: step 13, image 2 of 2
    • Remove the midframe from the display assembly.

    Ask FixBot
  14. Samsung Galaxy Note Display Assembly Replacement, Motherboard Assembly: step 14, image 1 of 2 Samsung Galaxy Note Display Assembly Replacement, Motherboard Assembly: step 14, image 2 of 2
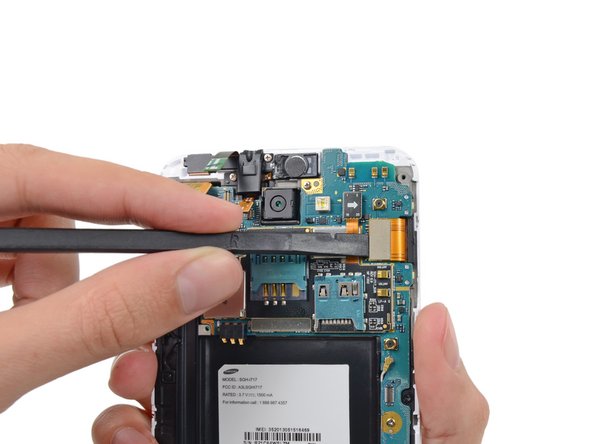
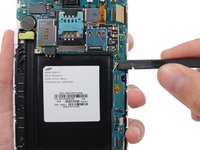
    • Use the flat end of a spudger to carefully disconnect the display cable connector.

    Ask FixBot
  15. Samsung Galaxy Note Display Assembly Replacement: step 15, image 1 of 3 Samsung Galaxy Note Display Assembly Replacement: step 15, image 2 of 3 Samsung Galaxy Note Display Assembly Replacement: step 15, image 3 of 3
    • Use a spudger to disconnect the front-facing camera assembly cable connector.

    • Disconnect the headphone jack/earpiece speaker assembly cable connector.

    • Disconnect the digitizer cable connector.

    Ask FixBot
  16. Samsung Galaxy Note Display Assembly Replacement: step 16, image 1 of 3 Samsung Galaxy Note Display Assembly Replacement: step 16, image 2 of 3 Samsung Galaxy Note Display Assembly Replacement: step 16, image 3 of 3
    • Disconnect the soft button cable connector with the flat end of a spudger.

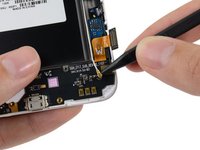
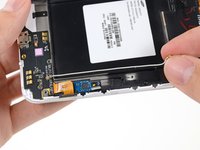
    • Use a spudger to disconnect the USB board cable connector.

    • Disconnect the antenna cable connector.

    Ask FixBot
  17. Samsung Galaxy Note Display Assembly Replacement: step 17, image 1 of 1
    • Remove the two 3.4 mm Phillips #00 screws securing the motherboard to the display assembly.

    Ask FixBot
  18. Samsung Galaxy Note Display Assembly Replacement: step 18, image 1 of 2 Samsung Galaxy Note Display Assembly Replacement: step 18, image 2 of 2
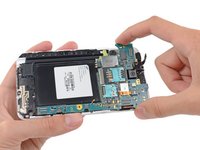
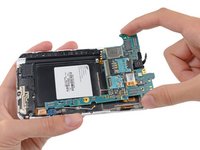
    • Remove the motherboard assembly from the display assembly.

    Ask FixBot
  19. Samsung Galaxy Note Display Assembly Replacement, Display Assembly: step 19, image 1 of 1
    • Remove the two 3 mm Phillips #00 screws securing the upper display assembly bracket.

    Ask FixBot
  20. Samsung Galaxy Note Display Assembly Replacement: step 20, image 1 of 2 Samsung Galaxy Note Display Assembly Replacement: step 20, image 2 of 2
    Tool used on this step:
    Tweezers
    $4.99
    Buy
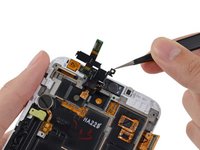
    • Use a pair of tweezers, or your fingers, to remove the upper display assembly bracket.

    Ask FixBot
  21. Samsung Galaxy Note Display Assembly Replacement: step 21, image 1 of 1
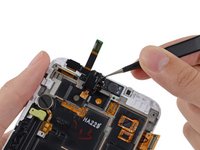
    • Using tweezers, or your fingers, remove the front-facing camera assembly.

    Ask FixBot
  22. Samsung Galaxy Note Display Assembly Replacement: step 22, image 1 of 2 Samsung Galaxy Note Display Assembly Replacement: step 22, image 2 of 2
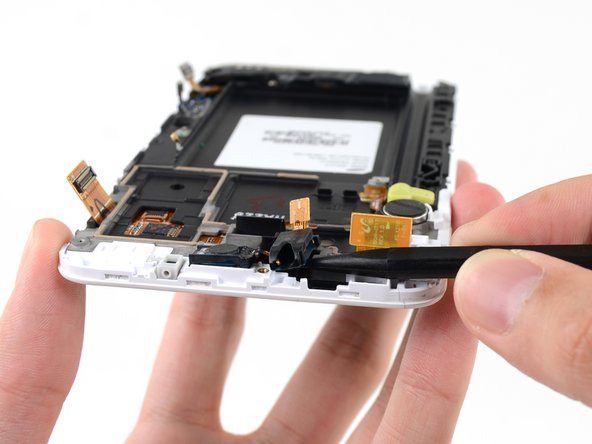
    • Use the tip of a spudger to pry the headphone jack/earpiece speaker assembly out of its recess in the display assembly.

    Ask FixBot
  23. Samsung Galaxy Note Display Assembly Replacement: step 23, image 1 of 1
    • Use tweezers, or your fingers, to remove the headphone jack/earpiece speaker assembly.

    Ask FixBot
  24. Samsung Galaxy Note Display Assembly Replacement: step 24, image 1 of 1
    • Remove the three 3 mm Phillips #00 screws securing the speaker enclosure to the front panel assembly.

    Ask FixBot
  25. Samsung Galaxy Note Display Assembly Replacement: step 25, image 1 of 1
    • Lift the speaker enclosure from the display assembly.

    Ask FixBot
  26. Samsung Galaxy Note Display Assembly Replacement: step 26, image 1 of 2 Samsung Galaxy Note Display Assembly Replacement: step 26, image 2 of 2
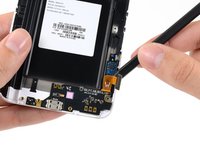
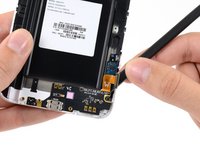
    • Use the tip of a spudger to disconnect the antenna cable connector from the USB board.

    • Remove the antenna cable.

    Ask FixBot
  27. Samsung Galaxy Note Display Assembly Replacement: step 27, image 1 of 3 Samsung Galaxy Note Display Assembly Replacement: step 27, image 2 of 3 Samsung Galaxy Note Display Assembly Replacement: step 27, image 3 of 3
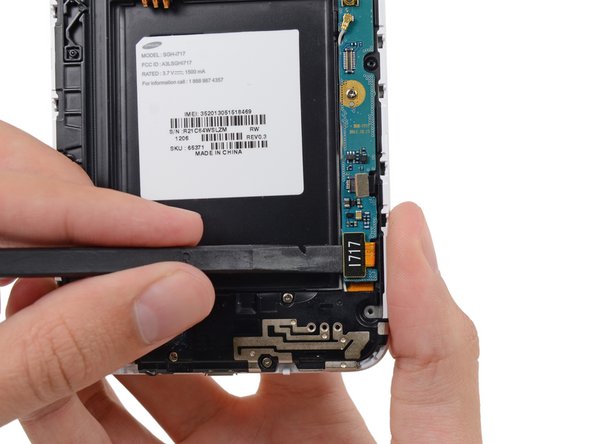
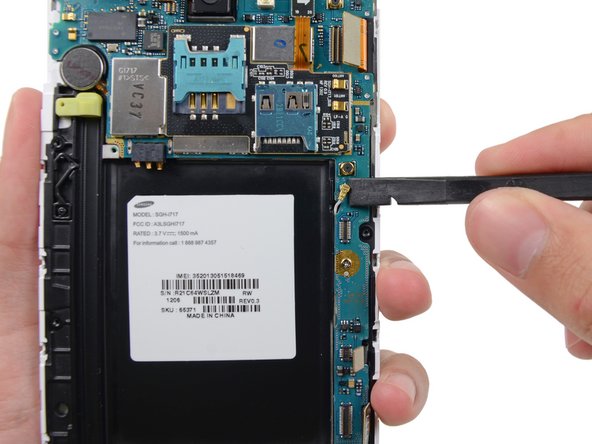
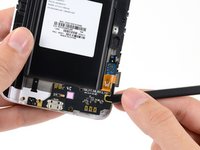
    • Push the flat end of a spudger under the USB board to separate it from the display assembly.

    • Insert the spudger at a shallow angle to avoid bending or damaging the USB board.

    Ask FixBot
  28. Samsung Galaxy Note Display Assembly Replacement: step 28, image 1 of 1
    • Remove the USB board.

    Ask FixBot
  29. Samsung Galaxy Note Display Assembly Replacement: step 29, image 1 of 3 Samsung Galaxy Note Display Assembly Replacement: step 29, image 2 of 3 Samsung Galaxy Note Display Assembly Replacement: step 29, image 3 of 3
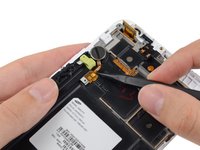
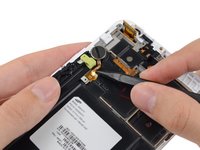
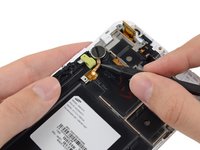
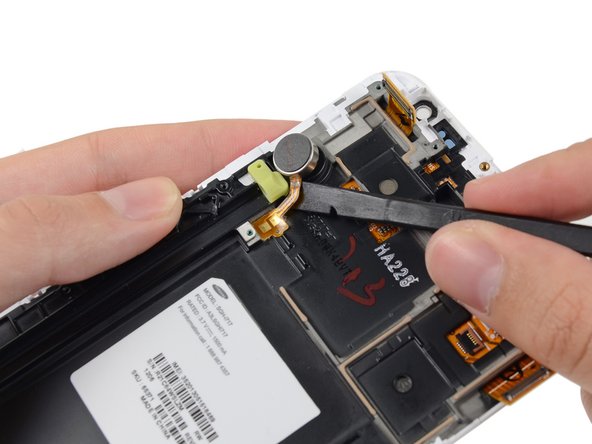
    • Insert the tip of a spudger under the vibrator connector cable near the contacts then slide toward the vibrator itself.

    Ask FixBot
  30. Samsung Galaxy Note Display Assembly Replacement: step 30, image 1 of 2 Samsung Galaxy Note Display Assembly Replacement: step 30, image 2 of 2
    • Insert the flat end of a spudger under the vibrator connector cable, and pry it up from the adhesive.

    Ask FixBot
  31. Samsung Galaxy Note Display Assembly Replacement: step 31, image 1 of 1
    • Remove the vibrator from the display assembly.

    Ask FixBot
Conclusion

To reassemble your device, follow these instructions in reverse order.

43 other people completed this guide.

Sam Goldheart

Member since: 10/18/12

477,284 Reputation

538 Guides authored

Team

iFixit Member of iFixit

Staff

123 Members

25,721 Guides authored

6 Guide Comments

étape 31 ensuite ??

Fabrice - Reply Share

Fantastic !!

omarkhurshid - Reply Share

i have a galaxy not and its display is badly broken,at the top of the phone(front side),the display is broken so badly that i am able to a little circuit i.e. a brown color wire which is connected to the display.

so my ques. is that can the phone work after repairing or it has gone?

Abhishek Kumbhar - Reply Share

Hello Abhishek Kumbhar, if the motherboard is not damaged it's all fine. All other parts are replaceable

Georg Fischer - Reply Share

excellent photos

of samsung 717

murali maroju - Reply Share

Add Comment

View Statistics:

Past 24 Hours: 0

Past 7 Days: 8

Past 30 Days: 80

All Time: 45,094