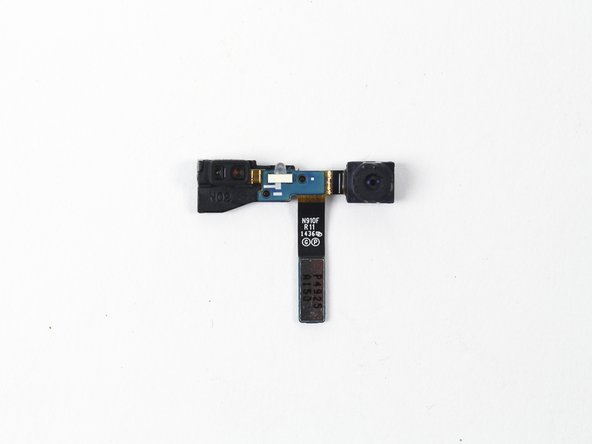
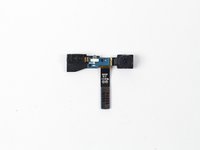
Samsung Galaxy Note 4 Front Facing Camera Replacement

What you need

  1. Samsung Galaxy Note 4 Front Facing Camera Replacement, Rear Case: step 1, image 1 of 2 Samsung Galaxy Note 4 Front Facing Camera Replacement, Rear Case: step 1, image 2 of 2
    • Insert a fingernail or plastic opening tool into the divot to the left of the rear-facing camera.

    • Gently pry and twist the flexible rear cover off the back of the phone.

  2. Samsung Galaxy Note 4 Front Facing Camera Replacement, Battery: step 2, image 1 of 1
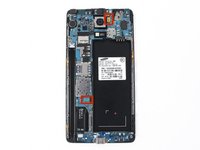
    • Insert a fingernail or plastic opening tool into the recess in the bottom right corner of the battery and lift upward.

    • Remove the battery.

  3. Samsung Galaxy Note 4 Front Facing Camera Replacement, SIM Card: step 3, image 1 of 2 Samsung Galaxy Note 4 Front Facing Camera Replacement, SIM Card: step 3, image 2 of 2
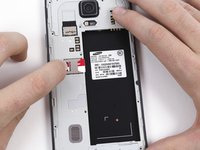
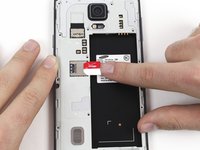
    • Remove the SIM card by first pushing the card slightly out of its housing, then pulling it the rest of the way.

  4. Samsung Galaxy Note 4 Front Facing Camera Replacement, Midframe: step 4, image 1 of 1
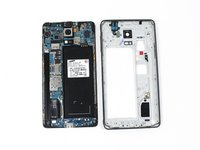
    • Remove the sixteen 4.0 mm Phillips #00 screws securing the midframe to the display assembly.

    • Grasp the cap of the S Pen and remove it from its slot in the midframe.

  5. Samsung Galaxy Note 4 Front Facing Camera Replacement: step 5, image 1 of 3 Samsung Galaxy Note 4 Front Facing Camera Replacement: step 5, image 2 of 3 Samsung Galaxy Note 4 Front Facing Camera Replacement: step 5, image 3 of 3
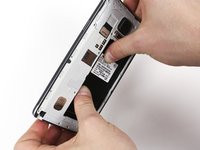
    • Insert a plastic opening tool between the midframe and the display assembly.

    • Work the plastic opening tool around the perimeter of the phone to break the adhesive.

    • This adhesive is relatively weak, so no heat gun should be necessary.

    • Be careful to not separate the front glass panel from the rest of the display assembly, as it is still held together with adhesive.

  6. Samsung Galaxy Note 4 Front Facing Camera Replacement: step 6, image 1 of 1
    • Use a plastic opening tool to loosen the clasps around the battery housing.

  7. Samsung Galaxy Note 4 Front Facing Camera Replacement: step 7, image 1 of 3 Samsung Galaxy Note 4 Front Facing Camera Replacement: step 7, image 2 of 3 Samsung Galaxy Note 4 Front Facing Camera Replacement: step 7, image 3 of 3
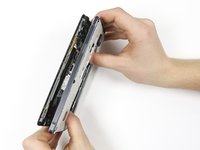
    • Push on the battery housing to separate the midframe from the display assembly.

    • You will have to apply a reasonable amount of pressure to separate the two parts.

    • If your new midframe does not come with a headphone jack assembly, you'll need to transfer the one from the old midframe into the new one. It can be pried loose with plastic opening tools, as it is held in place with several plastic pins.

  8. Samsung Galaxy Note 4 Front Facing Camera Replacement, Motherboard: step 8, image 1 of 1
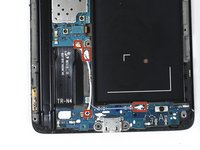
    • Remove the two 2.9 mm Phillips #00 screws.

  9. Samsung Galaxy Note 4 Front Facing Camera Replacement: step 9, image 1 of 2 Samsung Galaxy Note 4 Front Facing Camera Replacement: step 9, image 2 of 2
    Tool used on this step:
    Tweezers
    $4.99
    Buy
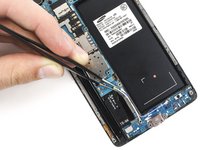
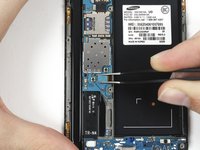
    • Use a set of tweezers to remove the two antenna cables.

  10. Samsung Galaxy Note 4 Front Facing Camera Replacement: step 10, image 1 of 3 Samsung Galaxy Note 4 Front Facing Camera Replacement: step 10, image 2 of 3 Samsung Galaxy Note 4 Front Facing Camera Replacement: step 10, image 3 of 3
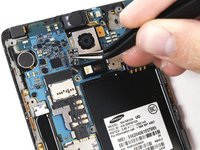
    • Use a set of tweezers or the flat end of a spudger to disconnect the two ribbon cable connectors.

  11. Samsung Galaxy Note 4 Front Facing Camera Replacement: step 11, image 1 of 1
    • Gently lift the motherboard out of the phone.

  12. Samsung Galaxy Note 4 Front Facing Camera Replacement, Front Facing Camera: step 12, image 1 of 1
    Tool used on this step:
    Tweezers
    $4.99
    Buy
    • Turn the motherboard over.

    • Lift the metal tab up with the tweezers.

  13. Samsung Galaxy Note 4 Front Facing Camera Replacement, Unclip Plastic Clips: step 13, image 1 of 2 Samsung Galaxy Note 4 Front Facing Camera Replacement, Unclip Plastic Clips: step 13, image 2 of 2
    • Turn the motherboard back over.

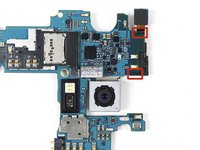
    • Unclip the two plastic clips that connect the rear camera to the motherboard with your fingers.

Conclusion

To reassemble your device, follow these instructions in reverse order.

14 other people completed this guide.

Derek Nola

Member since: 01/06/15

2,244 Reputation

5 Guides authored

Team

Cal Poly, Team 70-6, Forte Winter 2015 Member of Cal Poly, Team 70-6, Forte Winter 2015

CPSU-FORTE-W15S70G6

4 Members

16 Guides authored

3 Comments

I change my LCD screen and camera stopped working. I bought new one and still no result. Please help !

ivaylo.lord - Reply

Have the same problem with the front camera. changed LCD und suddenly the front camera stopped working. bought 2 new ones and both the same. The IR-blaster sill works

Tuerkay - Reply

stopped front camera

Negatu Getahun - Reply

Add Comment

View Statistics:

Past 24 Hours: 1

Past 7 Days: 2

Past 30 Days: 20

All Time: 13,318