Free Shipping on Domestic Orders $75+

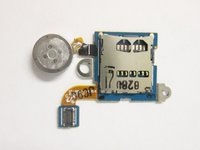
Samsung Galaxy Note 10.1 microSD Port Replacement

What you need

    1. Samsung Galaxy Note 10.1 microSD Port Replacement, Removing the Top Piece: step 1, image 1 of 3 Samsung Galaxy Note 10.1 microSD Port Replacement, Removing the Top Piece: step 1, image 2 of 3 Samsung Galaxy Note 10.1 microSD Port Replacement, Removing the Top Piece: step 1, image 3 of 3
      • This is the back of the device and where you willl begin to take it apart

      • It is necessary to remove the silver piece covering the camera first before removing the bigger back piece.

      • Use the plastic opening tools to pry along the indicated box.

      • Lift up the silver piece to reveal the rest of the back cover.

      Ask FixBot

      Add Comment

    2. Samsung Galaxy Note 10.1 microSD Port Replacement, Removing the Back Cover: step 2, image 1 of 3 Samsung Galaxy Note 10.1 microSD Port Replacement, Removing the Back Cover: step 2, image 2 of 3 Samsung Galaxy Note 10.1 microSD Port Replacement, Removing the Back Cover: step 2, image 3 of 3
      • Unscrew the three 5 mm screws indicated by the red circles with the Philips #00 screwdriver.

      • Using the plastic opening tools pry along the bottom of the device, moving to the sides of the cover to the top.

      • Remove the back cover.

      • At this point use anti-static gloves or do NOT take it apart on carpet.

      Ask FixBot

      Add Comment

    3. Samsung Galaxy Note 10.1 microSD Port Replacement, Removing the microSD Port: step 3, image 1 of 3 Samsung Galaxy Note 10.1 microSD Port Replacement, Removing the microSD Port: step 3, image 2 of 3 Samsung Galaxy Note 10.1 microSD Port Replacement, Removing the microSD Port: step 3, image 3 of 3
      • Unscrew the two 2 mm screws indicated by the red circles with the #00 Philips Screwdriver.

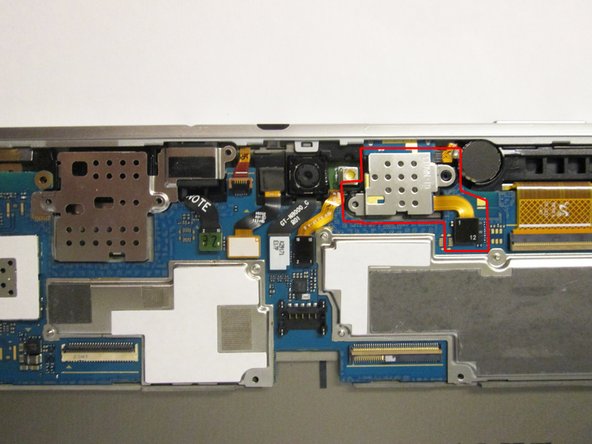
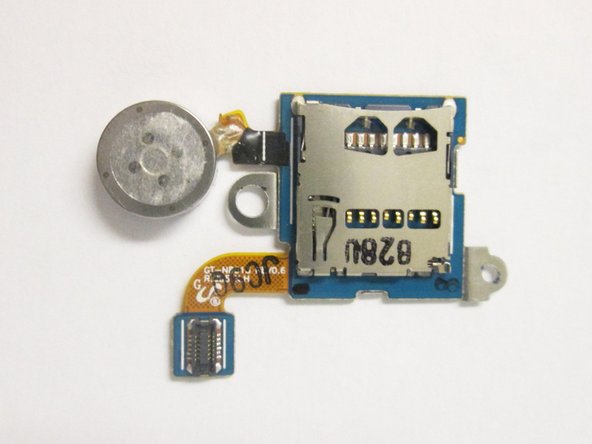
      • Starting with the black motherboard connector, remove the module indicated by the red box in the second picture.

      • Replace the microSD port with a similar model.

      Ask FixBot

      Add Comment

Conclusion

To reassemble your device, follow these instructions in reverse order.

Cancel: I did not complete this guide.

5 other people completed this guide.

Tyler Salomone

Member since: 09/22/14

1,050 Reputation

3 Guides authored

Team

USF Tampa, Team 3-7, Brown Fall 2014 Member of USF Tampa, Team 3-7, Brown Fall 2014

USFT-BROWN-F14S3G7

3 Members

34 Guides authored

2 Guide Comments

Be sure to include screw lengths to the nearest mm on all guides.

Dan Brown - Reply Share

In this guide, you missed a step on removing the battery.

John Peterson - Reply Share

Add Comment

View Statistics:

Past 24 Hours: 1

Past 7 Days: 4

Past 30 Days: 37

All Time: 4,423