Free Shipping on Domestic Orders $75+

Samsung Galaxy Express 3 Screen Replacement

What you need

    1. Samsung Galaxy Express 3 Screen Replacement, Battery: step 1, image 1 of 2 Samsung Galaxy Express 3 Screen Replacement, Battery: step 1, image 2 of 2
      • Locate the indent area highlighted in red and use either your fingernail or a Prying Tool (such as a guitar pick) to separate the back from the body of the phone.

      Ask FixBot

      Add Comment

    2. Samsung Galaxy Express 3 Screen Replacement: step 2, image 1 of 3 Samsung Galaxy Express 3 Screen Replacement: step 2, image 2 of 3 Samsung Galaxy Express 3 Screen Replacement: step 2, image 3 of 3
      • Once the cover is removed, locate the battery that reads "SAMSUNG."

      • Use either your fingernail or a Plastic Prying Tool (such as a guitar pick) to lift up the bottom indent of the battery.

      • Do not use a metal tool, as it can cause injury.

      Ask FixBot

      Add Comment

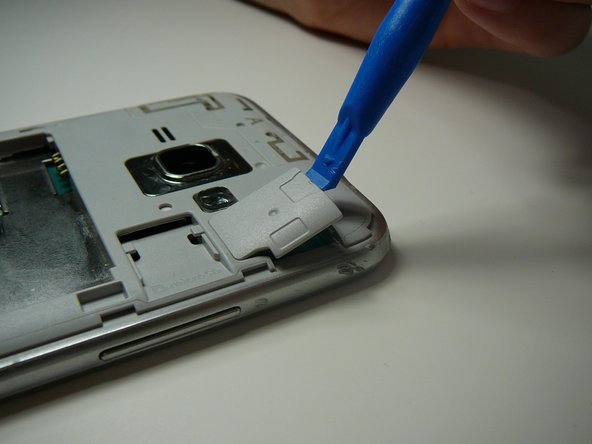
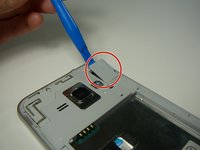
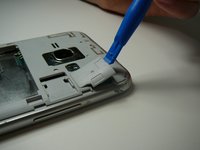
    1. Samsung Galaxy Express 3 Screen Replacement, Screen: step 3, image 1 of 2 Samsung Galaxy Express 3 Screen Replacement, Screen: step 3, image 2 of 2
      • Use a Plastic Prying Tool (such as a spudger) to pop out piece shown.

      Ask FixBot

      Add Comment

    2. Samsung Galaxy Express 3 Screen Replacement: step 4, image 1 of 1
      • Detach the screen connector.

      Ask FixBot

      Add Comment

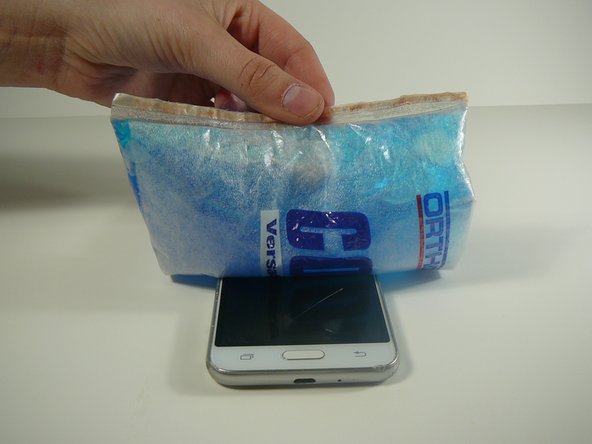
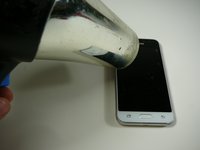
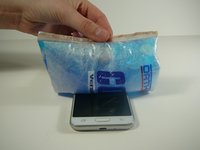
    3. Samsung Galaxy Express 3 Screen Replacement: step 5, image 1 of 2 Samsung Galaxy Express 3 Screen Replacement: step 5, image 2 of 2
      • Use a blow dryer or heating pad to heat up the screen.

      • Do not skip this step, as it may result in a broken screen and/or LCD.

      • This step loosens the glue holding the screen in place.

      Ask FixBot

      Add Comment

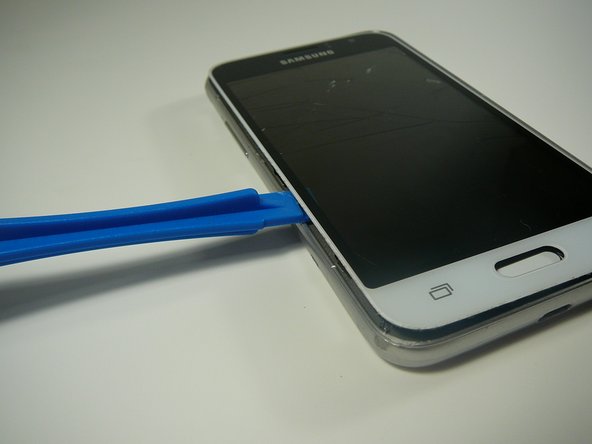
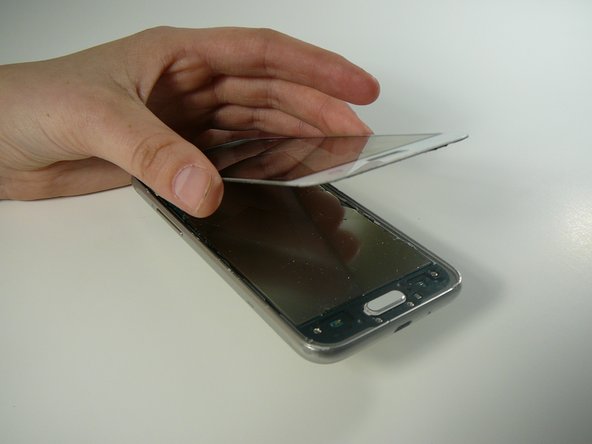
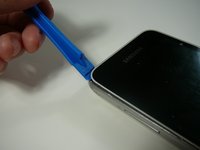
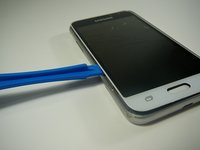
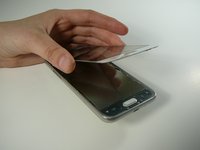
    4. Samsung Galaxy Express 3 Screen Replacement: step 6, image 1 of 3 Samsung Galaxy Express 3 Screen Replacement: step 6, image 2 of 3 Samsung Galaxy Express 3 Screen Replacement: step 6, image 3 of 3
      • Use a Thin Plastic Tool (such as a guitar pick) or Plastic Prying Tool (such as a spudger) to lift out the glass digitizer and LCD screen around the edges.

      • Do this slowly and carefully, as both parts can crack very easily.

      • Ensure your tool is plastic, as a metal tool can damage the screen easily.

      Ask FixBot

      Add Comment

Conclusion

To reassemble your device, follow these instructions in reverse order.

Cancel: I did not complete this guide.

7 other people completed this guide.

2 Guide Comments

My friend set on his phone the screen is broken. The phone will come on but the screen will not light up.

Rudolph Mc Alister - Reply Share

Same! For TWO phones now… have you had any luck on any suggestions or figuring anything out???

Faith Dockery - Reply Share

Add Comment

View Statistics:

Past 24 Hours: 2

Past 7 Days: 7

Past 30 Days: 40

All Time: 4,217