Introduction
This guide shows you how to replace a broken glass screen on a Samsung Galaxy Core Prime G360G model with a minimum of fuss. Provided the LCD display is intact. A few tools are required to pry the broken glass off and it doesn't require any extra glue to stick the new screen down. Provided the reader is the usual cautious type and keeps all parts clean during the procedure it is actually easier than it might look if the job goes well.
What you need
-
-
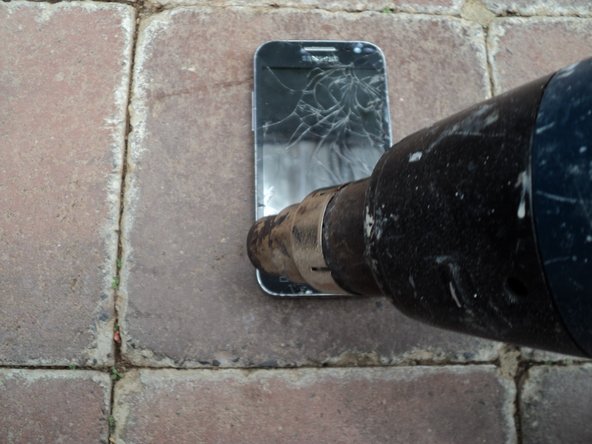
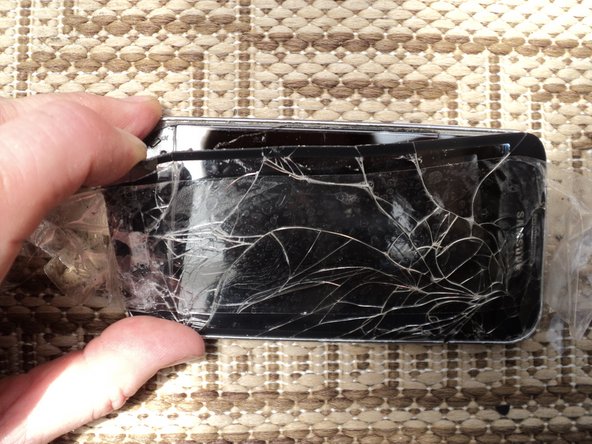
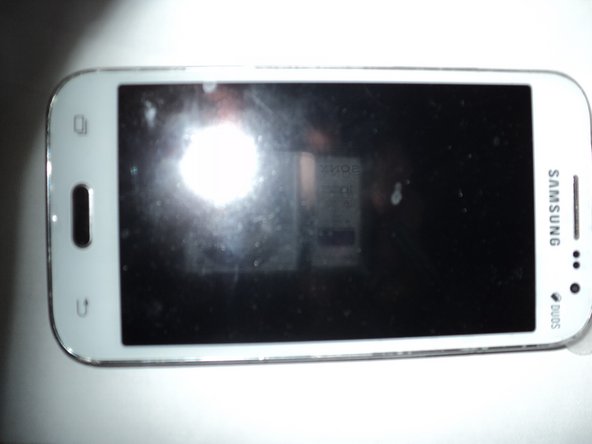
So here's my phone with a broken screen sitting on the paver. No I just didn't just drop it. The similarity between this and that Cracks in the pavement song is purely coincidental. ;-)
-
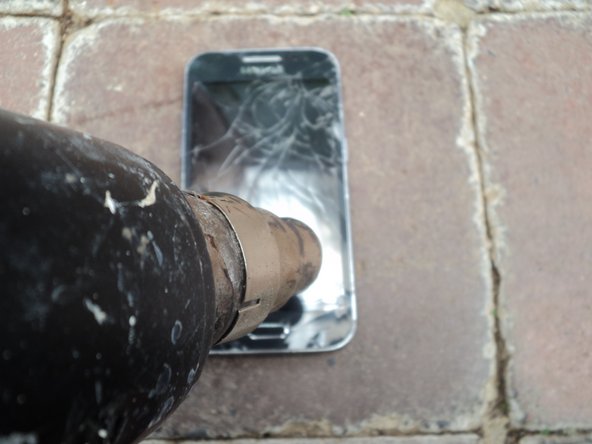
This guide assumes your phone looks similar. Dropping your phone to achieve this is not recommended. Even if a broken screen is a prerequisite.
-
So now the first step is to do the usual preparation. Power down your phone, remove it from any charger and unplug it from any devices.
-
-
-
So here take off the back cover. Remove your battery, any SD card inserted and SIM card. Unlike most fixes you don't need to remove the screws on the back.
-
On the bottom there is a removable cover next to the flash light which comes in handy. As seen here. So grab a tiny flat blade screw driver and lift it up.
-
I also lifted up the connector under the cover you can see here. Use your nail or a soft instrument. Keeping in mind this is the plug in from your LCD.
-
-
-
The glue holding down the screen needs to be softened up. So I blew over it with my heat gun. I put on an attachment to focus the air flow. I concentrated on the sides and to a lesser extent the top and bottom as other plastics and electronics are underneath. My screen still cracked more in the center so be careful if you intend to reuse your LCD.
-
-
-
So now I pry the screen off. To do this I MacGyvered some tools from the house. Here I start with a butter knife. I gradually go around the edges. Lifting it up and under the screen. Sliding it under the glass edge as I go.
-
There is a slight gap between the glass and silver edge. You can wedge your instrument in as you hold it straight up. And once in enough lever it up under the glass.
-
Be careful here you don't slip in and hit the screen. Especially in tight areas. My phone was still warm but if you feel resistance you can apply more heat.
-
-
-
-
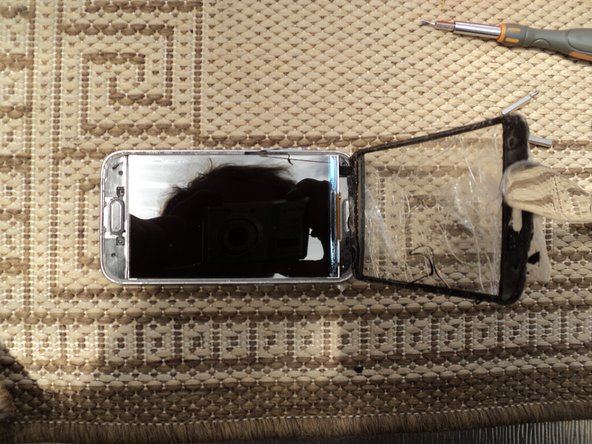
So now I've pried it up enough to get my fingers around it. I hold the base and pull up the glass. Being careful as I am pulling at broken glass despite the size. Here I have also laid sticky tape over the glass to assist. Avoid finger printing the LCD. Finally hooray it's off.
-
At this point I also detached the flat ribbon cable connecting the screen to the board inside. Note that mine came out easily and in fact when it came loose I wasn't actively pulling it out. It was held in by a little tape.
-
If you can do so easily remove the cable and take the old screen away. Since it's broke already you don't need to worry about breaking it again but be careful as it's attached to a socket on the back of the LCD.
-
Also remove the button at this point.
-
-
-
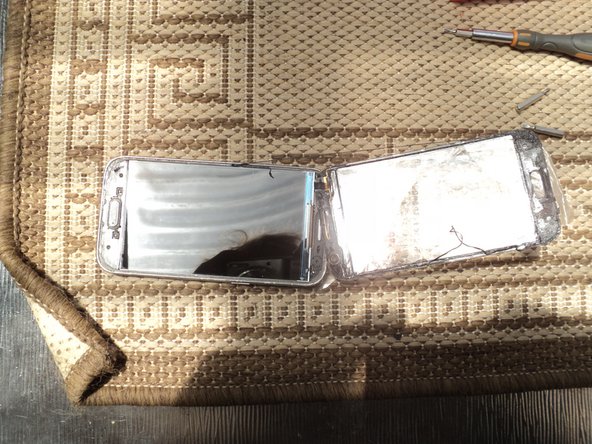
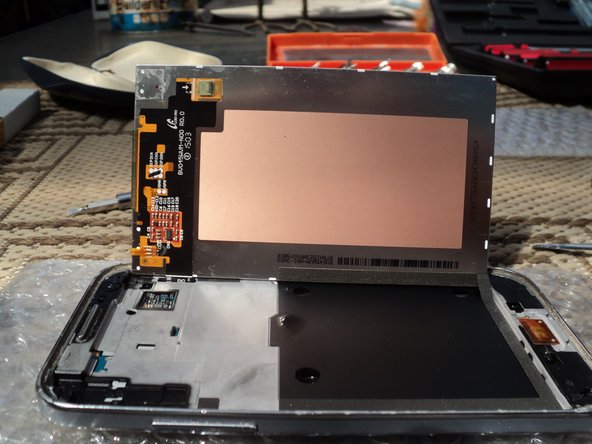
Now I'm prying the LCD screen up with a plastic wedge. This time my tool of choice is a guitar pick as it's softer and thin enough to reach in the groove. Now be extra careful here. You don't want another screen to replace prematurely.
-
Now I'm lifting it up from the side of the volume controls. So pivoting it on the opposite side of the plug underneath. On the side of the cable. Top of phone is on left.
-
Now it's up and ready to go on the flip side. Held on by a glue strip of tape on the inside. Which needs to stick it back later.
-
-
-
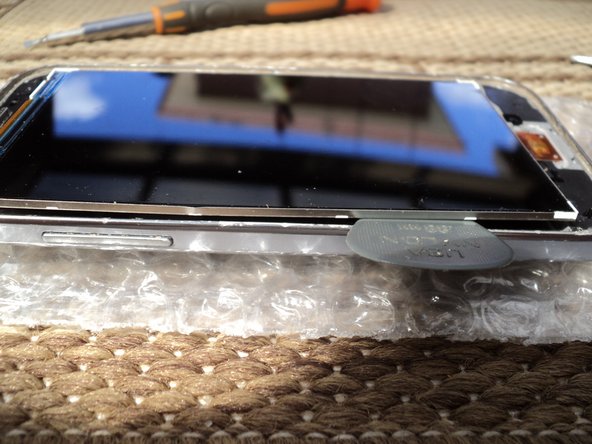
Now we attach the new screen. On the top left is where the cable goes in. There is a little tape you can lift up on the socket.
-
Position it as showed and slide the cable into the socket. There is a white line to guide you on top. Once you know it's in place you can keep it there by masking some tape over the join. Like I have here.
-
-
-
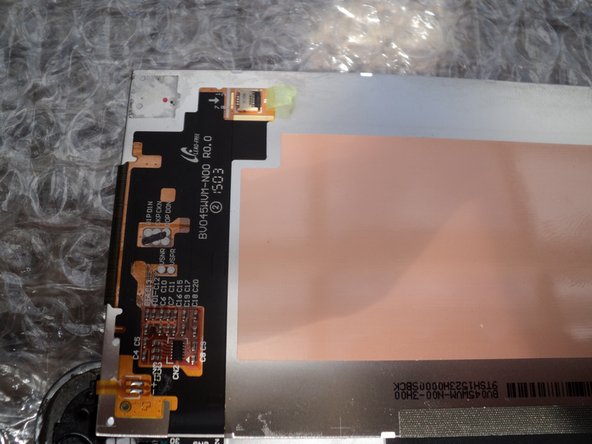
Here is as shot of the screen. Literally. Flip the LCD back into place making sure the glue strip under it remains intact. Being careful of the glass screen cable and flip it also as you go so it sits on the left and upside down. And give the LCD screen a clean. So it's nice, glossy and dust free. I used an LCD wiping cloth.
-
Put the button back also.
-
-
-
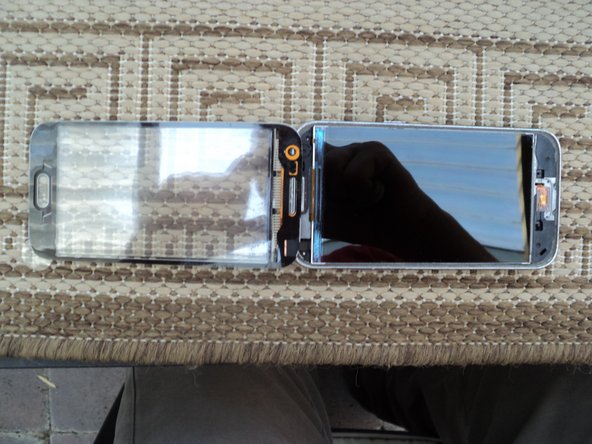
While the LCD is still clean it's time to put the screen on. While the new glass is sitting upside down on the left peel off any protective tape and flip it over the top. Now align the glass on top into place. Press it down and you're good to go.
-
-
-
Now flip it over again. Press the LCD plug into the socket. Put the plastic panel back. And you can put your battery and cards back in place.
-
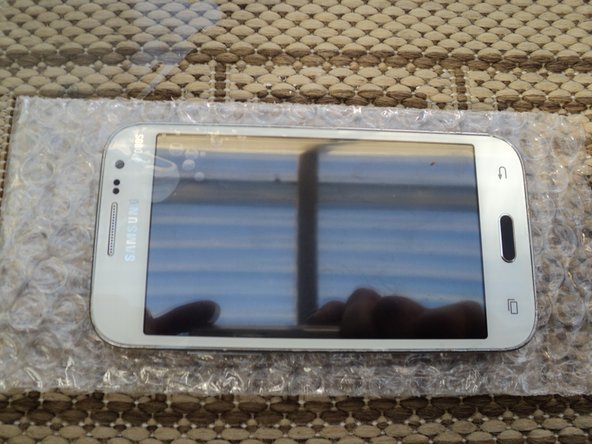
Here's a photo of my finished result. You will notice I changed colour as well. If you have a break you might as well have a change. I kept my black button though did consider a respray.
-
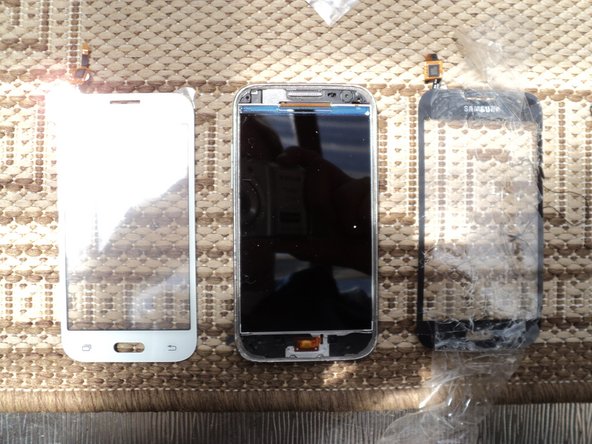
Finally just for a fun a shot of the three amigos. :-D
-
A final note. Be careful of the tiny magnetic sensor. Mine fell out after I pulled my screen off and I couldn't see where it came from. So if yours falls out make sure you know where it plugs back in.
-


Once you have a nice new screen again be sure to put a protected cover over it. IMHO a case works best. Be careful of tempered glass add ons as I put one on before I got a case and it only lasted an hour in my cargo pants. Weaker than the phone glass it was meant to protect it looks. Shocking.
Once you have a nice new screen again be sure to put a protected cover over it. IMHO a case works best. Be careful of tempered glass add ons as I put one on before I got a case and it only lasted an hour in my cargo pants. Weaker than the phone glass it was meant to protect it looks. Shocking.
Cancel: I did not complete this guide.
2 other people completed this guide.
3 Comments
Hi Woody. When you say it doesn’t boot up, does the screen look dead with no other sign of life? Or is there some sign of life with a dead screen?
To recover data, in the case of the phone still technically working but with no visible signs, you can connect your computer over USB or wifi. And use apps that can extract data or screen mirror onto computer. However, these methods tend to need USB debugging enabled. But, plugging it into a USB port on the computer is a good way to see if it is detected.
If your phone can still technically boot up, which happened to mine while the screen was broken, then the first port of call is to to see if you can reach it from your Google account. Log into your account, then see if it can detect the phone. You can install use the Play store to remotely install apps onto the phone from computer, provided it is online, such as connected to home wifi. AirDroid can read limited data. And Samsung Switch can be installed to transfer data to a new phone.
I’ve used Switch to successfully transfer some account settings andsome data, but not all app data came across.
If these methods don’t work then you will need to get technical. The deal breaker tends to be with USB debugging not being enabled. The following guide I made up will help to enable USB debugging which opens your options up:
https://forum.xda-developers.com/android...
In the case you phone really is dead and you really need that data which isn’t on SD card then you will need to employ a pro to extract the data from the phone flash memory.