Introduction
Samsung A10, A10s Micro USB Charging connector Replacement
Video Overview
-
-
Remove the SIM Tray.
-
Use plastic tools to separate the back cover.
-
-
-
-
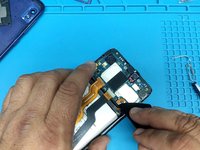
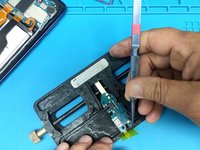
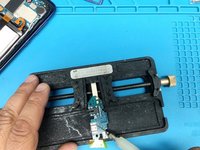
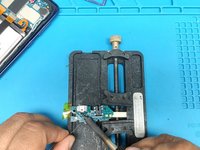
Disconnect the main flex cable and the coaxial antenna cables.
-
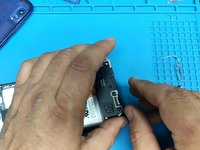
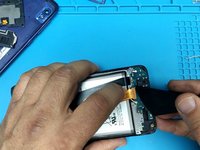
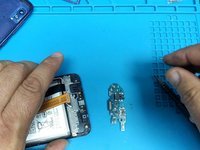
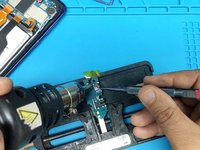
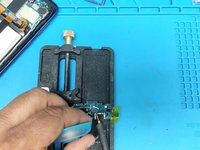
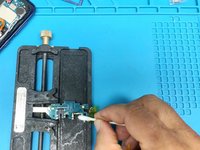
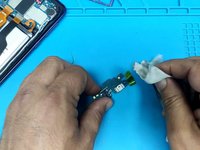
Remove the charging board.
-


Conclusion
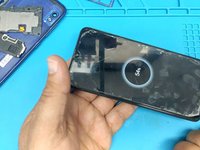
To reassemble your device, follow these instructions in reverse order.
Cancel: I did not complete this guide.
18 other people completed this guide.

Team

3 Guide Comments
Excelente Gracias por la información
Me sirvió de mucho el tutorial, muy bien documentado con imágenes, útil hasta para personas que no tengan conocimientos técnicos. gracias.