
Samsung Chromebook 3 XE500C13-K05US LCD Replacement

What you need

  1. Samsung Chromebook 3 XE500C13-K05US LCD Replacement, Battery: step 1, image 1 of 1
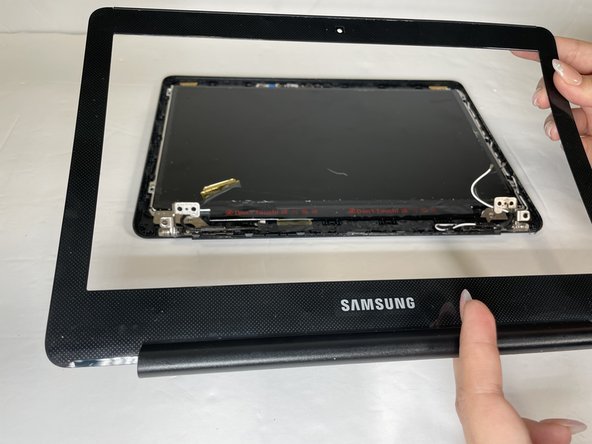
    • Place the laptop back cover facing up to show the screws.

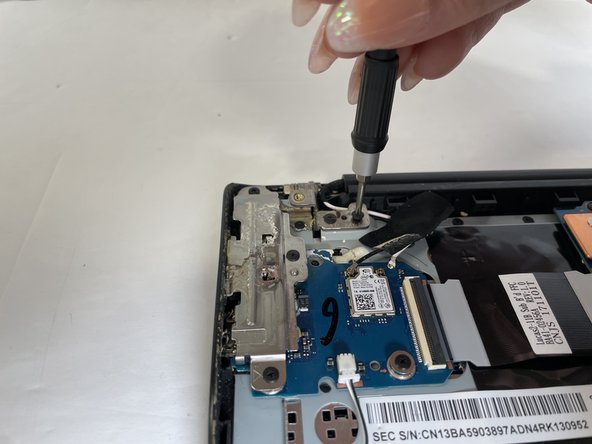
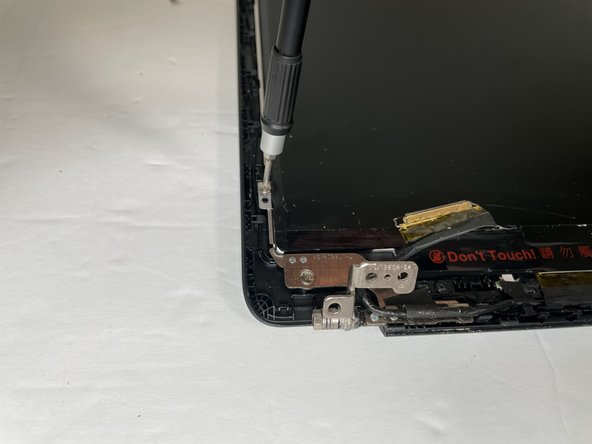
    • Use a Phillips #00 screwdriver to remove the nine 4.6 mm bottom cover screws.

  2. Samsung Chromebook 3 XE500C13-K05US LCD Replacement: step 2, image 1 of 1
    • Use a nylon spudger or plastic opening tool to pop open the cover of the laptop.

    • You will hear a popping sound as the connectors disengage inside the case.

  3. Samsung Chromebook 3 XE500C13-K05US LCD Replacement: step 3, image 1 of 2 Samsung Chromebook 3 XE500C13-K05US LCD Replacement: step 3, image 2 of 2
    • Remove the cover showing the inside of the laptop.

  4. Samsung Chromebook 3 XE500C13-K05US LCD Replacement: step 4, image 1 of 2 Samsung Chromebook 3 XE500C13-K05US LCD Replacement: step 4, image 2 of 2
    • Unscrew and remove the four screws that secure the battery.

  5. Samsung Chromebook 3 XE500C13-K05US LCD Replacement: step 5, image 1 of 3 Samsung Chromebook 3 XE500C13-K05US LCD Replacement: step 5, image 2 of 3 Samsung Chromebook 3 XE500C13-K05US LCD Replacement: step 5, image 3 of 3
    • Use a spudger to pry underneath the battery cable connector, and gently lift the connector up.

  6. Samsung Chromebook 3 XE500C13-K05US LCD Replacement: step 6, image 1 of 1
    • Lift the battery out of the case to remove it from the laptop.

  7. Samsung Chromebook 3 XE500C13-K05US LCD Replacement, LCD: step 7, image 1 of 2 Samsung Chromebook 3 XE500C13-K05US LCD Replacement, LCD: step 7, image 2 of 2
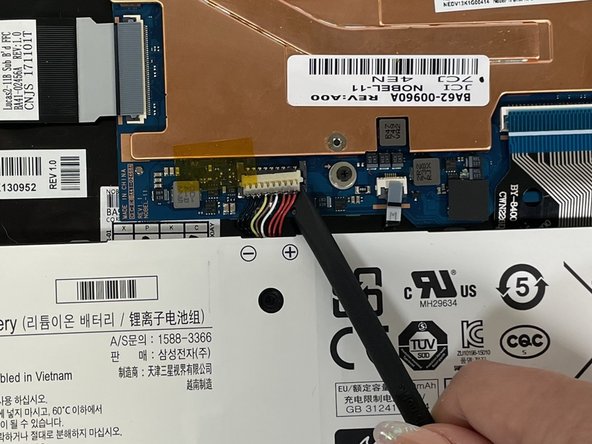
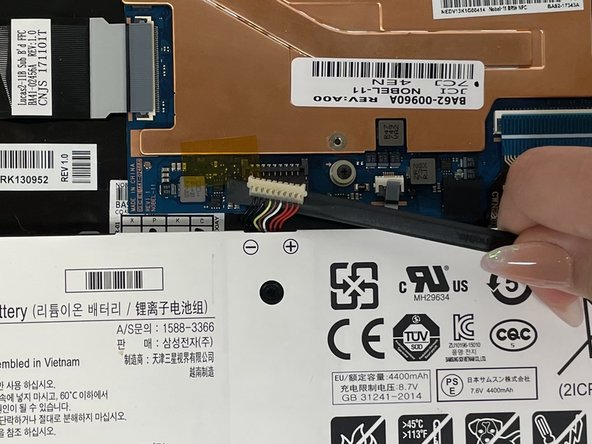
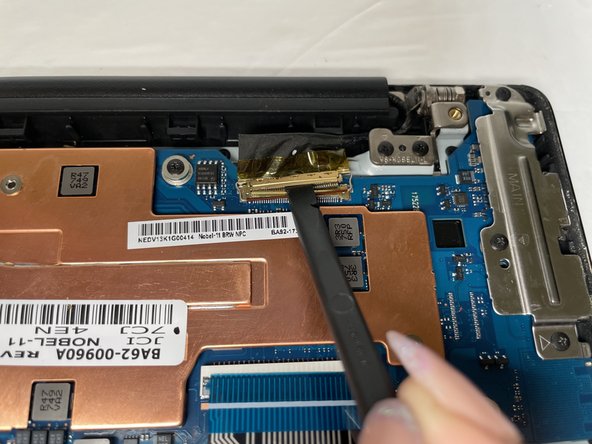
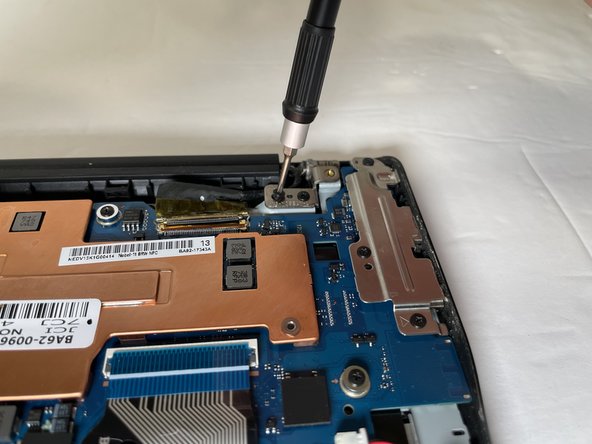
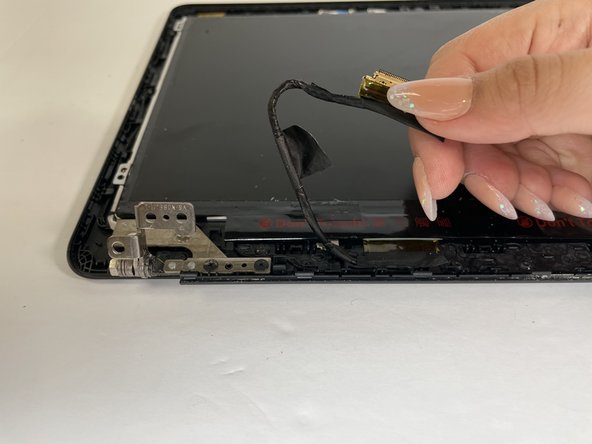
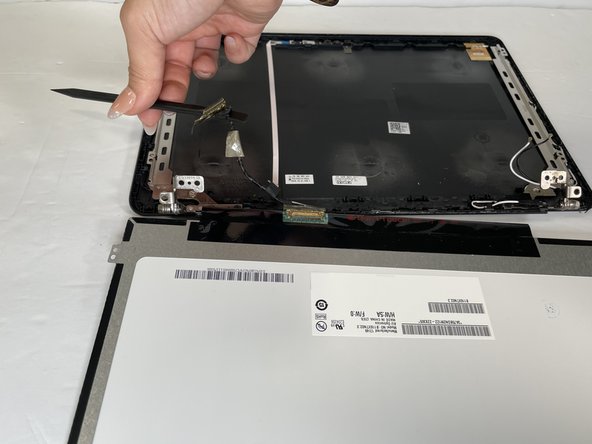
    • Use a spudger to lift the hinge that locks the gold colored display cable in place.

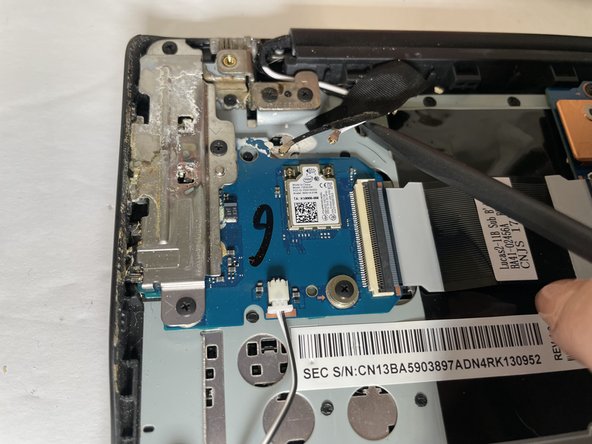
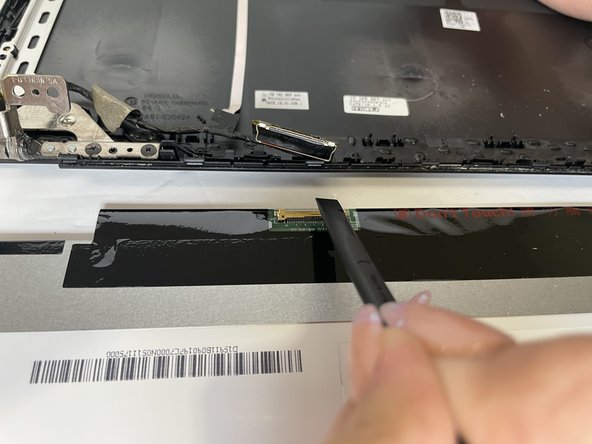
    • Pop the cable out and remove the hinge from the motherboard.

  8. Samsung Chromebook 3 XE500C13-K05US LCD Replacement: step 8, image 1 of 3 Samsung Chromebook 3 XE500C13-K05US LCD Replacement: step 8, image 2 of 3 Samsung Chromebook 3 XE500C13-K05US LCD Replacement: step 8, image 3 of 3
    • Using the ifixit spudger, raise the adhesive holding the wireless card antenna wires.

    • Raise the black and white antenna wires with the ifixit spudger.

  9. Samsung Chromebook 3 XE500C13-K05US LCD Replacement: step 9, image 1 of 3 Samsung Chromebook 3 XE500C13-K05US LCD Replacement: step 9, image 2 of 3 Samsung Chromebook 3 XE500C13-K05US LCD Replacement: step 9, image 3 of 3
    • Remove the four 4.6mm screws from the display mounts.

  10. Samsung Chromebook 3 XE500C13-K05US LCD Replacement: step 10, image 1 of 2 Samsung Chromebook 3 XE500C13-K05US LCD Replacement: step 10, image 2 of 2
    • Once the hinge screws have been detached, open the laptop.

    • The bottom of the laptop will divide from the screen once you are able to open it a certain amount.

  11. Samsung Chromebook 3 XE500C13-K05US LCD Replacement: step 11, image 1 of 3 Samsung Chromebook 3 XE500C13-K05US LCD Replacement: step 11, image 2 of 3 Samsung Chromebook 3 XE500C13-K05US LCD Replacement: step 11, image 3 of 3
    • Using the ifixit opening tool to pry in between the bezel and screen.

    • You will hear some snapping as you open the bezel with the ifixit opening tool.

  12. Samsung Chromebook 3 XE500C13-K05US LCD Replacement: step 12, image 1 of 2 Samsung Chromebook 3 XE500C13-K05US LCD Replacement: step 12, image 2 of 2
    • Remove the four 4.6mm screws from the display mounts.

  13. Samsung Chromebook 3 XE500C13-K05US LCD Replacement: step 13, image 1 of 2 Samsung Chromebook 3 XE500C13-K05US LCD Replacement: step 13, image 2 of 2
    • Using the spudger, raise the adhesive tap that is holding the display cable.

  14. Samsung Chromebook 3 XE500C13-K05US LCD Replacement: step 14, image 1 of 3 Samsung Chromebook 3 XE500C13-K05US LCD Replacement: step 14, image 2 of 3 Samsung Chromebook 3 XE500C13-K05US LCD Replacement: step 14, image 3 of 3
    • Slowly raise the panel up and fold it over to uncover the display cable on the backside of the display.

  15. Samsung Chromebook 3 XE500C13-K05US LCD Replacement: step 15, image 1 of 2 Samsung Chromebook 3 XE500C13-K05US LCD Replacement: step 15, image 2 of 2
    • Using the ifixit spudger, raise the hinge that is locking the gold colored display cable in place.

    • Pull the cable away from far from you to slide it out the monitor.

    • Be tender around the display circuit board, it is labeled "Do not touch."

  16. Samsung Chromebook 3 XE500C13-K05US LCD Replacement: step 16, image 1 of 1
    • Once the display cable has been detached, raise the screen up and out of the case.

Conclusion

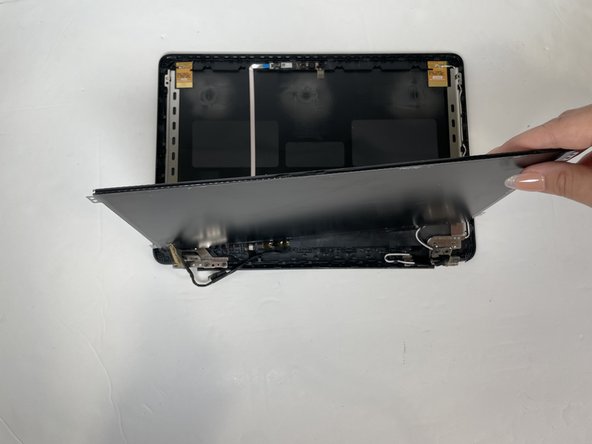
To reassemble your device, follow these instructions in reverse order.

Yamaris Acosta

Member since: 02/07/23

557 Reputation

3 Guides authored

Team

Gateway, Team 4-4, Gonzalez Spring 2023 Member of Gateway, Team 4-4, Gonzalez Spring 2023

GCC-GONZALEZ-S23S4G4

4 Members

3 Guides authored

0 Comments

Add Comment

View Statistics:

Past 24 Hours: 0

Past 7 Days: 4

Past 30 Days: 13

All Time: 173