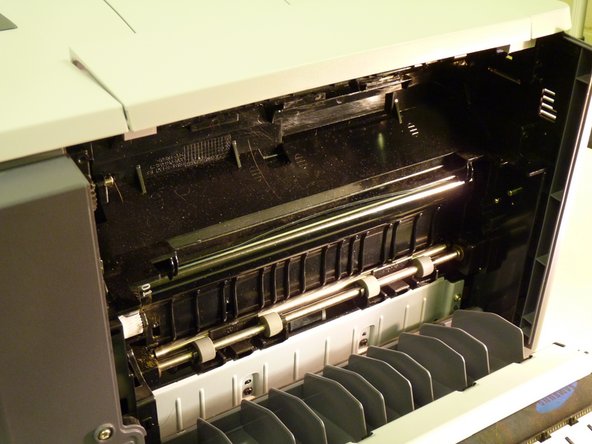
Samsung CLP-300 Fuser Unit Replacement

What you need

  1. Samsung CLP-300 Fuser Unit Replacement, Fuser Unit: step 1, image 1 of 2 Samsung CLP-300 Fuser Unit Replacement, Fuser Unit: step 1, image 2 of 2
    • Turn the printer off and wait a few minutes for it to cool.

    • Turn printer around so that you are looking at the rear panel.

  2. Samsung CLP-300 Fuser Unit Replacement: step 2, image 1 of 1
    • Open back of printer by pushing down handle.

  3. Samsung CLP-300 Fuser Unit Replacement: step 3, image 1 of 2 Samsung CLP-300 Fuser Unit Replacement: step 3, image 2 of 2
    • Remove the four screws that attach the fuser unit to the printer.

  4. Samsung CLP-300 Fuser Unit Replacement: step 4, image 1 of 2 Samsung CLP-300 Fuser Unit Replacement: step 4, image 2 of 2
    • Slide fuser unit out of the printer.

    • Remove packaging from new fuser unit.

    • Insert new fuser unit.

Conclusion

To reassemble your device, follow these instructions in reverse order.

2 other people completed this guide.

Heather Howard

Member since: 10/15/14

586 Reputation

4 Guides authored

Team

2 Comments

how do you unplug the old fuser unit and plug in the new fuser unit - you don’t show how to do that.

Dianne Martin - Reply

The plug in on the left side, no need to unplug it because it is part of the fuser unit.

Michael R. Glatfelter, Jr. - Reply

Add Comment

View Statistics:

Past 24 Hours: 1

Past 7 Days: 14

Past 30 Days: 25

All Time: 9,870