Introduction
If you need to replace the keypad of your Samsung BN59-01199F remote control, follow this guide and you'll be able to navigate to all the channels in no time!
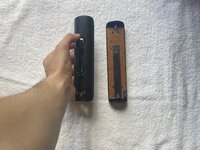
It can be a hassle to stand up to change the channel or increase the TV volume every time and if your remote isn't functioning you might have to do that. One of the most common problems is when one of the buttons stops working.
Before starting this repair, test the remote to make sure that it had working batteries as this might be the cause of the problem. If your batteries are good, then this guide could be for you.
In order to safely do this repair, remove the batteries from the back of the device before you begin.
What you need
-
-
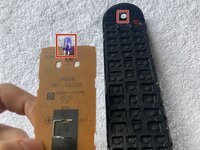
Use an opening pick in the seam of the controller and work it around the perimeter.
-
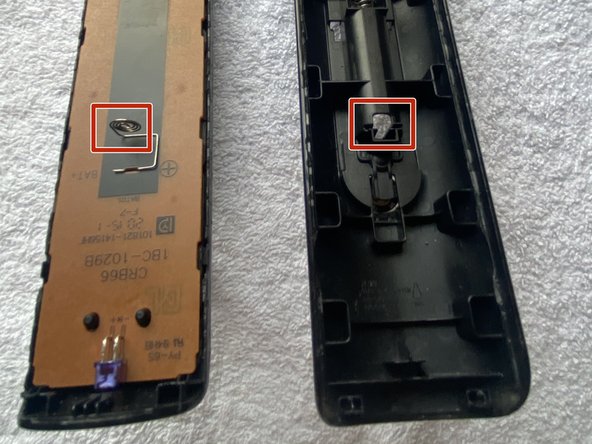
With the opening pick, scrape and remove the glue and undo the clips holding the top and bottom of the remote together.
-
-


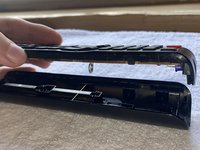

To reassemble your device, follow these instructions in reverse order.

Team

CSU Los Angeles, Team 1-46, Briggs Fall 2022 Member of CSU Los Angeles, Team 1-46, Briggs Fall 2022
CSULA-BRIGGS-F22S1G46
1 Member
1 Guide authored