Free Shipping on Domestic Orders $75+

Samsung Ace Antenna Replacement

What you need

  1. Samsung Ace Antenna Replacement, Battery: step 1, image 1 of 3 Samsung Ace Antenna Replacement, Battery: step 1, image 2 of 3 Samsung Ace Antenna Replacement, Battery: step 1, image 3 of 3
    • To remove the back casing, firmly press down and push towards the bottom of the phone.

    Ask FixBot
  2. Samsung Ace Antenna Replacement: step 2, image 1 of 1
    • With the casing removed, lift the battery from the indicated indentation.

    Ask FixBot
  3. Samsung Ace Antenna Replacement: step 3, image 1 of 1
    • From here, you can now access the SIM card and model/serial numbers.

    Ask FixBot
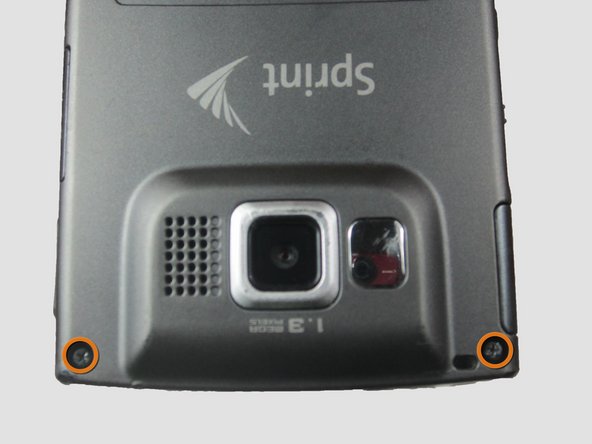
  4. Samsung Ace Antenna Replacement, Casing: step 4, image 1 of 1
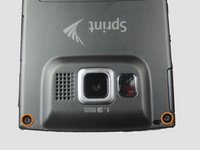
    • Using the Phillips #00 screwdriver, remove the four indicated screws (4.5 mm).

    Ask FixBot
  5. Samsung Ace Antenna Replacement: step 5, image 1 of 2 Samsung Ace Antenna Replacement: step 5, image 2 of 2
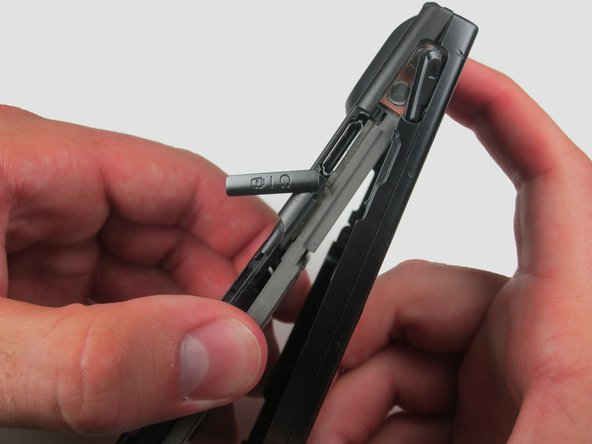
    • Press the pointed edge of the spudger into the side of the two rubber plugs in order to lift and remove them from the top of the phone.

    • Then, using the Phillips #00 screwdriver, remove the two indicated Phillip screws (6.5 mm).

    Ask FixBot
  6. Samsung Ace Antenna Replacement: step 6, image 1 of 1
    • To remove the SIM card, start by pressing the top of the card and push down and away towards the bottom of the phone. Then, as indicated, pull the SIM card out.

    Ask FixBot
  7. Samsung Ace Antenna Replacement: step 7, image 1 of 2 Samsung Ace Antenna Replacement: step 7, image 2 of 2
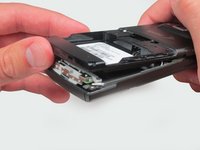
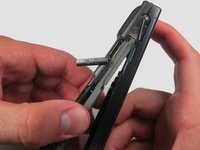
    • Begin to slowly lift the back casing of the phone. You should hear a snap when the casing is released.

    • The power, volume, and camera buttons may fall out when separating the front and back casing.

    Ask FixBot
  8. Samsung Ace Antenna Replacement: step 8, image 1 of 1
    • Your casing should be separated and the three loose buttons put to the side.

    • Be aware of the wiring on the top of the phone. Make sure not to pull it apart when separating the case.

    Ask FixBot
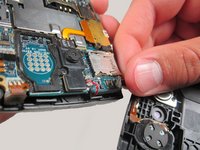
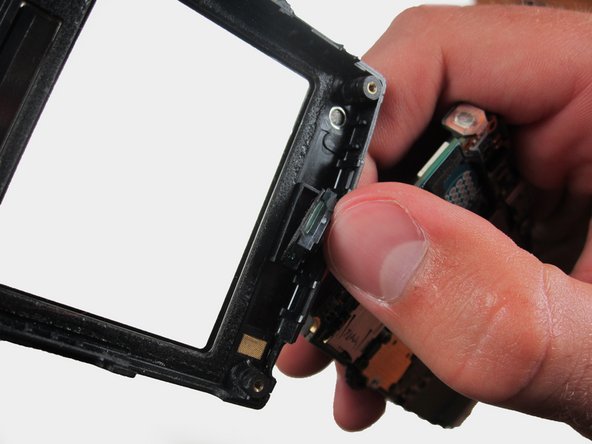
  9. Samsung Ace Antenna Replacement: step 9, image 1 of 2 Samsung Ace Antenna Replacement: step 9, image 2 of 2
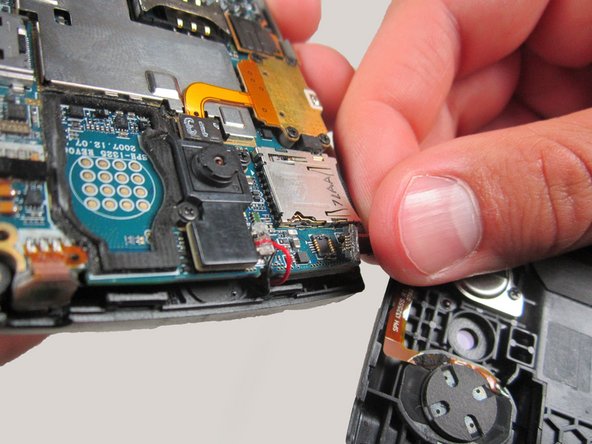
    • Slowly remove the back casing by gently pulling the ribbon connection.

    Ask FixBot
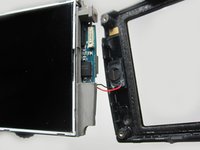
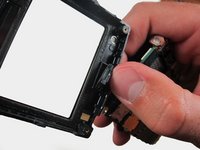
  10. Samsung Ace Antenna Replacement: step 10, image 1 of 2 Samsung Ace Antenna Replacement: step 10, image 2 of 2
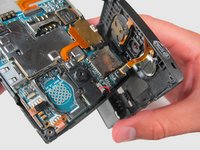
    • Gently pull on the wires to remove the front casing.

    Ask FixBot
  11. Samsung Ace Antenna Replacement: step 11, image 1 of 1
    • Your front casing and front speaker are now released.

    Ask FixBot
  12. Samsung Ace Antenna Replacement, Antenna: step 12, image 1 of 1
    • Remove the two indicated screws (3.9 mm) with a Phillips #00 screwdriver.

    Ask FixBot
  13. Samsung Ace Antenna Replacement: step 13, image 1 of 1
    • Gently pull up the antenna.

    • Be aware of the connected wire along the side of the phone.

    Ask FixBot
Conclusion

To reassemble your device, follow these instructions in reverse order.

One other person completed this guide.

Garrett Germany

Member since: 04/15/12

24 Reputation

2 Guides authored

Team

Cal Poly, Team 6-24, Amido Spring 2012 Member of Cal Poly, Team 6-24, Amido Spring 2012

CPSU-AMIDO-S12S6G24

3 Members

17 Guides authored

0 Guide Comments

Add Comment

View Statistics:

Past 24 Hours: 1

Past 7 Days: 7

Past 30 Days: 39

All Time: 2,332