Introduction
This guide may be used to remove the touch screen from the Samsung ATIV Book 9 Plus for replacement or cleaning. Have a Phillips screw driver handy. Make sure you are able to keep track of all the screws removed and where they belong (a magnetic project mat would be helpful). Replacement screens should be purchased from the laptop's original manufacturing company. When removing the screen, make sure not to damage any cords connecting the fans to the laptop. Before disconnecting any wires it is always safe to make sure the laptop is powered off.
What you need
-
-
Turn the laptop upside down so that the underside of the laptop is facing you.
-
Use a Phillips #000 screwdriver to unscrew the 4.3 mm screws located on the edges and corners of the laptop.
 Ask FixBot
-
-
-
-
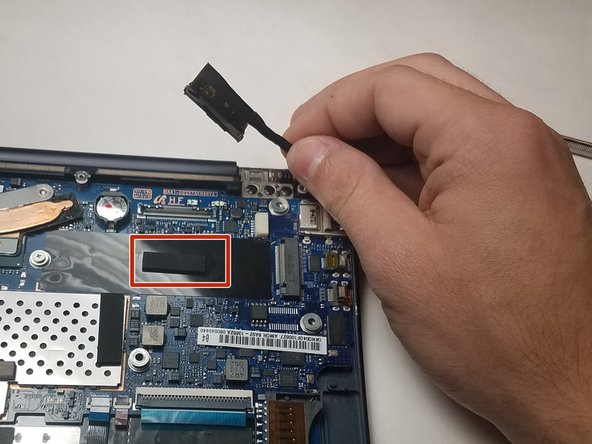
Disconnect the wire connected at the marked location. This is done by giving it a solid tug parallel with the laptop.
-
-
-
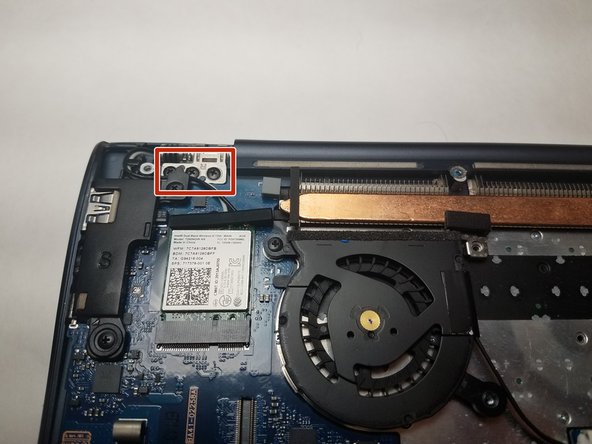
Unscrew the three 4.3 mm screws by using a #000 screwdriver located on the hinges in both corners of the laptop.
-
-
-
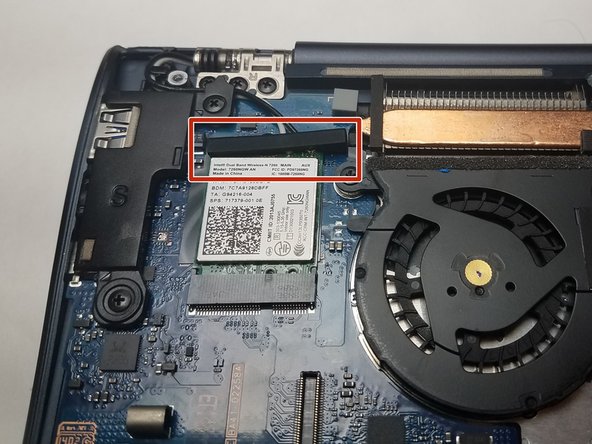
Remove the piece of foam that covers two antenna cable connectors.
-
Use the tip of a spudger or a fingernail to pry straight up and disconnect the antenna cable connectors.
-


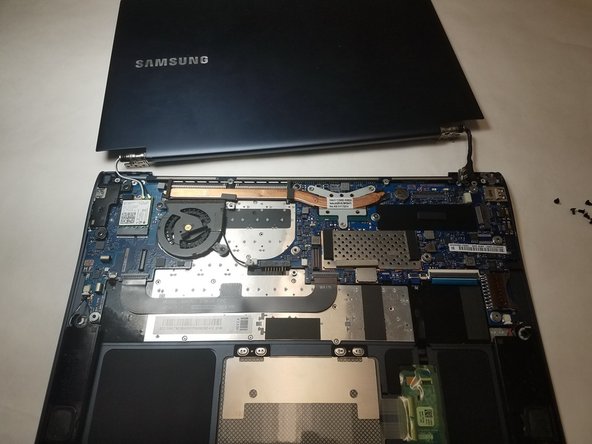
To reassemble your device, follow these instructions in reverse order.
Cancel: I did not complete this guide.
One other person completed this guide.
Team

IUPUI, Team S6-G6, Baechle Fall 2017 Member of IUPUI, Team S6-G6, Baechle Fall 2017
IUPUI-BAECHLE-F17S6G6
3 Members
3 Guides authored