Introduction
This replacement guide will cover how to remove the inner fan of the Samsung ATIV Book 9 Plus.
What you need


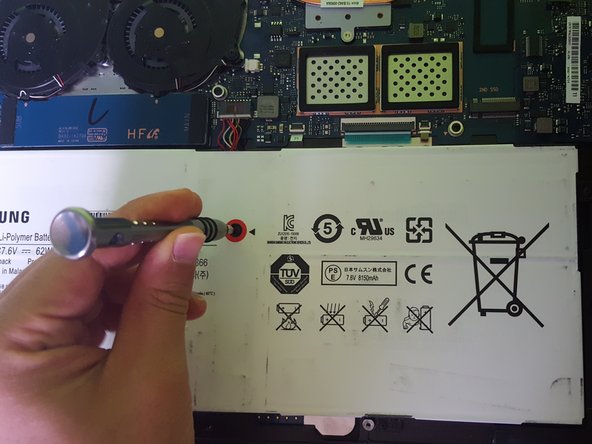

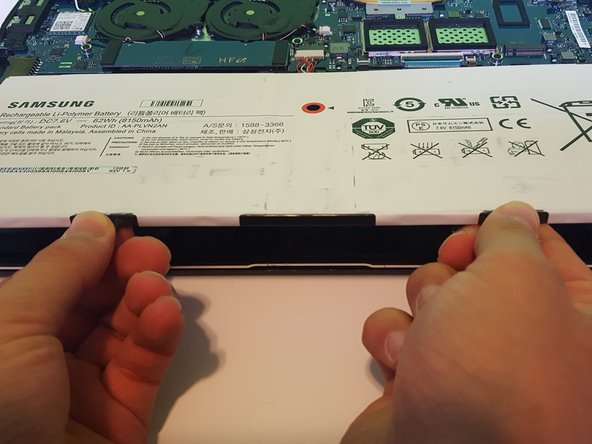


Almost done!
To reassemble your device, follow these instructions in reverse order.
Conclusion
To reassemble your device, follow these instructions in reverse order.
Team

UW Tacoma, Team S1-G2, Liner Spring 2018 Member of UW Tacoma, Team S1-G2, Liner Spring 2018
UWT-LINER-S18S1G2
5 Members
4 Guides authored