Free Shipping on Domestic Orders $75+

Samsung 27E510C Audio Jack Replacement

What you need

    1. Samsung 27E510C Audio Jack Replacement, Back Panel: step 1, image 1 of 3 Samsung 27E510C Audio Jack Replacement, Back Panel: step 1, image 2 of 3 Samsung 27E510C Audio Jack Replacement, Back Panel: step 1, image 3 of 3
      • Use the #1 Phillips head screw driver to remove each 13.75mm length screw from the rear panel.

      • The screw alone with the ports is a different size than the rest, its length is 12mm.

      Ask FixBot

      Add Comment

    2. Samsung 27E510C Audio Jack Replacement: step 2, image 1 of 2 Samsung 27E510C Audio Jack Replacement: step 2, image 2 of 2
      Tool used on this step:
      Heavy-Duty Spudger
      $4.99
      Buy
      • Insert the heavy duty spudger in between the monitors back panel and its frame.

      • Use the heavy duty spudger to pry open the back panel.

      • Over aggressive prying could break the tabs holding the back panel in place.

      Ask FixBot

      Add Comment

    1. Samsung 27E510C Audio Jack Replacement, Motherboard: step 3, image 1 of 1
      • Remove the navigation button connector by pulling while holding down its thumb tab.

      Ask FixBot

      Add Comment

    2. Samsung 27E510C Audio Jack Replacement: step 4, image 1 of 1
      • Remove the screen connector by gripping its sides and gently pulling while wiggling back and forth.

      Ask FixBot

      Add Comment

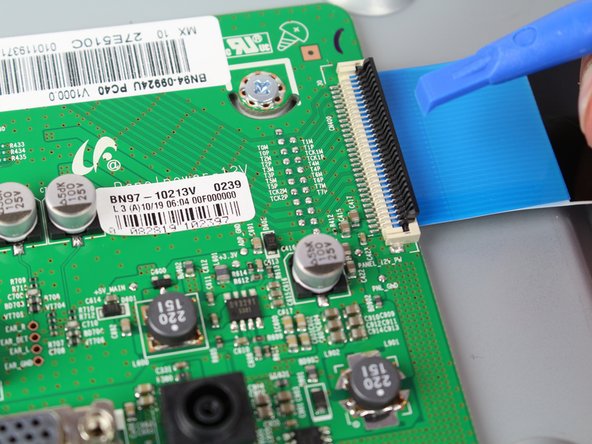
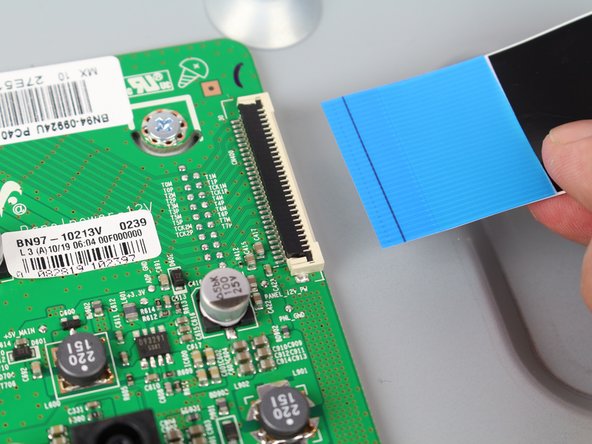
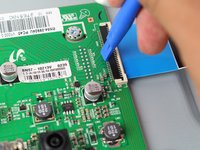
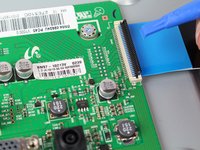
    3. Samsung 27E510C Audio Jack Replacement: step 5, image 1 of 3 Samsung 27E510C Audio Jack Replacement: step 5, image 2 of 3 Samsung 27E510C Audio Jack Replacement: step 5, image 3 of 3
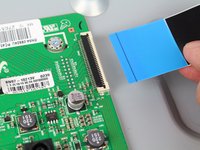
      • For the ribbon cable, Lift the tab from the side facing the inside of the mother board with your fingernail or a spudger.

      • Remove the cable by pulling while lifting slightly.

      • If the cable does not come out easily, than the secure tab may not be fully opened.

      Ask FixBot

      Add Comment

    4. Samsung 27E510C Audio Jack Replacement: step 6, image 1 of 3 Samsung 27E510C Audio Jack Replacement: step 6, image 2 of 3 Samsung 27E510C Audio Jack Replacement: step 6, image 3 of 3
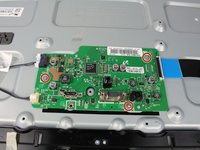
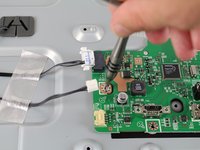
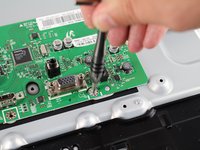
      • Remove each of the 5mm length screws attaching the motherboard to the body of the monitor using a #1 Phillips head screwdriver.

      Ask FixBot

      Add Comment

    5. Samsung 27E510C Audio Jack Replacement: step 7, image 1 of 2 Samsung 27E510C Audio Jack Replacement: step 7, image 2 of 2
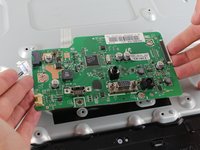
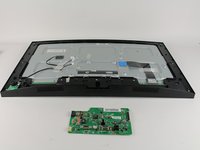
      • Using both hands, lift the board off of the monitor body by the motherboards base.

      Ask FixBot

      Add Comment

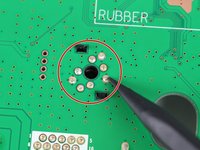
    1. Samsung 27E510C Audio Jack Replacement, Audio Jack: step 8, image 1 of 2 Samsung 27E510C Audio Jack Replacement, Audio Jack: step 8, image 2 of 2
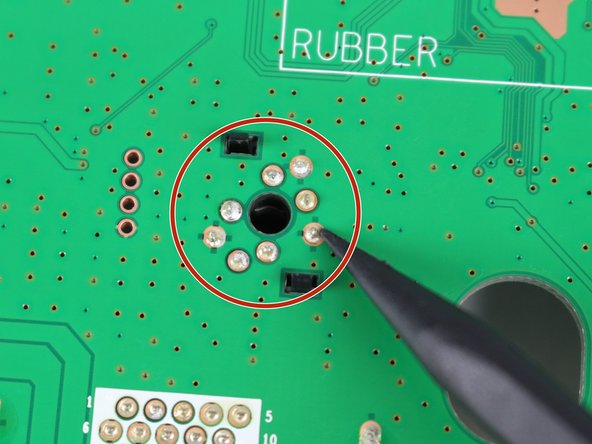
      • Desolder each of the indicated leads on the back of the motherboard.

      Ask FixBot

      Add Comment

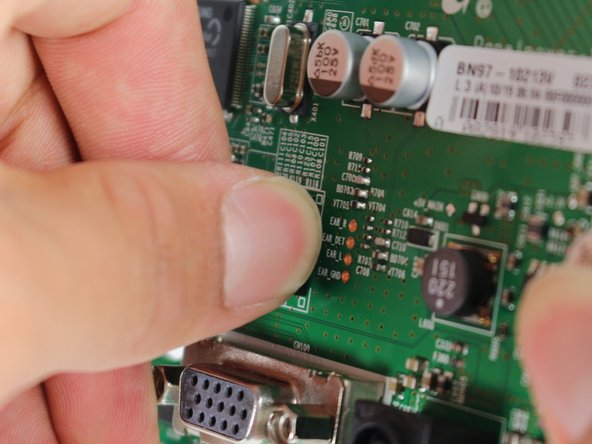
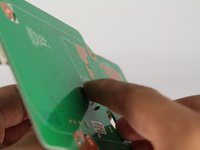
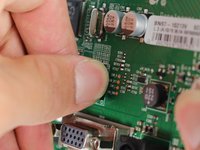
    2. Samsung 27E510C Audio Jack Replacement: step 9, image 1 of 2 Samsung 27E510C Audio Jack Replacement: step 9, image 2 of 2
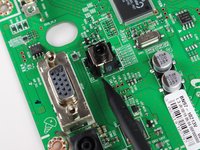
      • Squeeze the rear tabs located on the back of the motherboard with your thumb and index finger.

      • While squeezing both tabs, pull the audio jack out from the front of the motherboard.

      • The audio jack may be too hot to touch right after desoldering.

      Ask FixBot

      Add Comment

Conclusion

To reassemble your device, follow these instructions in reverse order.

Cancel: I did not complete this guide.

Cesar Morales

Member since: 09/27/17

101 Reputation

1 Guide authored

Team

Cal Poly, Team S9-G1, Banghart Fall 2017 Member of Cal Poly, Team S9-G1, Banghart Fall 2017

CPSU-BANGHART-F17S9G1

6 Members

14 Guides authored

1 Guide Comment

did you know port reference? @cesarmorales

Jorge Casanova - Reply Share

Add Comment

View Statistics:

Past 24 Hours: 0

Past 7 Days: 8

Past 30 Days: 37

All Time: 1,056