
Upgrading the SSD

Archived Guide
This guide is retained solely for historical purposes. Use the updated version of the guide to perform your repair.

What you need

  1. Upgrading the SSD, Battery: step 1, image 1 of 3 Upgrading the SSD, Battery: step 1, image 2 of 3 Upgrading the SSD, Battery: step 1, image 3 of 3
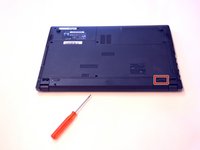
    • Open the latch on the right side that secures the battery in place.

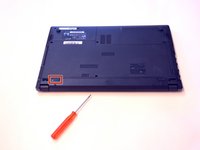
    • Open the latch on the left side that secures the battery in place.

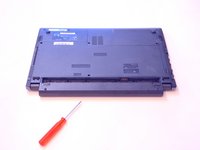
    • Now remove the battery.

  2. Upgrading the SSD, Main access cover: step 2, image 1 of 3 Upgrading the SSD, Main access cover: step 2, image 2 of 3 Upgrading the SSD, Main access cover: step 2, image 3 of 3
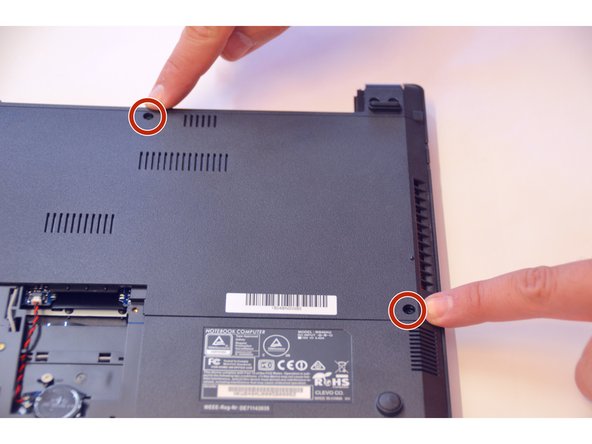
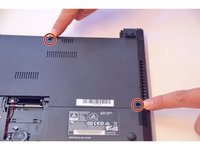
    • Using a Philips-head screwdriver remove highlighted screws.

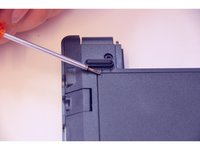
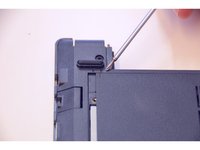
    • Look at the marking to see how to remove the access cover.

    • Remove the access cover as shown by the marker.

  3. Upgrading the SSD: step 3, image 1 of 1
    • You now have access to all components of this laptop.

  4. Upgrading the SSD, PCIe SSD: step 4, image 1 of 3 Upgrading the SSD, PCIe SSD: step 4, image 2 of 3 Upgrading the SSD, PCIe SSD: step 4, image 3 of 3
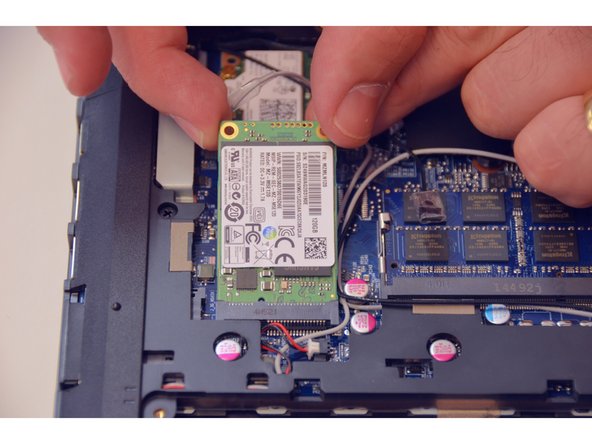
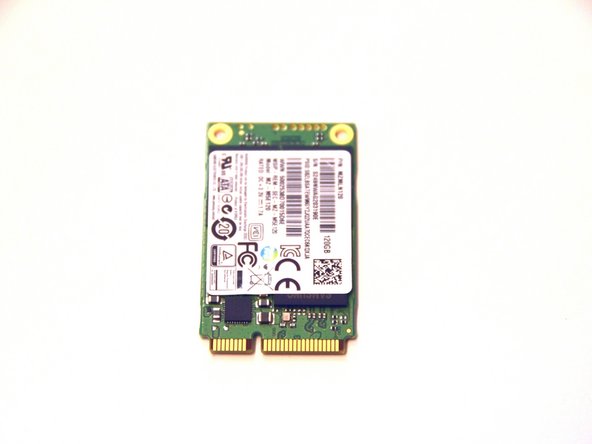
    • This is where you'll find the PCIe SSD.

    • Remove the fastening screw with the Philips-head screwdriver.

    • Remove the PCIe SSD.

  5. Upgrading the SSD: step 5, image 1 of 1
    • This is what the PCIe SSD looks like.

Conclusion

To put the device back together, follow the steps in reverse order.

Special thanks to these translators:

de en

100%

Alex Niculescu is helping us fix the world! Want to contribute?
Start translating ›

Felice Suglia

Member since: 06/15/13

31,100 Reputation

264 Guides authored

0 Comments

Add Comment

View Statistics:

Past 24 Hours: 1

Past 7 Days: 6

Past 30 Days: 9

All Time: 212