Introduction
Before you start: Make sure that the hardware of your camera is in fact showing defects. The cause of a malfunctioning camera could also be a software error or an unattached connector.
A replacement front camera for your SHIFTPHONE can be bought in the official shop.
As for tools what you need is a Torx T3 screwdriver and a fingernail, optionally a pick, spudger and tweezers.
The required T3 screwdriver can be found in the original package your SHIFTPHONE came with. Otherwise you can find it in the shop.
A good helper for this repair is the professionelle Schraubendreher, which comes in a durable metal pouch together with a spudger.
The repair takes around 10 minutes and the workplace should be clean and cleared.
By repairing your SHIFTPHONE you don’t lose out on your warranty, however you must keep in mind any costs that could be caused by a failed repair.
Important: If any step seems not to be possible or too difficult please contact SHIFT before the phone is damaged further. They will provide support.
What you need
-
-
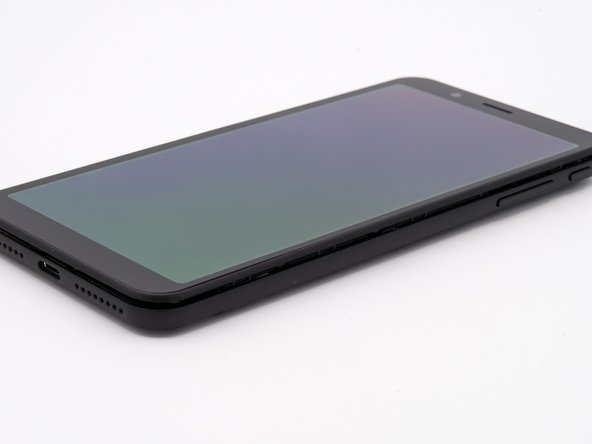
Turn off your SHIFT6mq.
-
Remove the bumper.
-
Use your fingernail (pick/spatula) to detach the back cover at the gap between the frame and the back cover on the bottom left corner (when looking at the back of the phone).
-
Place your finger in the notch, centered under the battery, and lift it out.
-
-
-
Use the T3 screwdriver to loosen all 14 screws. Work your way along the ascending numbering of the screws. This is how you make sure you don't forget any.
-
-
-
Now run your fingernail between the display frame and the middle frame of the SHIFT6mq.
-
Very gently peel the display along all sides of the phone.
-
If the display is detached from the frame all around, you can go to the next step...
-
-
-
Now you can carefully lift off the display, with a slight upward movement to avoid straining the cable.
-
Rotate the display around the short, bottom edge. Carefully place the display glass-side down on the SHIFT6mq.
-
-
-
-
Here you can see the motherboard. In the top left you can see the selfie camera facing you.
-
Disconnect the camera connector by inserting the spudger or your fingernail on the left, short side of the connector and prying it off carefully.
-
Photo: Position of camera, detach grounding strap
-
-
-
Carefully remove the camera from the phone, pulling it off the adhesive tape from below
-
-
-
If the tape is still functional, you can reattach the camera there. Make sure you place it flush against the camera at the top
-
-
-
Put the connector on the mainboard and make sure that both parts are completely on top of each other
-
When both connectors are properly aligned, press lightly on the connector with a finger. So that you can feel and hear it click into place
-
Pictures: Camera used, connectors on top of each other, finger pressure, connectors correctly plugged in
-
-
-
Lay the display on the phone with the screen facing outwards
-
Then press the display along the edge onto the midframe
-
-
-
If everything works properly, turn your SHIFT6mq over and screw all 14 screws back into the holes provided.
-
-
-
Once all the screws have been reinserted, insert the battery, attach the back cover and pull the bumper over the phone.
-


Special thanks to these translators:
100%


These translators are helping us fix the world! Want to contribute?
Start translating ›

