Introduction
Before you start: Make sure that the hardware of your sub-board is really defective. Sitting directly on this board are the:
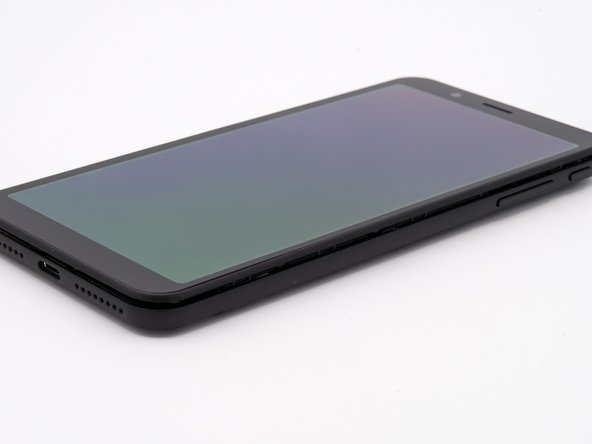
- bottom microphone
- USB port
- Connection for the vibration motor
- Connection for the speaker
- Connection for the GSM planar antenna
The cause of non-functioning or poor functioning of the listed parts can also be an error in the software or an incorrectly plugged-in connector.
You can buy a replacement circuit board for your SHIFTPHONE in the official SHIFTPHONE shop.
The tools you need are a Torx T3 screwdriver and your fingernail. Optionally, you can use a pick, spatula, and tweezers.
You will find the required T3 screwdriver in the original box of your SHIFTPHONE. Otherwise you can of course buy it later.
A good companion for this repair is the professional screwdriver, which is supplied in a robust metal case together with a practical spatula.
The repair takes about 15 minutes and the workplace should be clean and clear.
Repairing your SHIFTPHONE does not void the warranty. However, you will have to pay for any damage caused by incorrect repairs.
Important: If any step is unusually difficult or something won't come off, please contact SHIFT before major damage occurs. There you will receive direct support.
-
Step 1 Preparation
Careful: steps 1-4 are sourced from a guide that's marked as in-progress.
-
Turn off your SHIFT6mq.
-
Remove the bumper.
-
Use your fingernail (pick/spatula) to detach the back cover at the gap between the frame and the back cover on the bottom left corner (when looking at the back of the phone).
-
Place your finger in the notch, centered under the battery, and lift it out.
-
-
-
Use the T3 screwdriver to loosen all 14 screws. Work your way along the ascending numbering of the screws. This is how you make sure you don't forget any.
-
-
-
Now run your fingernail between the display frame and the middle frame of the SHIFT6mq.
-
Very gently peel the display along all sides of the phone.
-
If the display is detached from the frame all around, you can go to the next step...
-
-
-
-
Now you can carefully lift off the display, with a slight upward movement to avoid straining the cable.
-
Rotate the display around the short, bottom edge. Carefully place the display glass-side down on the SHIFT6mq.
-
-
-
Detach the display connector from the short side with a lever movement in the direction of the adjacent connector.
-
Once the display is detached, you can carefully put it aside
-
-
-
Loosen the screw that sits above the USB socket.
-
If the circuit board is held on with a second screw, loosen that one too
-
-
-
Insert the pointed end of the spatula into the screw hole closest to the USB socket and lift the circuit board slightly.
-
Now lift the board slightly on the other side, at the corner of the phone, that will loosen it from its tight seat.
-
Gently push the whole circuit board towards the center of the device towards its short side. But only until the circuit board has come loose from the holder on the outside of the device.
-
-
-
Carefully fold the circuit board upwards in the direction of the lines.
-
Disconnect the ribbon cable's compression connector by prying it off to the side.
-
To detach the antenna cable's small coaxial connector, slide a pry tool or tweezers under the cable close to the connector and then lift vertically away from the circuit board.
-
Now the sub board is free and you can place it to the side.
-


Follow these steps in reverse order to reassemble your device.
Follow these steps in reverse order to reassemble your device.
Special thanks to these translators:
100%

oldturkey03 is helping us fix the world! Want to contribute?
Start translating ›

Team
