Introduction
Before you start this guide: Make sure that your display is really defective! Visible cracks could also be on the bulletproof glass and not on the display. If you only have a black screen, it could also be caused by other things, such as the motherboard or the battery.
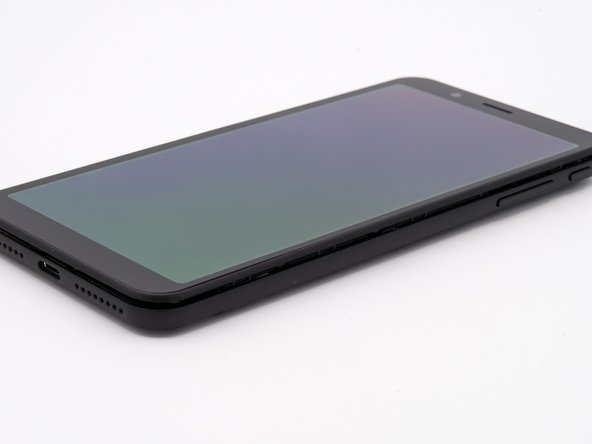
You can buy a replacement display for your SHIFTPHONE in the official shop from SHIFTPHONES.
The tools you need are a Torx T3 screwdriver and your fingernail. Optionally, you can use a pick, spatula, and tweezers.
You will find the required Torx T3 screwdriver in the original box of your SHIFTPHONE. Otherwise you can of course also buy it.
A good companion for this repair is the professional screwdriver, which is supplied in a robust metal case together with a practical spatula.
Repairing or opening your SHIFTPHONE does not void the warranty. However, you must pay for any costs incurred during or as a result of the repair yourself.
Important: If any step is unusually difficult or something does not want to be solved, please contact us with SHIFT Contact before major damage occurs. There you will receive direct support.
What you need
-
Step 1 Preparation
Careful: steps 1-4 are sourced from a guide that's marked as in-progress.
-
Turn off your SHIFT6mq.
-
Remove the bumper.
-
Use your fingernail (pick/spatula) to detach the back cover at the gap between the frame and the back cover on the bottom left corner (when looking at the back of the phone).
-
Place your finger in the notch, centered under the battery, and lift it out.
-
-
-
Use the T3 screwdriver to loosen all 14 screws. Work your way along the ascending numbering of the screws. This is how you make sure you don't forget any.
-
-
-
Now run your fingernail between the display frame and the middle frame of the SHIFT6mq.
-
Very gently peel the display along all sides of the phone.
-
If the display is detached from the frame all around, you can go to the next step...
-
-
-
Now you can carefully lift off the display, with a slight upward movement to avoid straining the cable.
-
Rotate the display around the short, bottom edge. Carefully place the display glass-side down on the SHIFT6mq.
-
-
-
-
Disconnect the display connector Detach the display connector from the short side with a lever movement in the direction of the adjacent connector.
-
Once the display is detached, you can carefully put it aside.
-
-
-
The speaker is still in the dismantled display. Carefully pry it out of its housing with sturdy tweezers or a thin spatula. There is a slot for it on the right.
-
Insert the speaker in the same position and direction in the socket provided in the new display and press it down lightly.
-
-
-
Check that the thermal pad (light blue) is correctly seated on the new display and is undamaged. The new display comes with a pad already applied.
-
-
-
Place the display on the phone with the back facing up.
-
Place the display connector on the connector on the mainboard and make sure that both parts are completely on top of each other.
-
When both connections are properly aligned, press lightly on the display connector with a finger so that you can feel and hear it snap into place.
-
-
-
After the display connector is connected, place the display on the phone with the screen facing out.
-
Then press the display along the edge onto the midframe.
-
-
-
If everything works properly, turn your SHIFT6mq over and screw all 14 screws back into the screw bosses provided.
-
-
-
Once all the screws have been reinserted, insert the battery, attach the back cover and pull the bumper over the phone.
-


Congratulations! You made it. Enjoy using your repaired SHIFT6mq!
Congratulations! You made it. Enjoy using your repaired SHIFT6mq!
Cancel: I did not complete this guide.
5 other people completed this guide.
Special thanks to these translators:
100%


These translators are helping us fix the world! Want to contribute?
Start translating ›

Team

2 Comments
Eine sehr gute und gut zu gebrauchen Anleitung. Ihr haltet was Ihr verspricht.
Respekt und danke