Introduction
This guide explains how to remove and replace the buttons on the SAFFUN Wireless N64 controller. Button replacement may be necessary if the buttons feel unresponsive or stick during gameplay. The procedure requires basic disassembly of the controller housing and careful handling of internal components. Before beginning, make sure the controller is powered off and disconnected from any device.
What you need
-
-
Use a Phillips #1 screwdriver to remove the seven 9.3 mm screws from the backplate.
-
-
-
Slide an opening pick along the edge of the rear cover to release the clips.
-
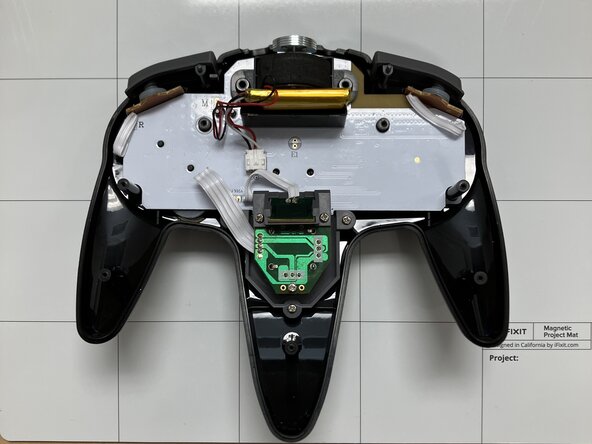
Gently remove the back plate from the controller.
-
-
-
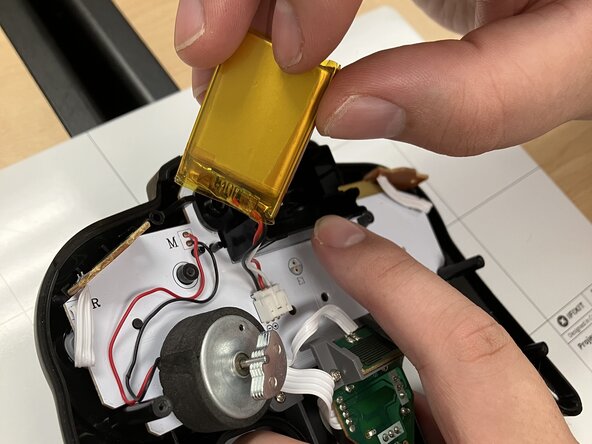
Carefully lift the battery and rumble motor from the case and set them aside.
-
-
-
-
Use a Phillips #1 screwdriver to remove the two 7.2 mm screws on the Z-Button board that reinforces the joystick board.
-
-
-
Use a Phillips #1 screwdriver to remove:
-
Two 9.3 mm-long screws
-
One 7.3 mm-long screw
-
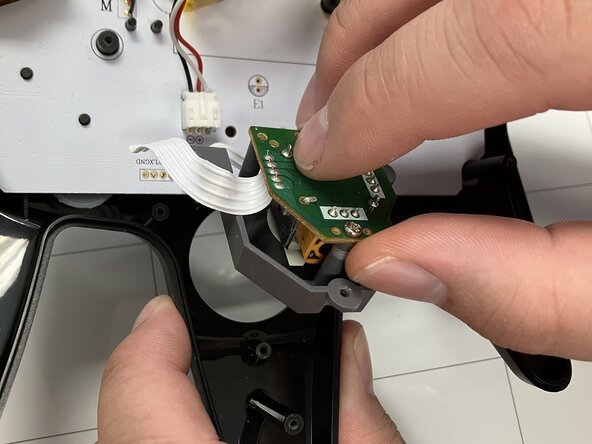
Remove the joystick board.
-
-
-
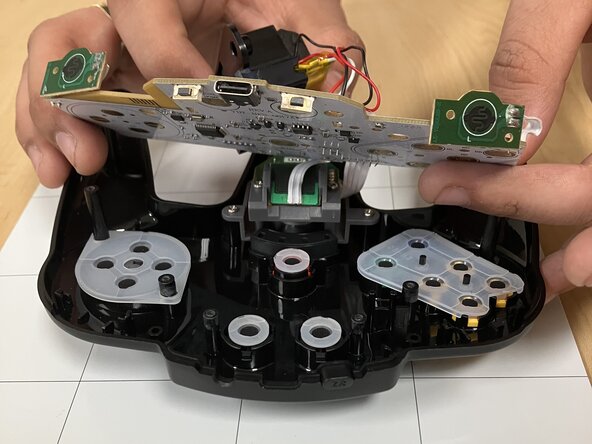
Carefully lift the motherboard by its edges.
-
Remove the motherboard and attached joystick assembly from the case.
-
-
-
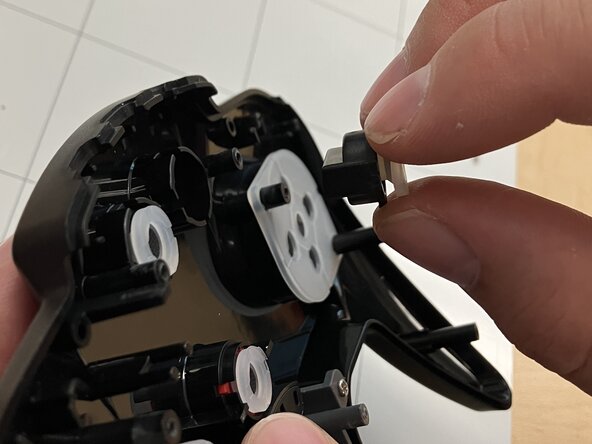
Remove the small black button located at the top edge of the controller shell.
-
-
-
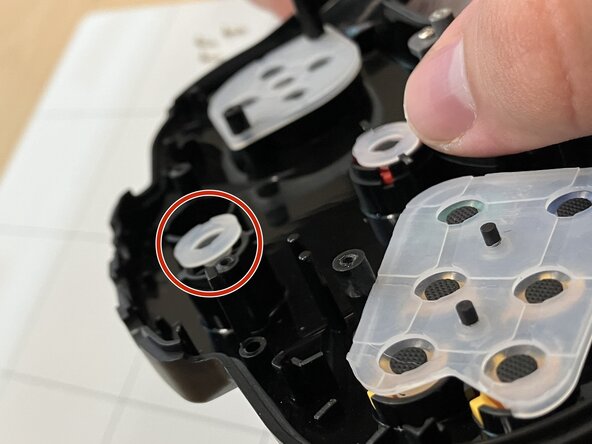
Press the right home button outward from the inside of the front plate to remove it.
-
-
-
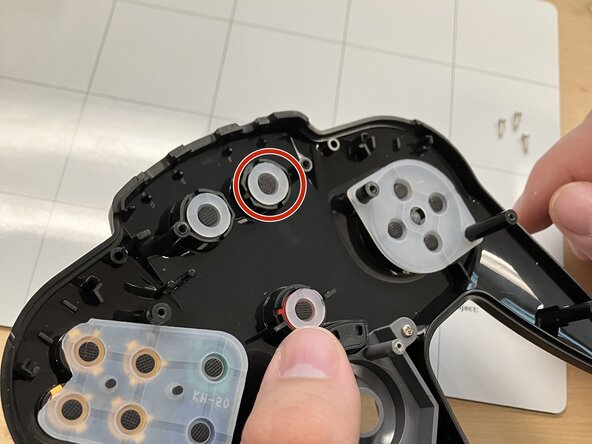
Press the left select button outward from the inside of the front plate to remove it.
-
-
-
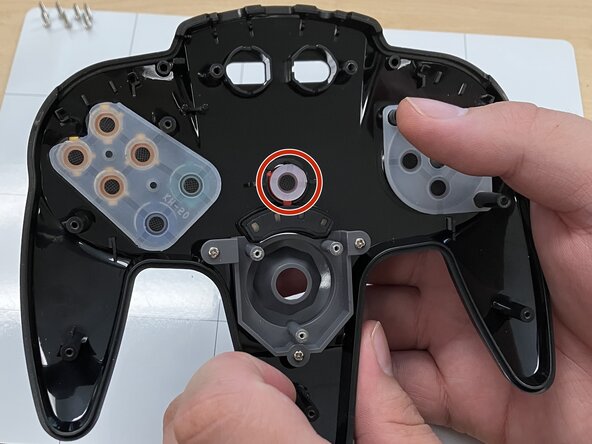
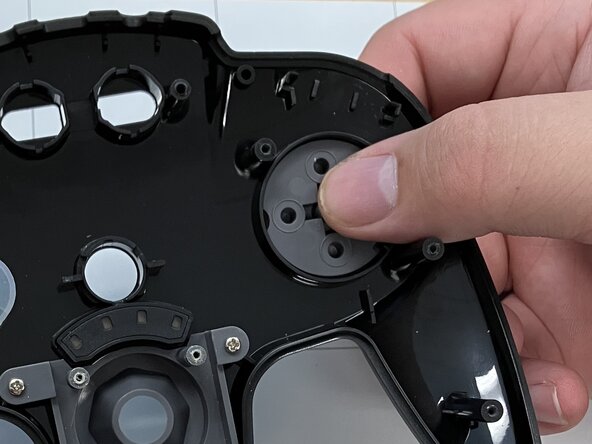
Press the start button outward from the inside of the front plate to remove it.
-
-
-
Remove the rubber covering the D-Pad.
-
Press the D-Pad outward from the inside of the front plate to remove it.
-
-
-
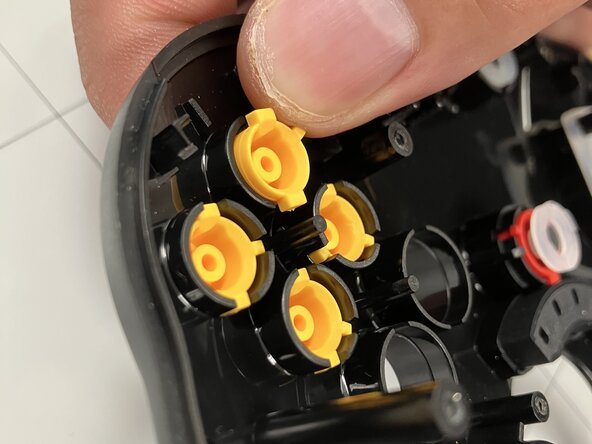
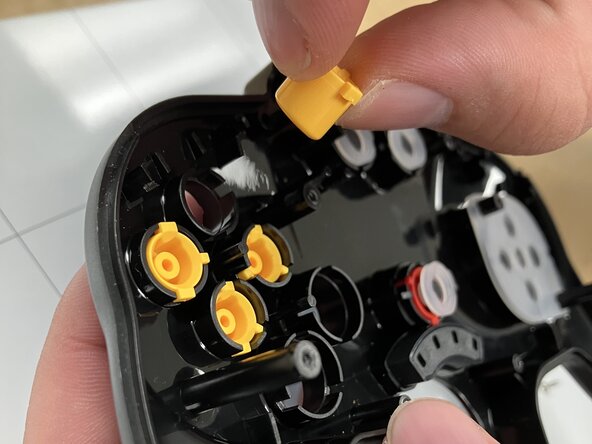
Remove the rubber covering the yellow buttons.
-
Press each yellow button outward from the inside of the front plate to remove it.
-
-
-
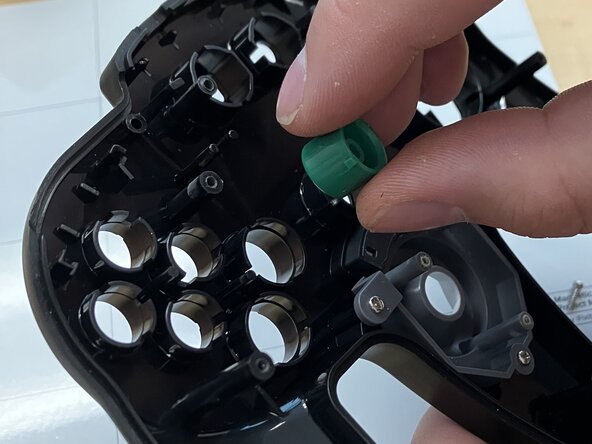
Press the blue and green buttons outward from the inside of the front plate to remove them.
-


To reassemble your device, follow these instructions in reverse order.

Team

Austin Community College, Team 1-3, Tijerina Fall 2025 Member of Austin Community College, Team 1-3, Tijerina Fall 2025
AUSTINCC-TIJERINA-F25S1G3
4 Members
5 Guides authored