Introduction
If your Ryobi RS290G is having power trouble this guide will show you how to successfully replace the power switch.
What you need
-
-
Remove two 20mm and one 16mm Phillips #2 screws from the housing assembly and exhaust port.
-
-
-
-
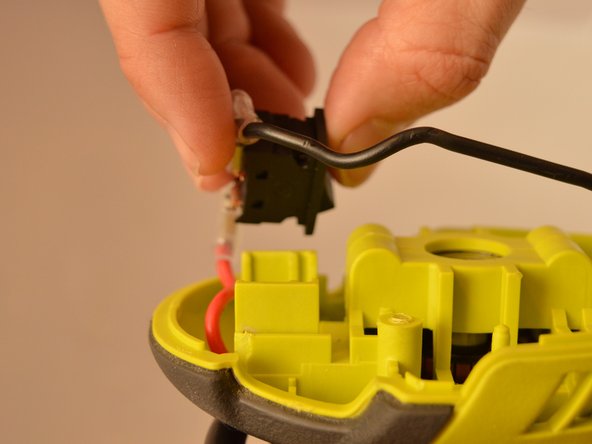
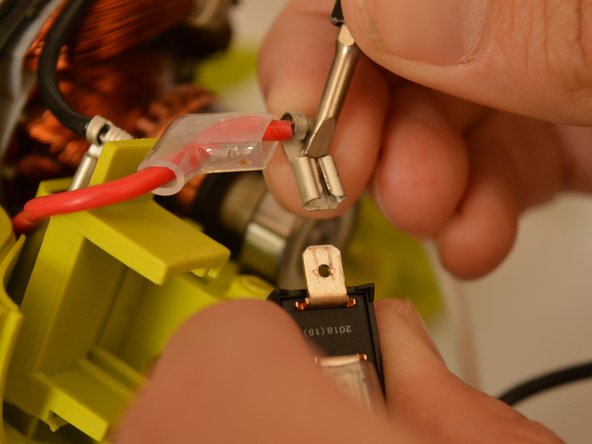
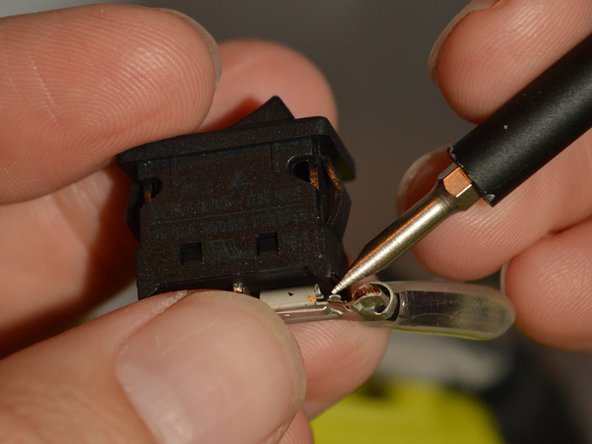
Slide the power switch out of the housing assembly by carefully gripping the power switch and sliding upward from the base.
-


To reassemble your device, follow these instructions in reverse order. After reassembling, perform an operational check before using.
To reassemble your device, follow these instructions in reverse order. After reassembling, perform an operational check before using.
Team

Embry-Riddle Aeronautical University, Team S22-G5, Branham Fall 2019 Member of Embry-Riddle Aeronautical University, Team S22-G5, Branham Fall 2019
ERAU-BRANHAM-F19S22G5
4 Members
5 Guides authored