Introduction
If you need to fix or reinstall a new trigger for your Ryobi P214 cordless drill, access the inside panel with this guide. The trigger, when pressed, completes a circuit with the battery to turn on the drill. A faulty trigger will cause the drill to not turn or to turn off randomly while using the drill. Before beginning, make sure to power off your P214 drill off by completely disconnecting it from the battery.
What you need
-
-
Remove ten 13.5 mm screws from the drill casing using a Phillips #2 screwdriver to gain access to the interior.
-
-
-
-
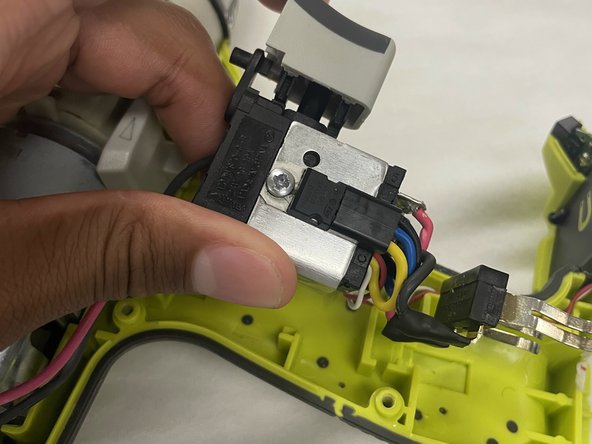
Gently lift the battery clip to gain access to the trigger.
-
You can now clean any debris blocking the trigger.
-


To reassemble your device, follow these instructions in reverse order.
To reassemble your device, follow these instructions in reverse order.
Team

University of North Texas, Team 2-4, Saru Jimmy Spring 2023 Member of University of North Texas, Team 2-4, Saru Jimmy Spring 2023
UNT-SARU JIMMY-S23S2G4
4 Members
3 Guides authored