Introduction
This guide outlines how to disassemble a Rockwell Automation PowerFlex 755 1HP VFD using the tools listed below. No other special tools or knowledge are necessary.
Following the guide in reverse will show you how to re-assemble the drive.
What you need
-
-
The PF755 will either have a cover plate, as shown in this guide, or a keypad. To remove these, press on the tab at the top of the drive, and then push the plate or keypad straight up.
-
-
-
The lower cover is removed by pinching the tabs found on each side, and then pulling up and out as shown.
-
-
-
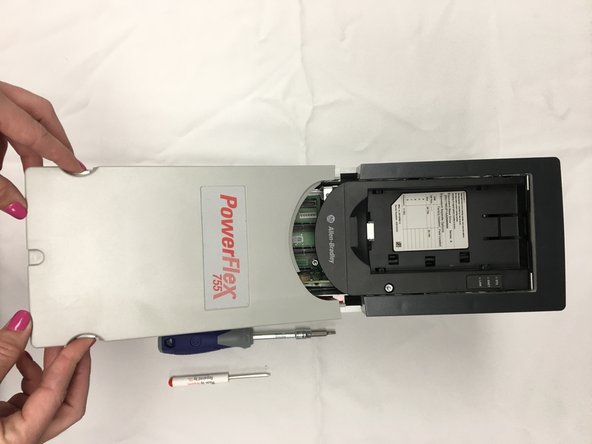
To remove the outer casing, first use a small flathead screwdriver to pry the two tabs found at the bottom of the drive. These fit on very tightly. Be patient and apply strong, constant pressure to ensure that you do not snap the plastic.
-
Lift the casing at an angle to remove it, as shown in Image 2.
-
-
-
Open the Keypad panel to gain access to the components underneath by loosening the screw on the front right of the panel. Note that the screw will not come all the way out.
-
Lift the panel from the bottom edge, as shown in Image 2.
-
-
-
-
Remove the two connectors located at the top of the drive near the Keypad Panel by pulling them with two fingers. Be sure to pull on the plastic connectors and not on the wires.
-
-
-
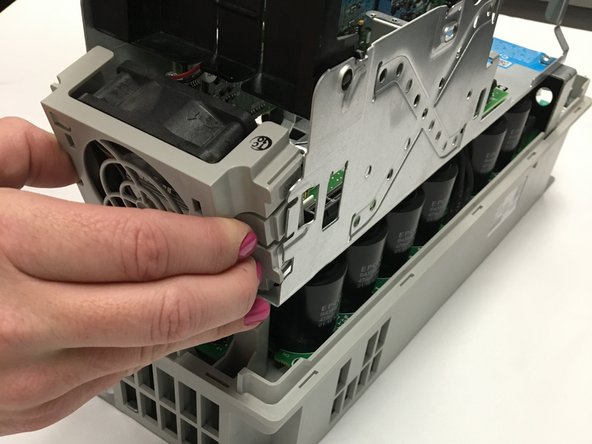
Remove the upper fan by pinching the tabs found on each side and pulling.
-
-
-
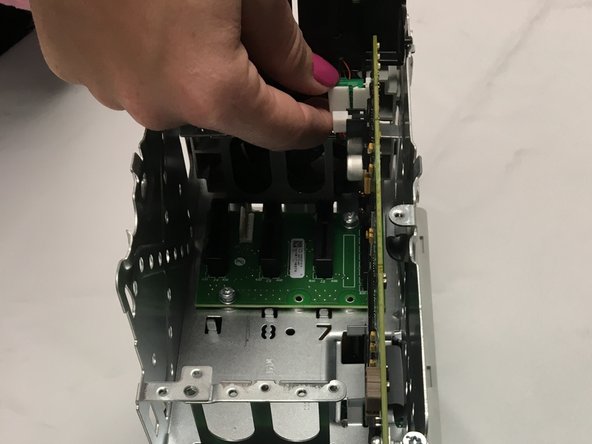
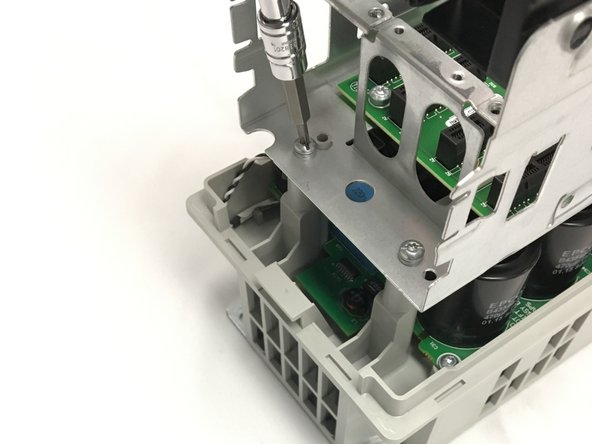
Remove the main control board by loosening the three screws shown. Note that these screws stay attached to the board.
-
Lift the card out at an angle as shown, lifting from the top of the card.
-
-
-
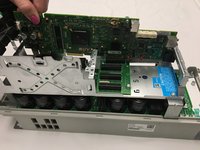
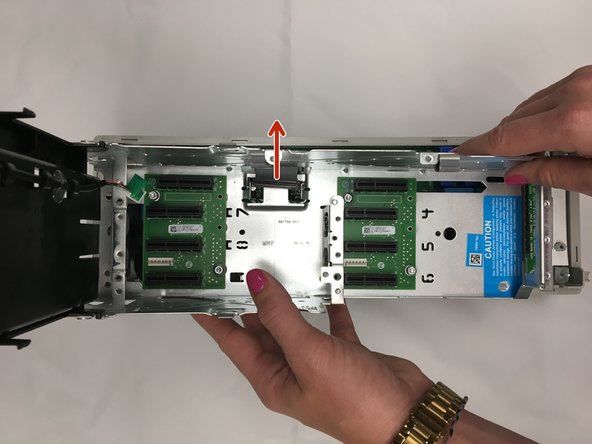
Remove the main interface board by removing the two screws found near the bottom of the drive. Place them in a safe place.
-
Remove the two screws found at the top of the drive. Place them with the other two screws.
-
Slide the ribbon cable connector out as shown, and lift the board straight up from the drive.
-
-
-
Remove the lower fan connector found at the top of the drive by pulling with two fingers. Be sure to pull on the plastic connector and not on the wires.
-
Remove the four labeled power cables by gripping the plastic on the connectors and pulling. These may be tight. Be patient and apply strong, constant force to remove the connectors. Again, be sure to pull on the connectors and not on the wires.
-
-
-
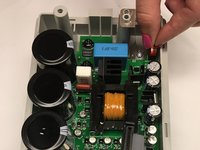
Disconnect the power interface board from the lower chassis by removing the four screws on the board as shown. Set these screws aside in a safe place.
-
Remove the three screws shown and place them with the other screws. Be sure not to lose the washers on them.
-
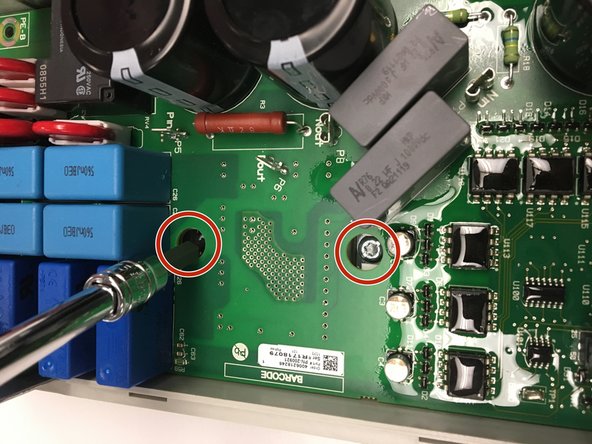
Loosen the two screws found in the holes in the board. These screws only need to be loosened, but be sure not to lose them in the following steps.
-
-
-
Remove the power interface board from the lower chassis by first pulling out the plastic insulator found at the bottom of the drive.
-
Lift the board from the top of the drive and slide it out at an angle as shown. You may need to use the small flathead screwdriver to lift the insulating paper at the bottom of the drive off of the pegs.
-
-
-
Remove the five screws holding the back panel to the lower chassis. Set these aside in a safe place.
-
Lift the plate from the bottom of the drive and slide it off at an angle as shown.
-
-
-
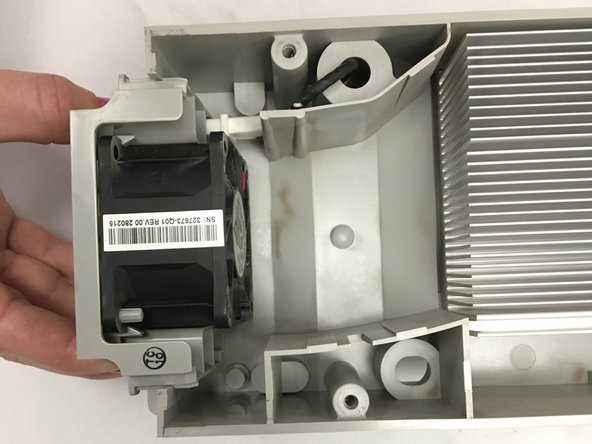
Remove the back fan by pinching the tab on both sides and pulling.
-
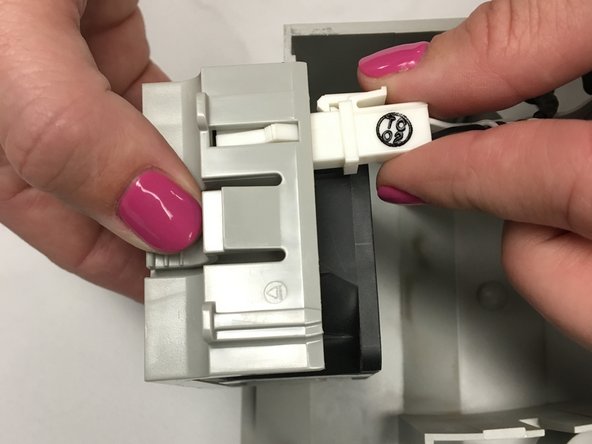
Disconnect the fan by pinching the latch on the connector and pulling straight out. Be sure to pull on the plastic connector, and not on the wire.
-
The PowerFlex 755 variable frequency drive is now fully disassembled.
-


To reassemble your device, follow these instructions in reverse order.
Cancel: I did not complete this guide.
2 other people completed this guide.