
Roborock S5 Max: Motherboard Replacement

What you need

  1. Roborock S5 Max: Motherboard Replacement, Remove the top cover.: step 1, image 1 of 3 Roborock S5 Max: Motherboard Replacement, Remove the top cover.: step 1, image 2 of 3 Roborock S5 Max: Motherboard Replacement, Remove the top cover.: step 1, image 3 of 3
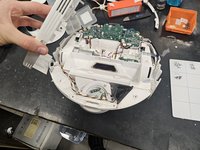
    • Remove the front half. It is only held on by latches.

    • Remove the screws and plastic tabs holding the back half in place.

    • Remove the back half.

  2. Roborock S5 Max: Motherboard Replacement, Remove the rubber caps.: step 2, image 1 of 2 Roborock S5 Max: Motherboard Replacement, Remove the rubber caps.: step 2, image 2 of 2
    • Remove the rubber caps.

    • There are multiple techniques to do this, but I usually just stab them with sharp tipped tweezers. You could slip them in between the housing and the rubber cap as well.

  3. Roborock S5 Max: Motherboard Replacement, Remove the Lidar.: step 3, image 1 of 2 Roborock S5 Max: Motherboard Replacement, Remove the Lidar.: step 3, image 2 of 2
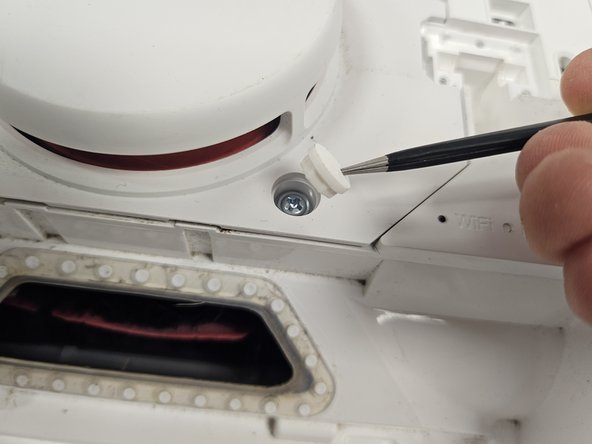
    • Remove the screws of the LiDAR cage, then the cage itself.

    • Remove the screws of the LiDAR, then the LiDAR itself.

  4. Roborock S5 Max: Motherboard Replacement, Package from iFixit?: step 4, image 1 of 2 Roborock S5 Max: Motherboard Replacement, Package from iFixit?: step 4, image 2 of 2
    • When'd they start selling these?

  5. Roborock S5 Max: Motherboard Replacement, Remove the bottom cover.: step 5, image 1 of 1
    • Remove the side brush.
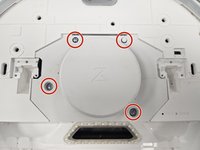
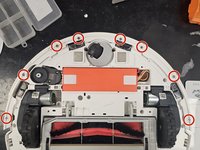
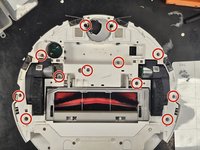
    • Remove the screws.

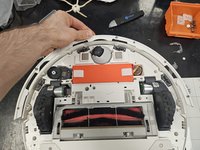
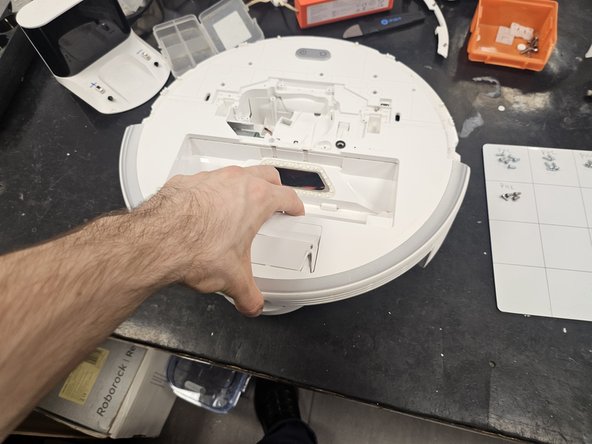
    • Lift the bottom cover off.

  6. Roborock S5 Max: Motherboard Replacement, Remove the bumper.: step 6, image 1 of 3 Roborock S5 Max: Motherboard Replacement, Remove the bumper.: step 6, image 2 of 3 Roborock S5 Max: Motherboard Replacement, Remove the bumper.: step 6, image 3 of 3
    • Unscrew the screws.

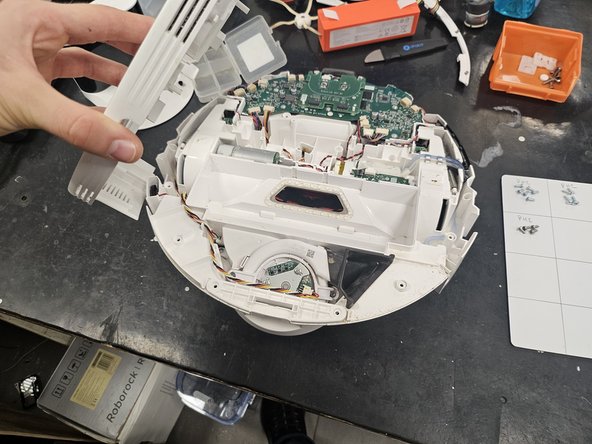
    • Remove the lid of the bumper, then the bumper itself.

    • I usually just leave the screws inside of the bumper lid. If you do so, make sure you don't lose any.

  7. Roborock S5 Max: Motherboard Replacement, Remove the battery.: step 7, image 1 of 3 Roborock S5 Max: Motherboard Replacement, Remove the battery.: step 7, image 2 of 3 Roborock S5 Max: Motherboard Replacement, Remove the battery.: step 7, image 3 of 3
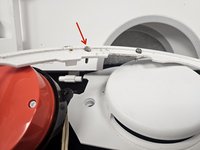
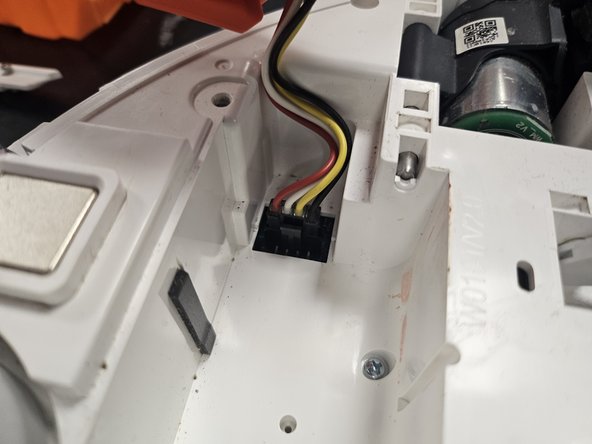
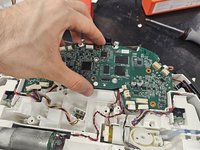
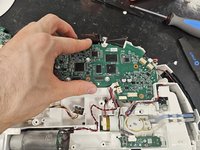
    • Grab it by the tab, then lift it out, tilting it towards the cable.

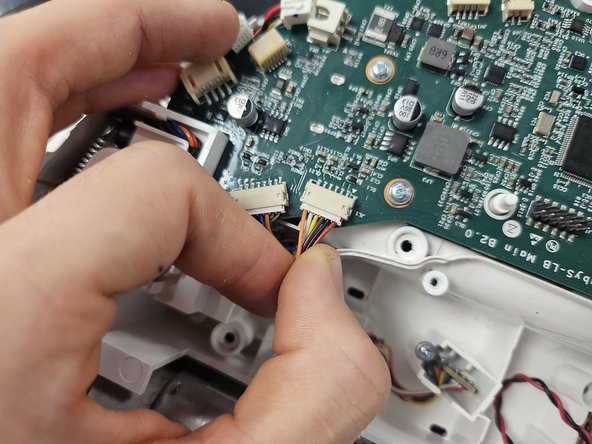
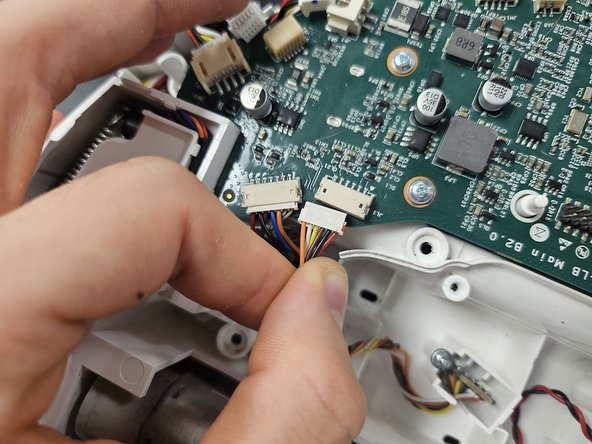
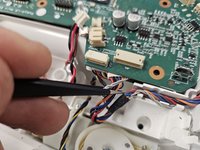
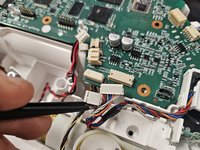
    • Once you can reach it, squeeze the connector to release it.

    • Don't tear the connector off the motherboard by yanking the battery out.

  8. Roborock S5 Max: Motherboard Replacement, Remove the side brush motor and the chassis screws.: step 8, image 1 of 2 Roborock S5 Max: Motherboard Replacement, Remove the side brush motor and the chassis screws.: step 8, image 2 of 2
    • Remove the screws from the side brush motor.

    • Simply lift it out.

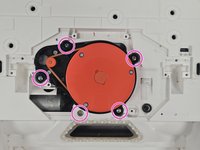
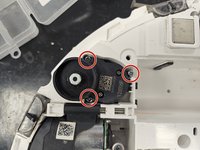
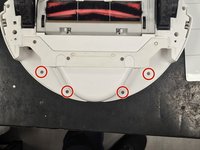
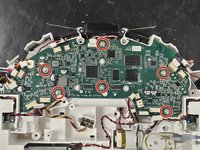
    • Remove the rest of the screws from the chassis.

  9. Roborock S5 Max: Motherboard Replacement, Take the chassis apart.: step 9, image 1 of 3 Roborock S5 Max: Motherboard Replacement, Take the chassis apart.: step 9, image 2 of 3 Roborock S5 Max: Motherboard Replacement, Take the chassis apart.: step 9, image 3 of 3
    • Remove the final 4 screws (these are non-magnetic).

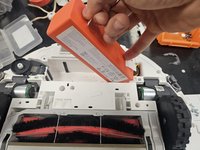
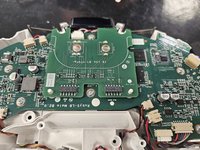
    • Flip it over, then pull the chassis apart.

  10. Roborock S5 Max: Motherboard Replacement, Screeeews!: step 10, image 1 of 1
    • Here are the screws organised by steps and size.

    • Use this if needed as a reference during reassembly.

    • The screws from the bottom cover (6, large) and bumper (8, small) are missing, as I usually keep the bottom cover screws separately as they are non-magnetic, and I usually do not remove the screws from the bumper lid.

  11. Roborock S5 Max: Motherboard Replacement, Remove the PCBA that houses the buttons.: step 11, image 1 of 3 Roborock S5 Max: Motherboard Replacement, Remove the PCBA that houses the buttons.: step 11, image 2 of 3 Roborock S5 Max: Motherboard Replacement, Remove the PCBA that houses the buttons.: step 11, image 3 of 3
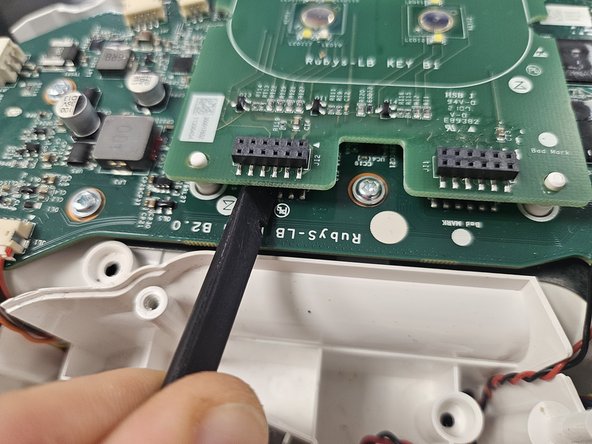
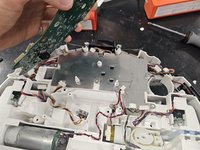
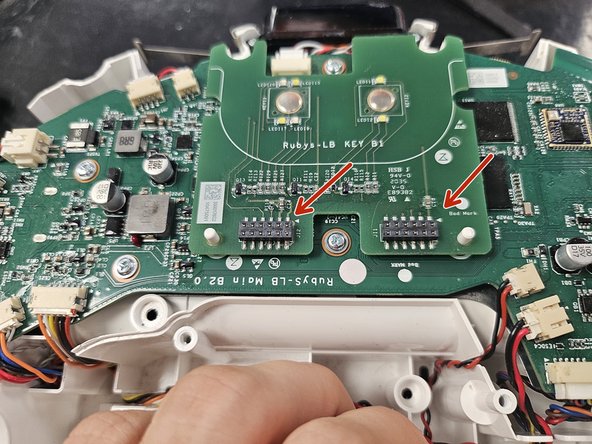
    • Use a plastic spudger to dislodge it, then take it off.

  12. Roborock S5 Max: Motherboard Replacement, Remove the connectors: step 12, image 1 of 3 Roborock S5 Max: Motherboard Replacement, Remove the connectors: step 12, image 2 of 3 Roborock S5 Max: Motherboard Replacement, Remove the connectors: step 12, image 3 of 3
    • Disconnect all of the connectors.

    • Some of them are more finnicky, and will require you to rock them left to right while pulling them slightly.

  13. Roborock S5 Max: Motherboard Replacement, Remove the motherboard: step 13, image 1 of 3 Roborock S5 Max: Motherboard Replacement, Remove the motherboard: step 13, image 2 of 3 Roborock S5 Max: Motherboard Replacement, Remove the motherboard: step 13, image 3 of 3
    • Remove the screws from the motherboard.

    • Take it out.

  14. Roborock S5 Max: Motherboard Replacement, Inserting a new motherboard.: step 14, image 1 of 3 Roborock S5 Max: Motherboard Replacement, Inserting a new motherboard.: step 14, image 2 of 3 Roborock S5 Max: Motherboard Replacement, Inserting a new motherboard.: step 14, image 3 of 3
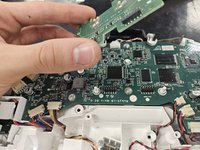
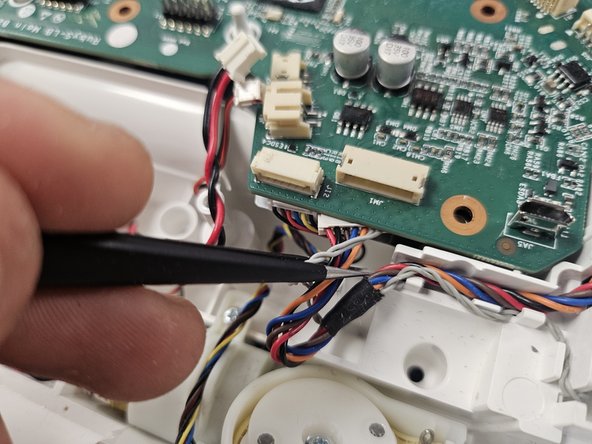
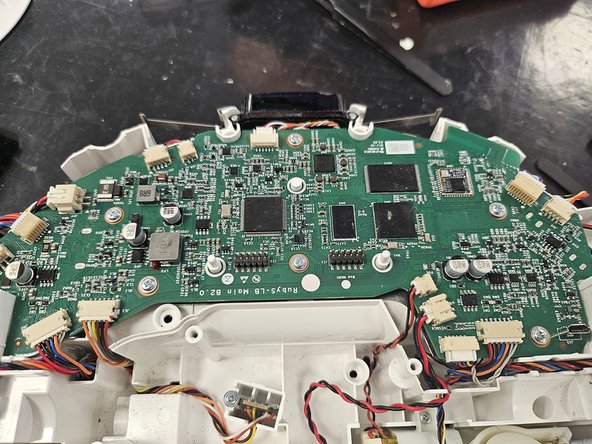
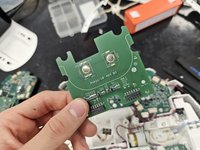
    • Put in the new motherboard, then use tweezers to free all the cables you've just squished under the motherboard.

  15. Roborock S5 Max: Motherboard Replacement, Connect the cables, screw the screws.: step 15, image 1 of 2 Roborock S5 Max: Motherboard Replacement, Connect the cables, screw the screws.: step 15, image 2 of 2
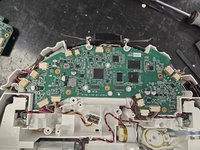
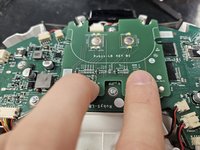
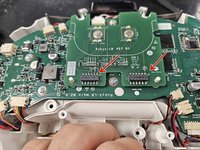
    • Connect all the cables, then screw in the screws.

  16. Roborock S5 Max: Motherboard Replacement, Insert the button PCBA.: step 16, image 1 of 3 Roborock S5 Max: Motherboard Replacement, Insert the button PCBA.: step 16, image 2 of 3 Roborock S5 Max: Motherboard Replacement, Insert the button PCBA.: step 16, image 3 of 3
    • Do not forget this!

    • Apply some pressure on the connectors. You will know you got them deep enough if you can see the motherboard's connectors just barely poking through on top.

Conclusion

You could now test your device by connecting the battery, the LDS and inserting a dustbin, then triggering a clean. You can also reset the WiFi connection and attempt connecting to it before closing it up.

After that, to reassemble your device, follow from step 9 backwards.

4 other people completed this guide.

DegenFixer

Member since: 09/18/24

5,111 Reputation

24 Guides authored

1 Guide Comment

Does anyone know if replacing the motherboard would solve a S5 bootloop? Mine is stuck saying ”Railed to boot” and it can’t be reset.

Jack de Hosson - Reply

Add Comment

View Statistics:

Past 24 Hours: 7

Past 7 Days: 42

Past 30 Days: 115

All Time: 1,399