Introduction
Over time, the bottom shell of the Roborock Q5 Max+ may need to be removed for cleaning, part replacement, or internal repairs. Whether you're replacing a damaged shell or accessing internal components like the battery, sensors, or wheels, this guide will walk you through the safe and effective removal and reinstallation process. This step-by-step guide ensures that even users with minimal repair experience can perform this procedure confidently.
What you need
-
-
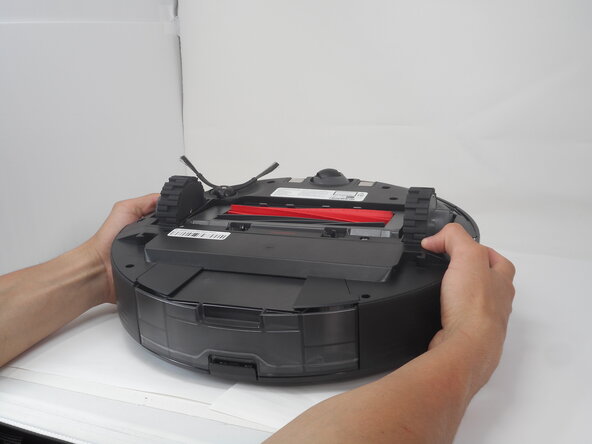
Carefully flip the Roborock upside down on a soft surface (e.g., towel) to avoid scratches.
-
Turn off the vacuum using the main switch underneath.
 Ask FixBot
-
-
-
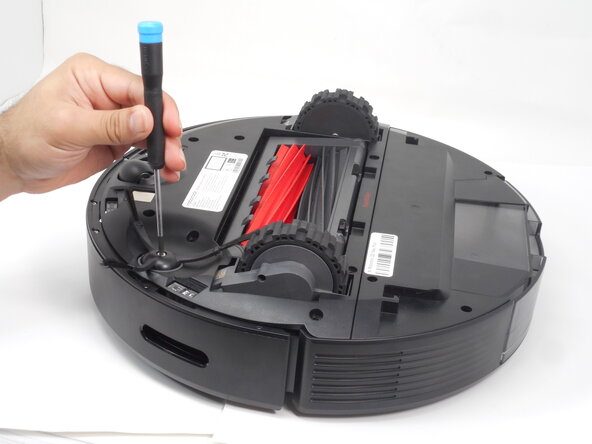
Hold down the side brush with one hand to prevent it from moving.
-
Use a Phillips #1 screwdriver to remove the single screw securing the side brush.
-
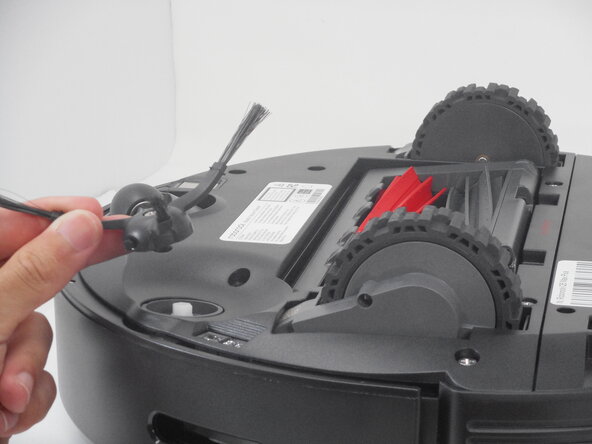
Remove it from the base.
-
-
-
-
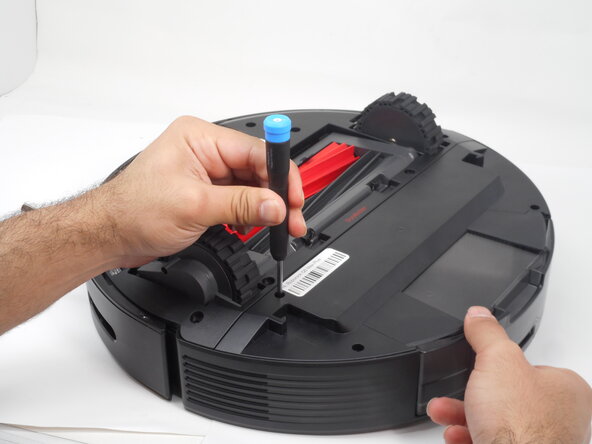
Use a Phillips #1 screwdriver to remove the eight 14 mm screws that secure the bottom shell.
-


To reassemble your device, follow these instructions in reverse order.
Cancel: I did not complete this guide.
One other person completed this guide.
Team

University of Memphis, Team 3-1, Sneed Spring 2025 Member of University of Memphis, Team 3-1, Sneed Spring 2025
UM-SNEED-S25S3G1
4 Members
5 Guides authored