Free Shipping on Domestic Orders $75+

Right Joy-Con 2 Midframe Removal

Prerequisite Only
This is a prerequisite-only guide! This guide is part of another procedure and isn’t meant to be used alone.
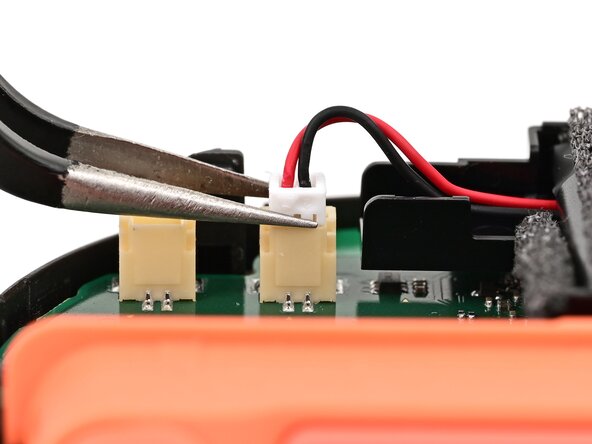
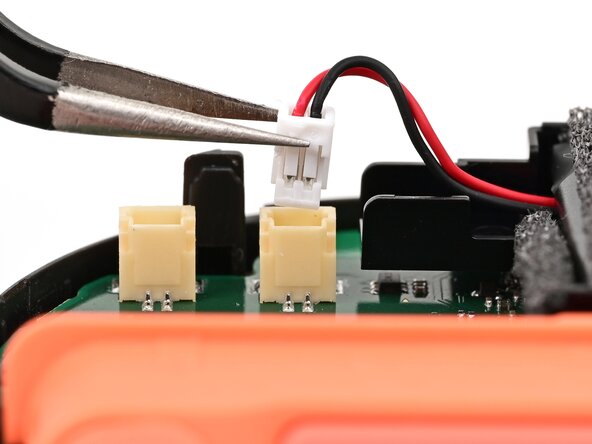
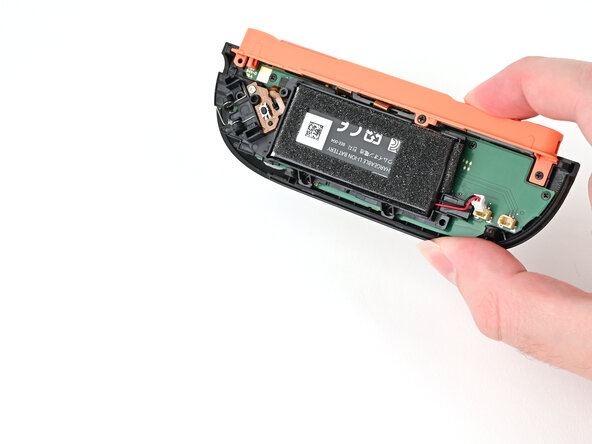
    1. Right Joy-Con 2 Midframe Removal, Disconnect the battery: step 1, image 1 of 2 Right Joy-Con 2 Midframe Removal, Disconnect the battery: step 1, image 2 of 2
      • Use tweezers or your fingers to firmly grip the battery cable's white JST connector and pull straight away from its socket to disconnect it.

      • Once partially lifted, reposition your fingers/tweezers to beneath the connector's upper lip to increase your grip.

      Ask FixBot

      Add Comment

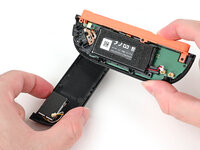
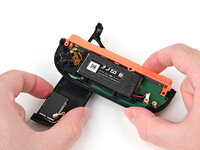
    2. Right Joy-Con 2 Midframe Removal, Remove the release button: step 2, image 1 of 2 Right Joy-Con 2 Midframe Removal, Remove the release button: step 2, image 2 of 2
      • Pick up the release button and remove it.

      Ask FixBot

      Add Comment

    3. Right Joy-Con 2 Midframe Removal, Remove the trigger: step 3, image 1 of 2 Right Joy-Con 2 Midframe Removal, Remove the trigger: step 3, image 2 of 2
      • If your JIS 00 driver is able to access the screw underneath the trigger button, you may skip this step.

      • Insert an opening pick between the bumper (R) and trigger (ZR) buttons at the top of the controller.

      • Use the opening pick to pry the trigger away from the bumper until it pops off the controller.

      • You can lightly hold the ZR button with your finger to avoid launching it.

      Ask FixBot

      Add Comment

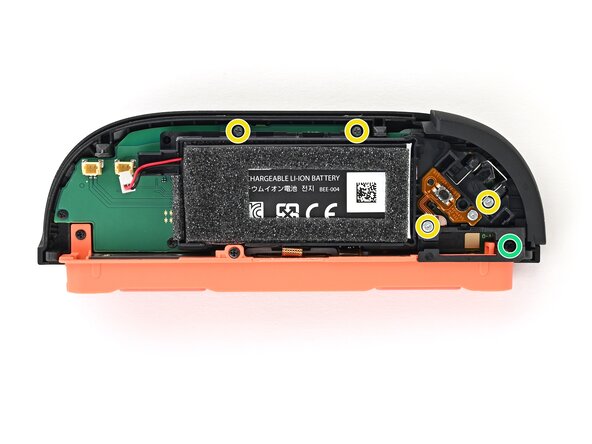
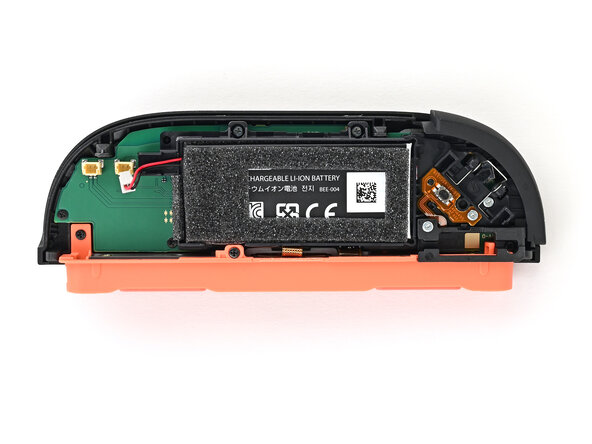
    4. Right Joy-Con 2 Midframe Removal, Remove the screws: step 4, image 1 of 2 Right Joy-Con 2 Midframe Removal, Remove the screws: step 4, image 2 of 2
      • Use a JIS 00 driver to remove the five screws securing the midframe:

      • Four 3.9 mm‑long silver screws

      • One 6.2 mm‑long black screw

      Ask FixBot

      Add Comment

    5. Right Joy-Con 2 Midframe Removal, Remove the bumper: step 5, image 1 of 2 Right Joy-Con 2 Midframe Removal, Remove the bumper: step 5, image 2 of 2
      • Hold the midframe lightly in place.

      • Pull the bumper (R) button off its mounting pegs and remove it.

      • The midframe will lift slightly when removing this button.

      Ask FixBot

      Add Comment

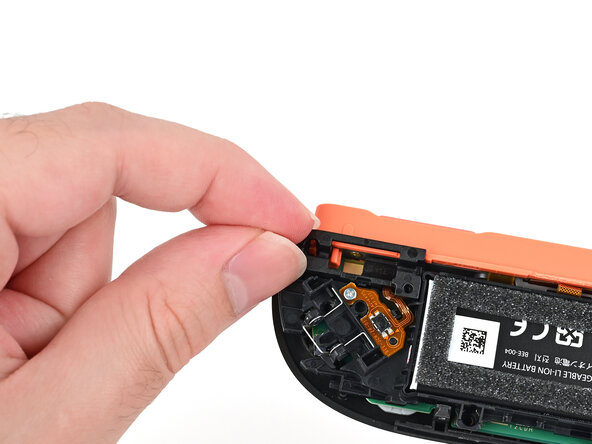
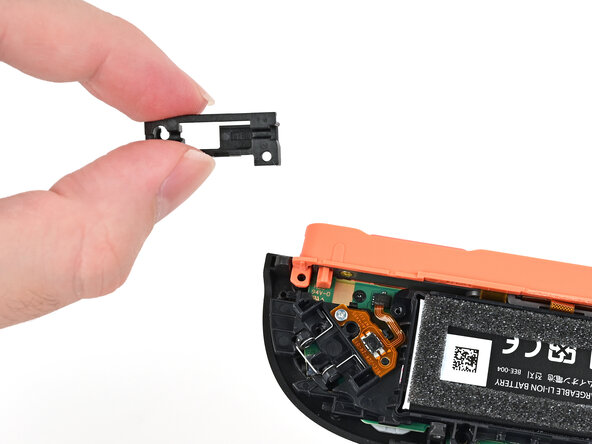
    6. Right Joy-Con 2 Midframe Removal, Remove the bracket: step 6, image 1 of 2 Right Joy-Con 2 Midframe Removal, Remove the bracket: step 6, image 2 of 2
      • Pick up the release button mounting bracket and remove it.

      Ask FixBot

      Add Comment

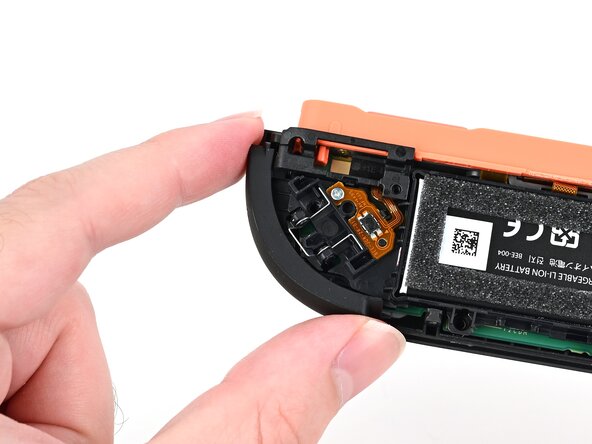
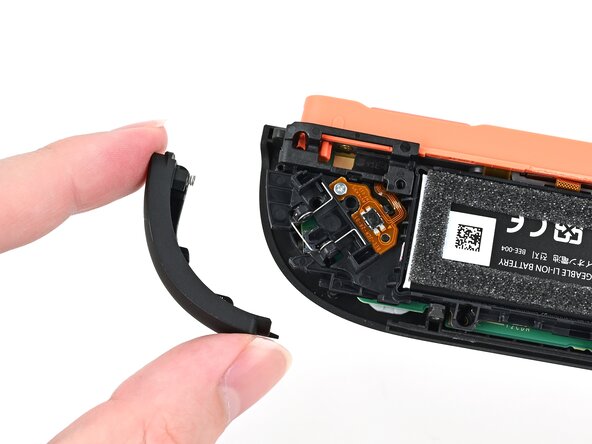
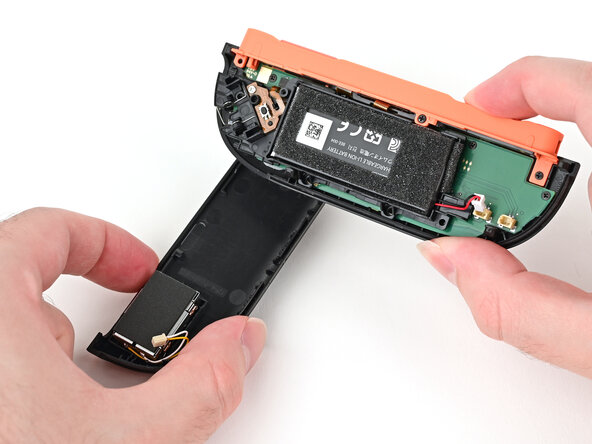
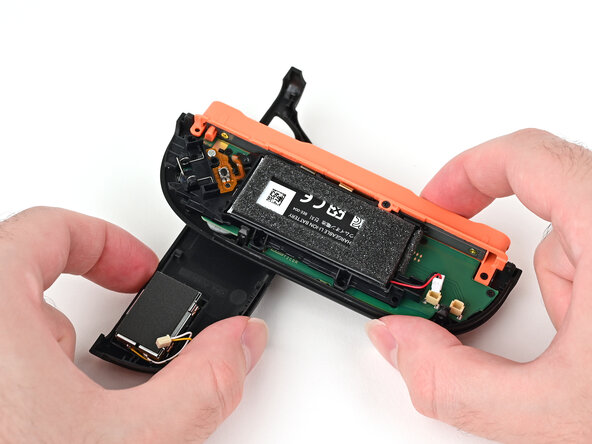
    7. Right Joy-Con 2 Midframe Removal, Prop up the controller: step 7, image 1 of 3 Right Joy-Con 2 Midframe Removal, Prop up the controller: step 7, image 2 of 3 Right Joy-Con 2 Midframe Removal, Prop up the controller: step 7, image 3 of 3
      • Use the back cover to prop up the controller while you work.

      • The buttons on the front of the controller should rest on the back cover's lip to keep it stable.

      Ask FixBot

      Add Comment

    8. Right Joy-Con 2 Midframe Removal, Lift the trigger button board: step 8, image 1 of 1
      • Use a JIS 00 driver to remove the 3.9 mm‑long silver screw securing the trigger button board.

      Ask FixBot

      Add Comment

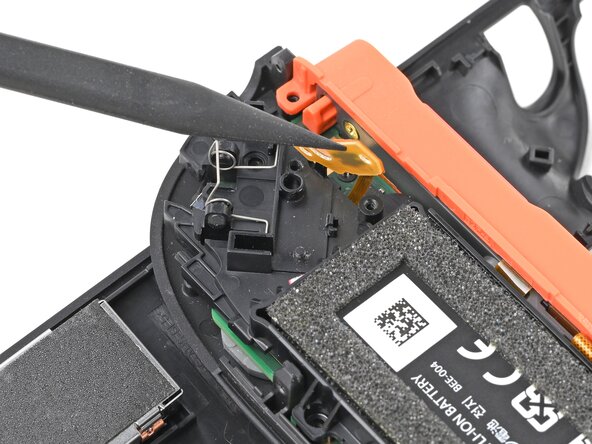
    9. Right Joy-Con 2 Midframe Removal: step 9, image 1 of 2 Right Joy-Con 2 Midframe Removal: step 9, image 2 of 2
      • Insert the point of a spudger underneath the board, and lift it until it pops up.

      Ask FixBot

      Add Comment

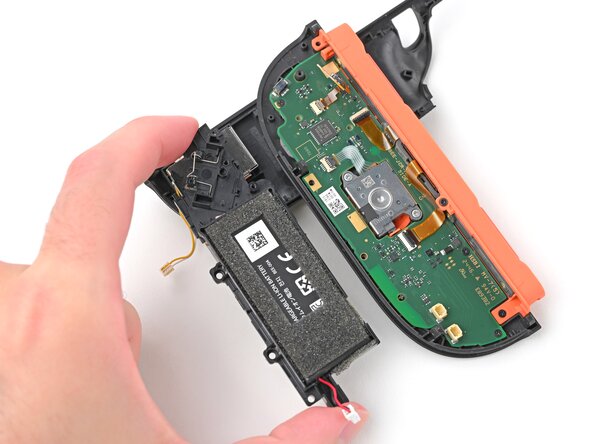
    10. Right Joy-Con 2 Midframe Removal, Remove the midframe: step 10, image 1 of 2 Right Joy-Con 2 Midframe Removal, Remove the midframe: step 10, image 2 of 2
      • Pick up and remove the midframe.

      Ask FixBot

      Add Comment

    11. Right Joy-Con 2 Midframe Removal, Disconnect the trigger board: step 11, image 1 of 2 Right Joy-Con 2 Midframe Removal, Disconnect the trigger board: step 11, image 2 of 2
      • Use the point of a spudger to flip up the locking flap on the trigger button ZIF connector, located on the controller's board.

      Ask FixBot

      Add Comment

    12. Right Joy-Con 2 Midframe Removal: step 12, image 1 of 2 Right Joy-Con 2 Midframe Removal: step 12, image 2 of 2
      • Use tweezers or your fingers to gently pull the cable out of its socket.

      • Remove the trigger button board.

      Ask FixBot

      Add Comment

Conclusion

To reassemble your device, follow these instructions in reverse order.

Cancel: I did not complete this guide.

Nick Schultz

Member since: 03/24/24

65,446 Reputation

343 Guides authored

0 Guide Comments

Add Comment

View Statistics:

Past 24 Hours: 0

Past 7 Days: 3

Past 30 Days: 14

All Time: 118