-
-
-
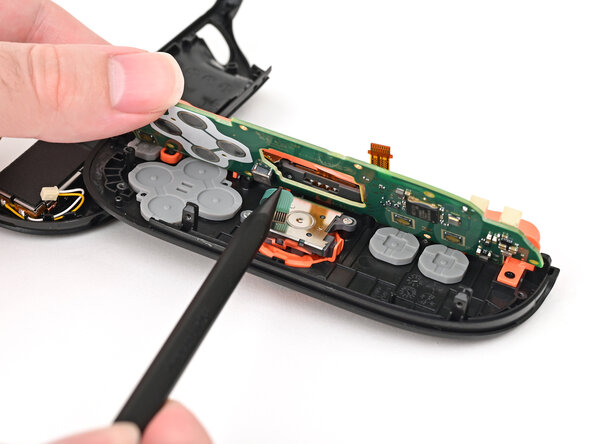
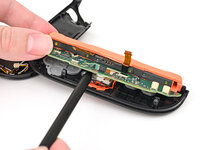
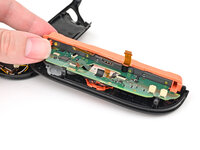
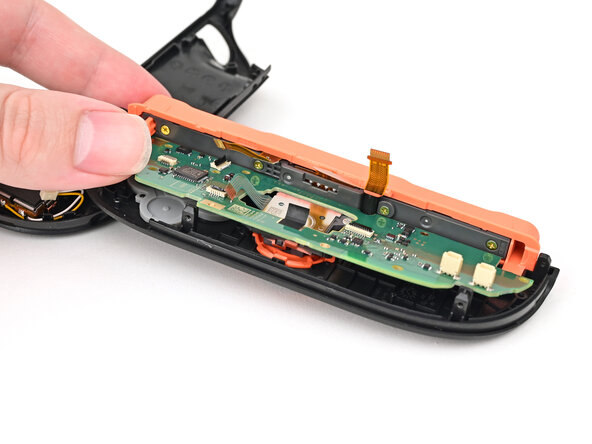
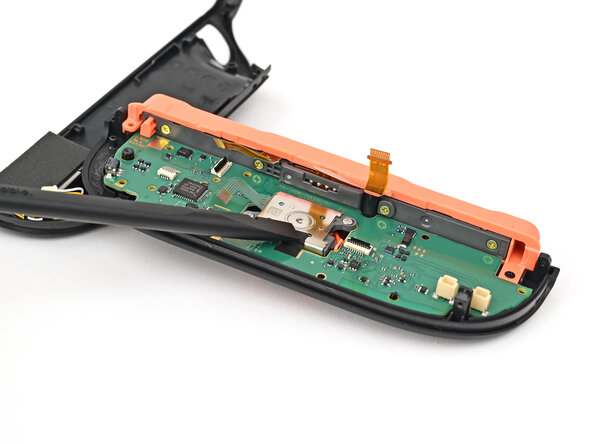
Lower the board's flat side into the controller at an angle.
-
Use a spudger to bend the joystick's ribbon cable so it's perpendicular with the joystick.
-
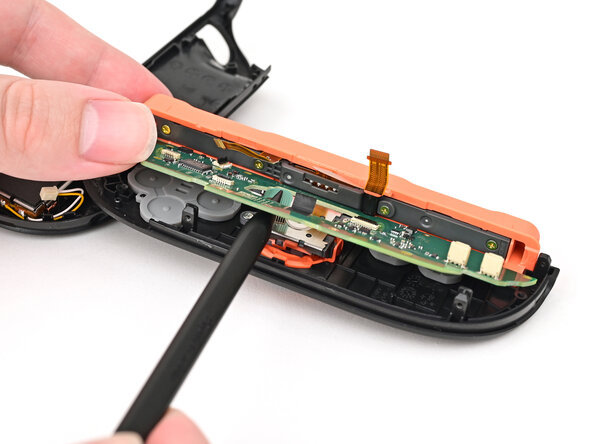
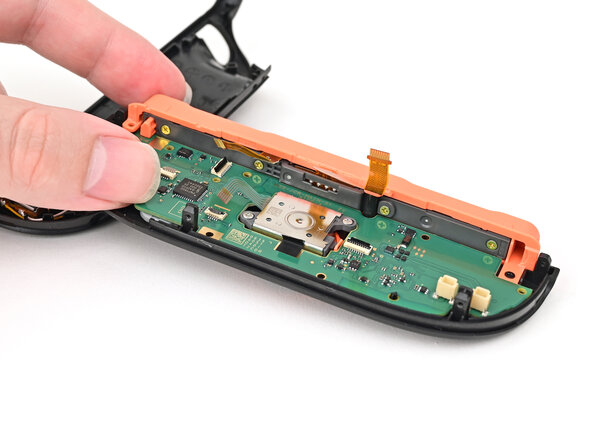
Lower the board so the joystick's ribbon cable routes through the joystick cut-out in the board. Ensure the board is sitting underneath the locking tab on the frame.
 Ask FixBot
-
-
-
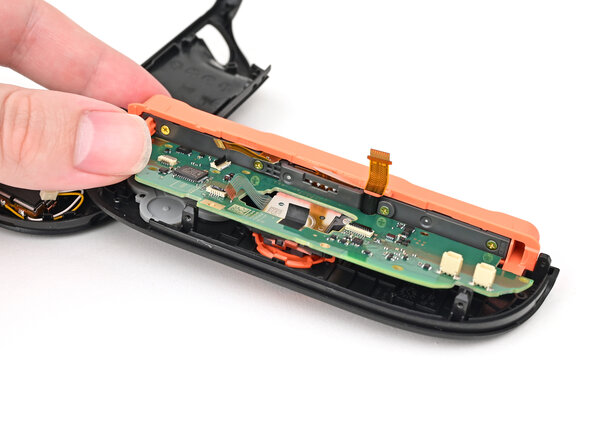
Push the board towards the controller's inner edge (the side with the shoulder buttons) to prevent it from colliding with the joystick module.
-
Lower the board into the frame.
-
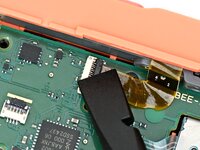
Use your finger or the flat end of a spudger to press the black tape onto the back of the joystick module.
-
-
-
-
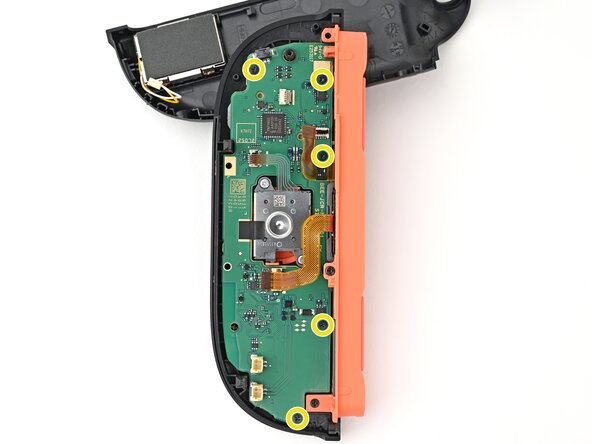
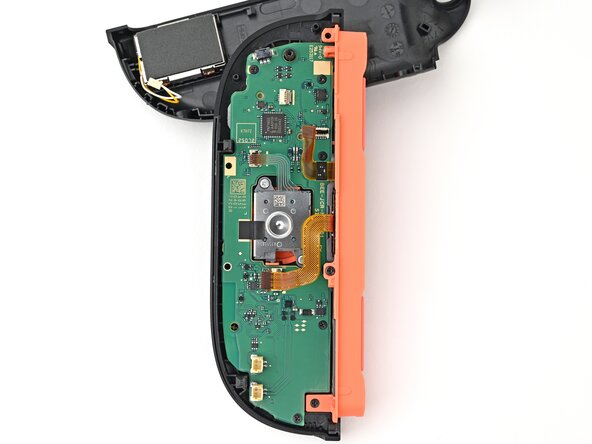
Use a JIS 00 driver to install the five 3.1 mm‑long black screws securing the board to the controller.
-
-
-
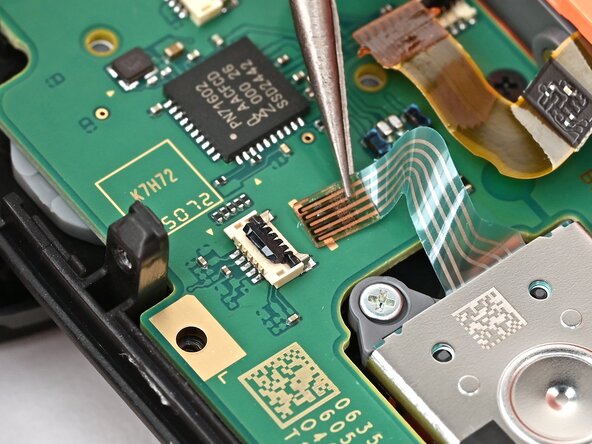
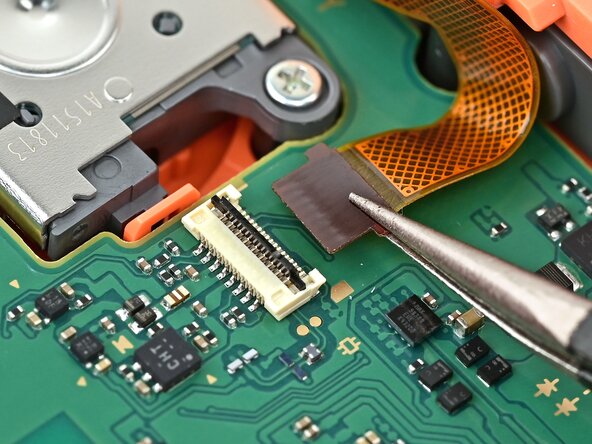
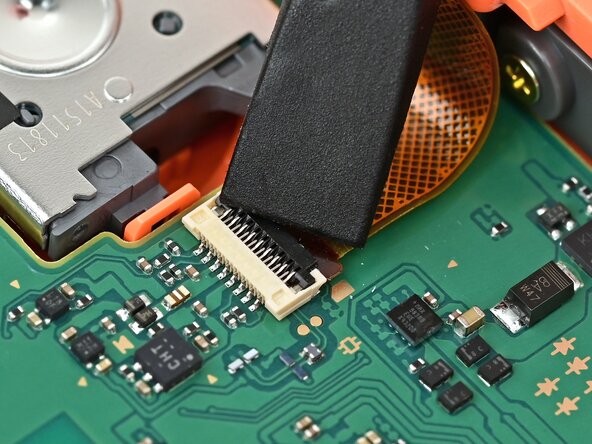
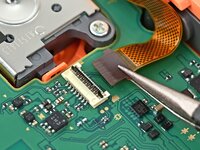
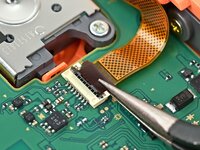
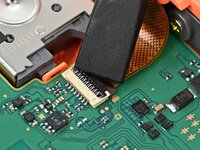
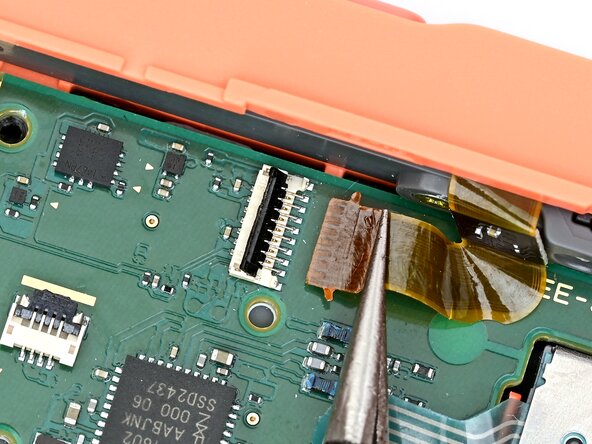
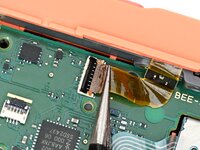
Make sure the locking flap is flipped up on the joystick cable ZIF connector.
-
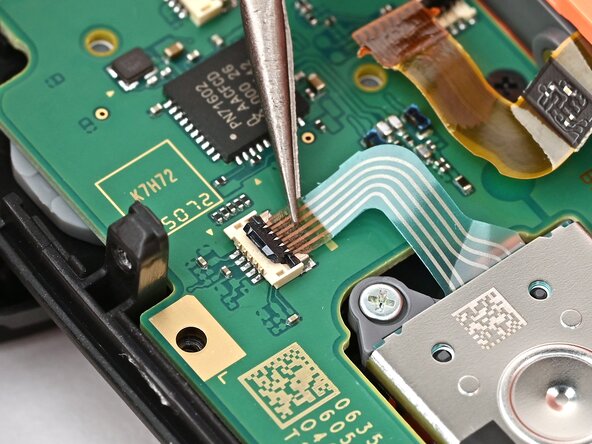
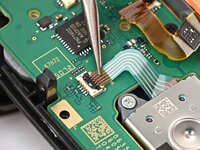
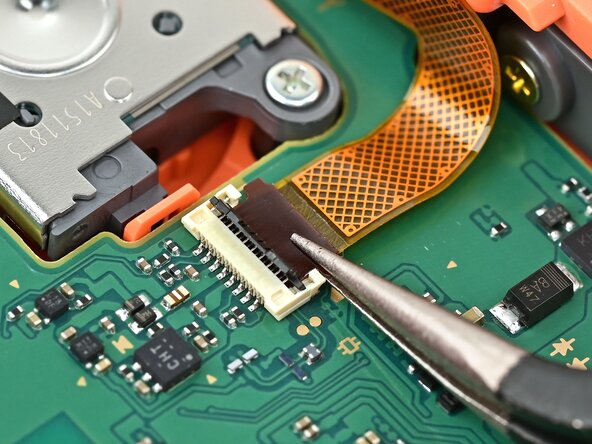
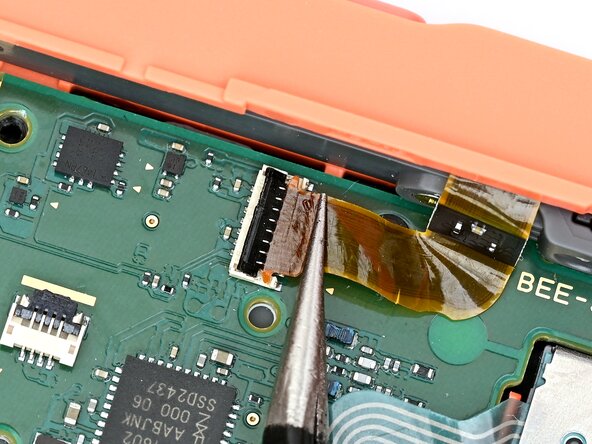
Insert the joystick ribbon cable into its ZIF connector until it's fully seated.
-
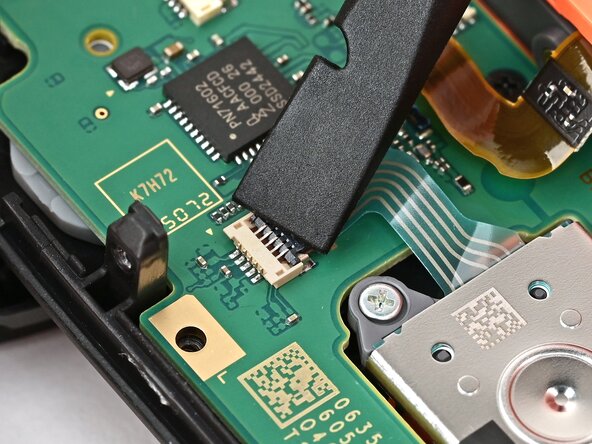
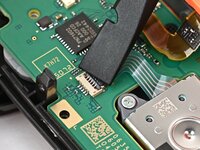
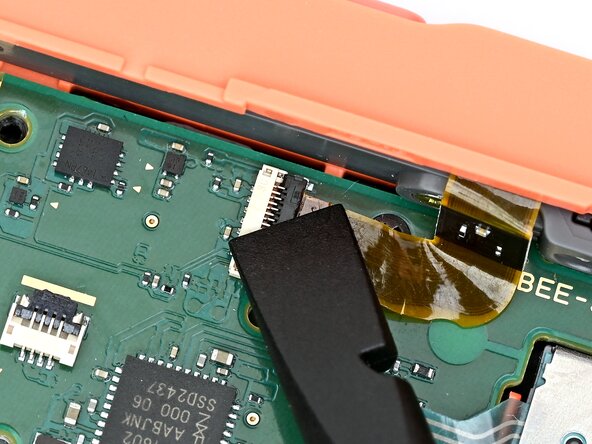
Use your finger or a spudger to flip the locking flap down to secure the cable.
-
-
-
Make sure the locking flap is flipped up on the Joy-Con connector cable ZIF connector.
-
Insert the Joy-Con connector ribbon cable into its ZIF connector until it's fully seated.
-
Use your finger or a spudger to flip the locking flap down to secure the cable.
-
-
-
Repeat this procedure for the shoulder button ZIF connector. The cable is fully seated when its brown "wings" are in their slots on both sides of the connector.
-
-
To reassemble your device, follow these instructions in reverse order.

