Free Shipping on Domestic Orders $75+

Right Joy-Con 2 Battery Installation

Prerequisite Only
This is a prerequisite-only guide! This guide is part of another procedure and isn’t meant to be used alone.
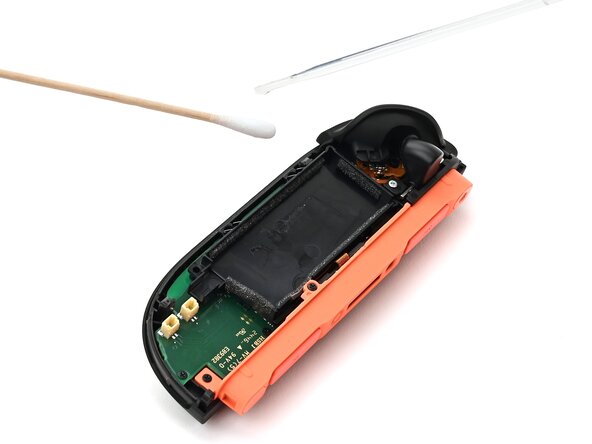
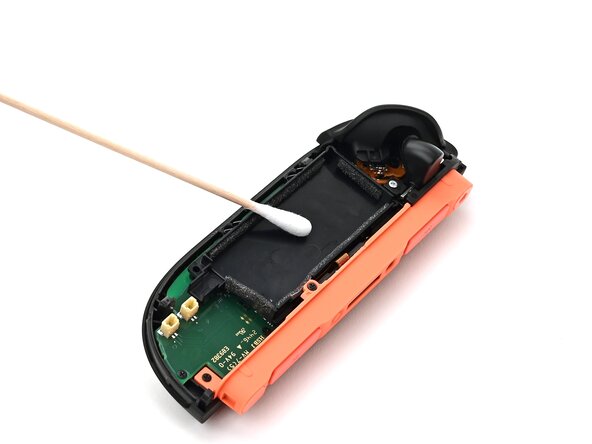
    1. Right Joy-Con 2 Battery Installation, Clean the frame: step 1, image 1 of 2 Right Joy-Con 2 Battery Installation, Clean the frame: step 1, image 2 of 2
      Tool used on this step:
      Cotton Swabs
      $4.99
      Buy
      • Apply isopropyl alcohol to a cotton swab and wipe any adhesive residue from the frame.

      • The foam on the inside walls of the frame dissolves in isopropyl alcohol. Avoid damaging the foam.

      Ask FixBot

      Add Comment

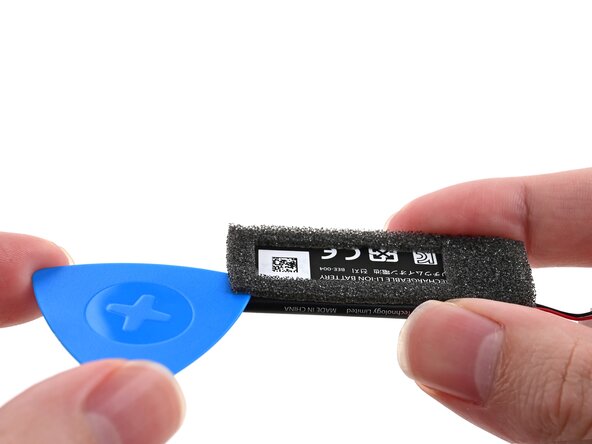
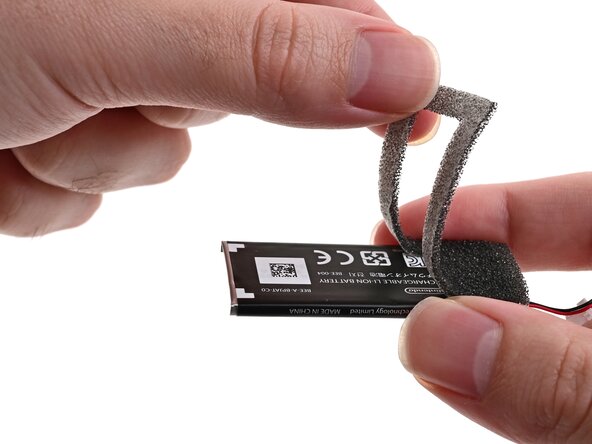
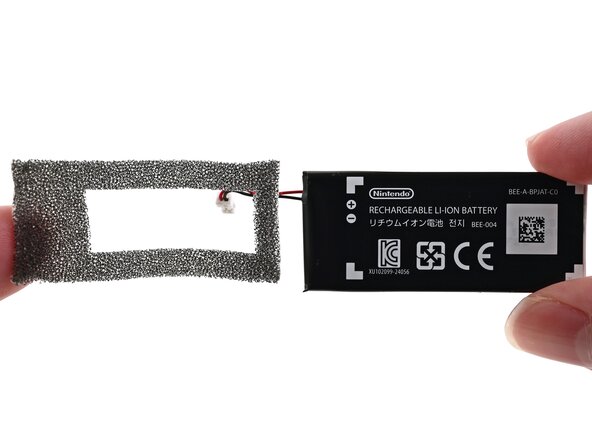
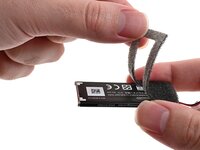
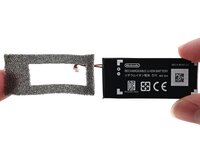
    2. Right Joy-Con 2 Battery Installation, Transfer the foam: step 2, image 1 of 3 Right Joy-Con 2 Battery Installation, Transfer the foam: step 2, image 2 of 3 Right Joy-Con 2 Battery Installation, Transfer the foam: step 2, image 3 of 3
      • If your replacement battery includes new foam, skip this step.

      • Use an opening pick or your fingernail to lift the foam off the battery by its adhesive, not the foam itself.

      • Carefully peel the foam sticker off the old battery. Avoid stretching or tearing the foam.

      • If the foam does tear, apply the pieces to the replacement battery in their original shape.

      • Apply the foam sticker to the new battery so the edges of the foam are aligned with the edges of the battery.

      Ask FixBot

      Add Comment

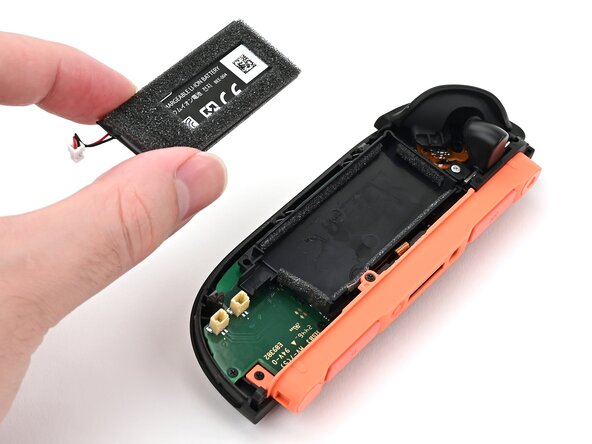
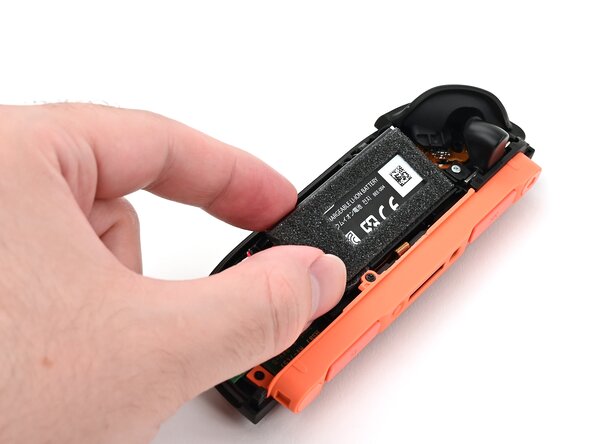
    3. Right Joy-Con 2 Battery Installation, Install the battery: step 3, image 1 of 3 Right Joy-Con 2 Battery Installation, Install the battery: step 3, image 2 of 3 Right Joy-Con 2 Battery Installation, Install the battery: step 3, image 3 of 3
      Tool used on this step:
      Tesa 61395 Tape
      $2.95
      Buy
      • If your replacement battery came with adhesive pre-installed, peel off any adhesive liners.

      • If your replacement battery doesn't include new adhesive, use thin, double-sided tape instead. If you're using our pre-cut card, cut one of the 5 mm strips so it's half as long, and apply the strips to the back of the battery.

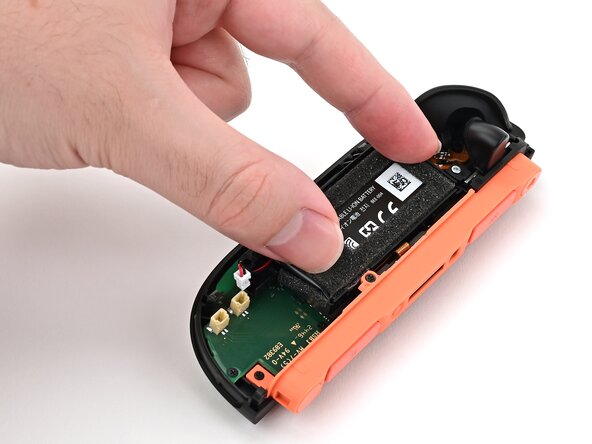
      • Align the battery with its housing. Ensure the battery cable lines up with its channel.

      • Lower one side of the battery, then the other, into its housing.

      • Press and hold on the battery for 10 seconds to bond the adhesive.

      Ask FixBot

      Add Comment

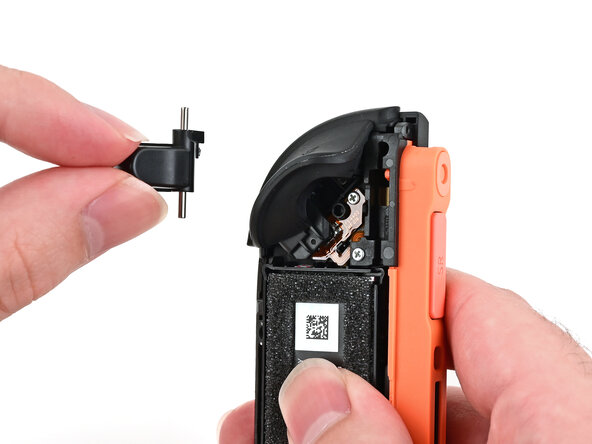
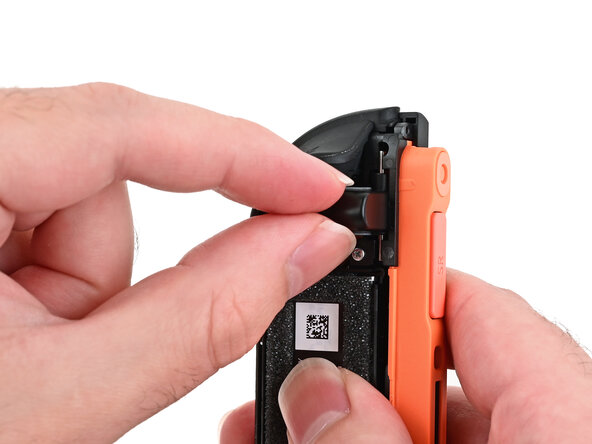
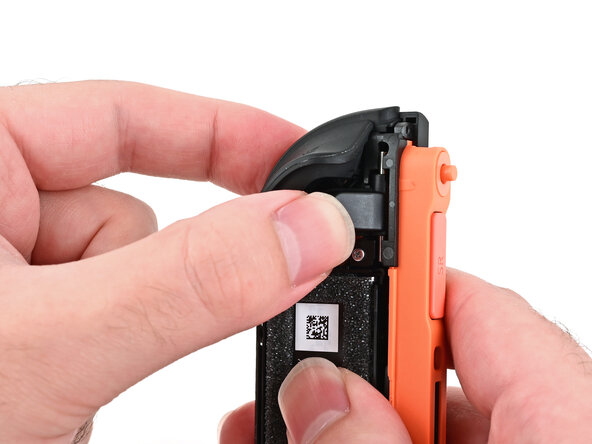
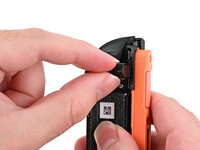
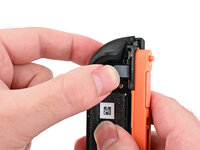
    4. Right Joy-Con 2 Battery Installation, Check the release button: step 4, image 1 of 3 Right Joy-Con 2 Battery Installation, Check the release button: step 4, image 2 of 3 Right Joy-Con 2 Battery Installation, Check the release button: step 4, image 3 of 3
      • The release button isn't secured, and falls out easily.

      • Check that the release pin sticks out of the controller when the release button is pressed. If it doesn't, or if the button fell out entirely, re-insert the button and try again.

      Ask FixBot

      Add Comment

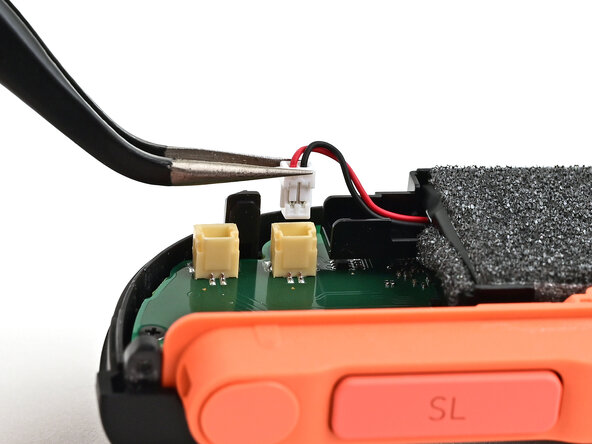
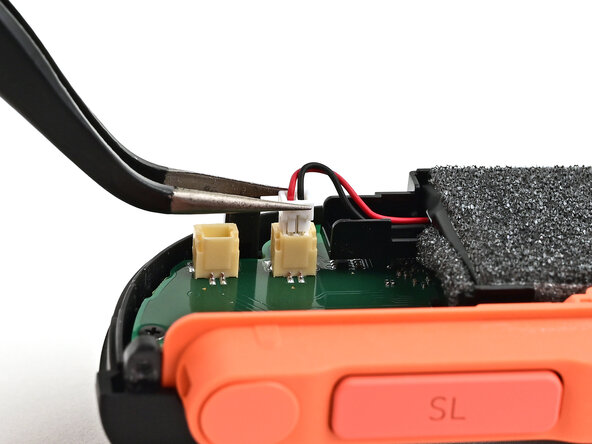
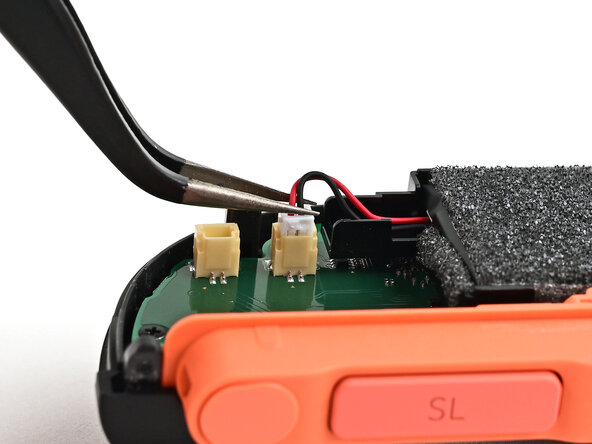
    5. Right Joy-Con 2 Battery Installation, Connect the battery: step 5, image 1 of 3 Right Joy-Con 2 Battery Installation, Connect the battery: step 5, image 2 of 3 Right Joy-Con 2 Battery Installation, Connect the battery: step 5, image 3 of 3
      • Align the battery connector over its socket on the board.

      • Press down on the connector until it's fully seated.

      Ask FixBot

      Add Comment

Conclusion

To reassemble your device, follow these instructions in reverse order.

Cancel: I did not complete this guide.

Nick Schultz

Member since: 03/24/24

65,446 Reputation

343 Guides authored

0 Guide Comments

Add Comment

View Statistics:

Past 24 Hours: 0

Past 7 Days: 4

Past 30 Days: 12

All Time: 127