Free Shipping on Domestic Orders $75+

Right Joy-Con 2 Back Cover Installation

Prerequisite Only
This is a prerequisite-only guide! This guide is part of another procedure and isn’t meant to be used alone.
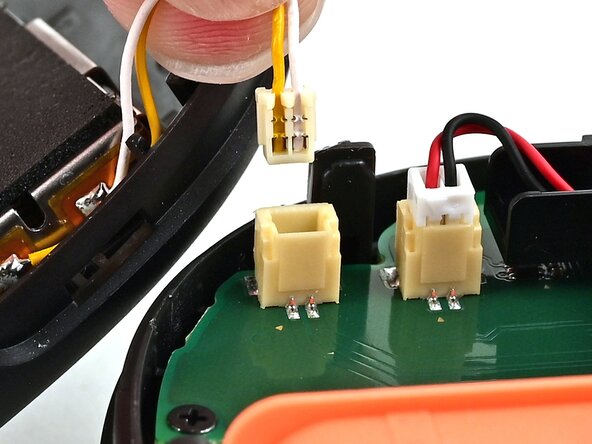
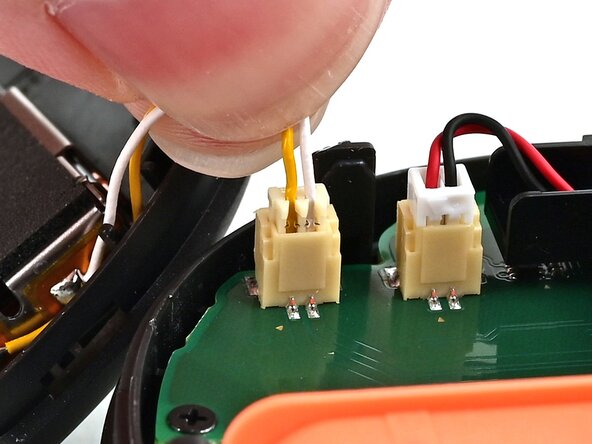
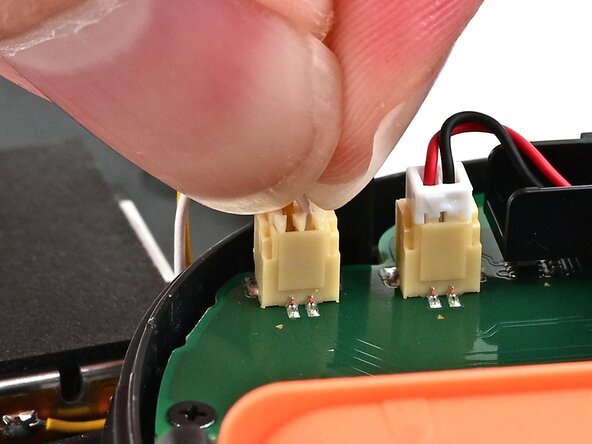
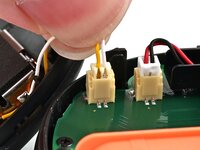
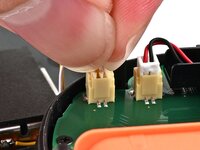
    1. Right Joy-Con 2 Back Cover Installation, Connect the rumble motor: step 1, image 1 of 3 Right Joy-Con 2 Back Cover Installation, Connect the rumble motor: step 1, image 2 of 3 Right Joy-Con 2 Back Cover Installation, Connect the rumble motor: step 1, image 3 of 3
      • Align the rumble motor connector to its socket on the bottom edge of the board, and push down until it's fully seated to connect it.

      Ask FixBot

      Add Comment

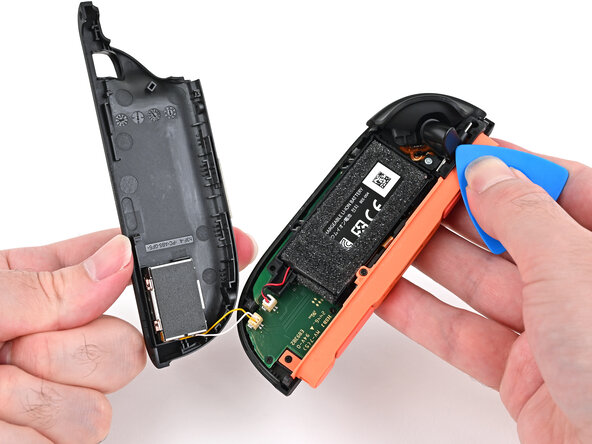
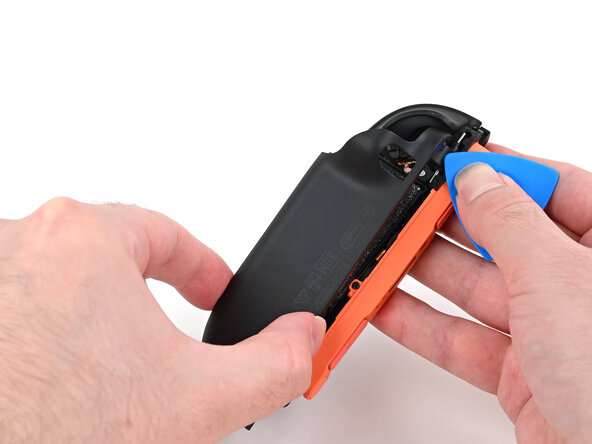
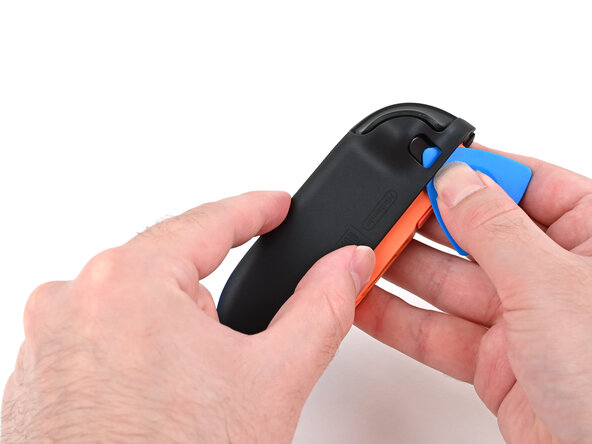
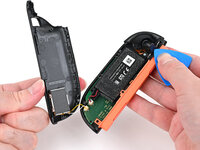
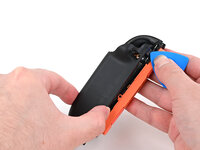
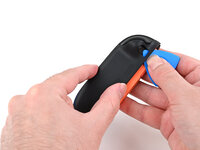
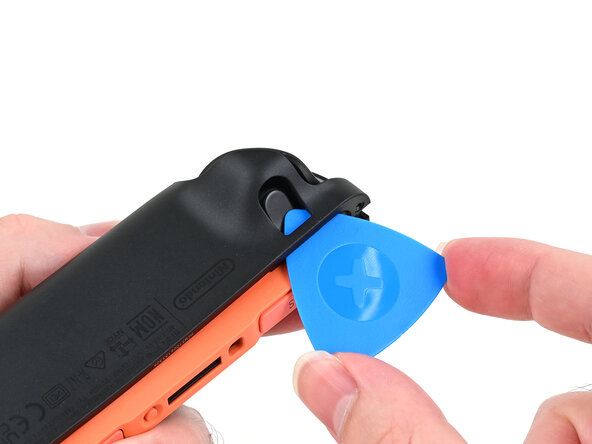
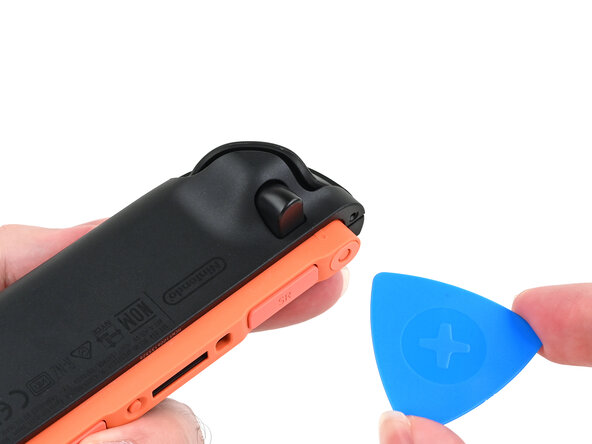
    2. Right Joy-Con 2 Back Cover Installation, Install the back cover: step 2, image 1 of 3 Right Joy-Con 2 Back Cover Installation, Install the back cover: step 2, image 2 of 3 Right Joy-Con 2 Back Cover Installation, Install the back cover: step 2, image 3 of 3
      • Use an opening pick to press and hold the release button.

      • Place the back cover over the controller body so the release button cutout is slightly below the release button.

      • The release button is held down when the release pin is protruding from the frame. If the release button falls out of position, put it back and try again.

      • Press and slide the back cover up until the cut-out for the release button is aligned with the button itself.

      • Ensure the rumble motor wires (yellow & white) are fully within the frame.

      Ask FixBot

      Add Comment

    3. Right Joy-Con 2 Back Cover Installation: step 3, image 1 of 2 Right Joy-Con 2 Back Cover Installation: step 3, image 2 of 2
      • Remove the opening pick.

      Ask FixBot

      Add Comment

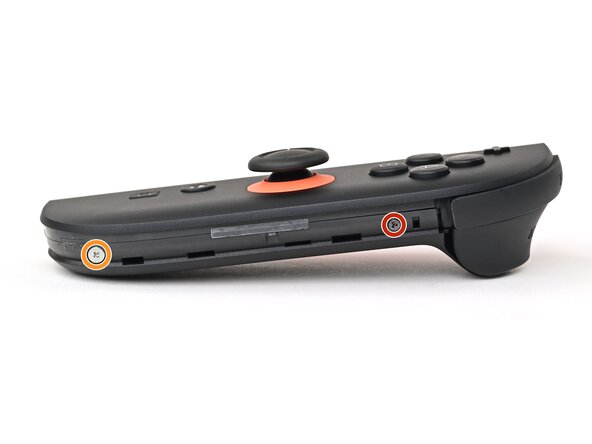
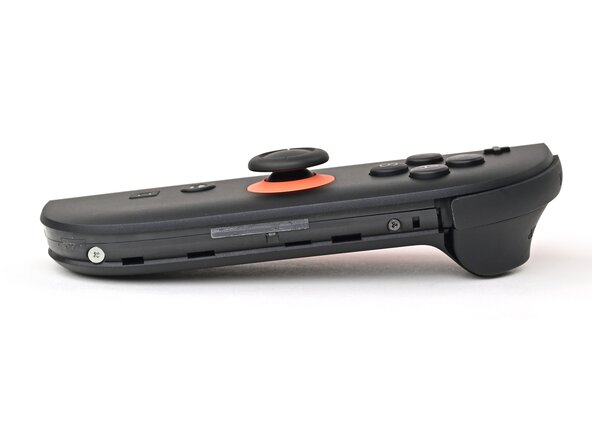
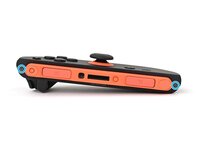
    4. Right Joy-Con 2 Back Cover Installation, Install the right edge screws: step 4, image 1 of 2 Right Joy-Con 2 Back Cover Installation, Install the right edge screws: step 4, image 2 of 2
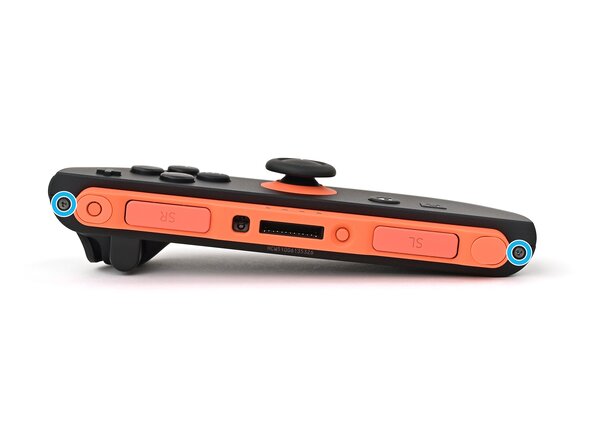
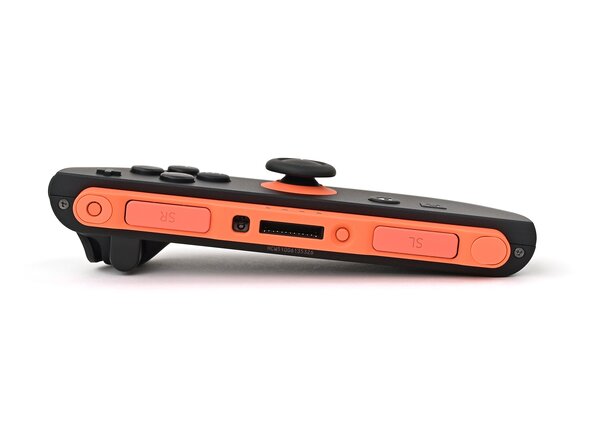
      • Install the two screws on the right edge of the controller:

      • One 3.1 mm‑long tri-point Y00 black screw

      • One 3.0 mm‑long JIS 00 silver screw

      Ask FixBot

      Add Comment

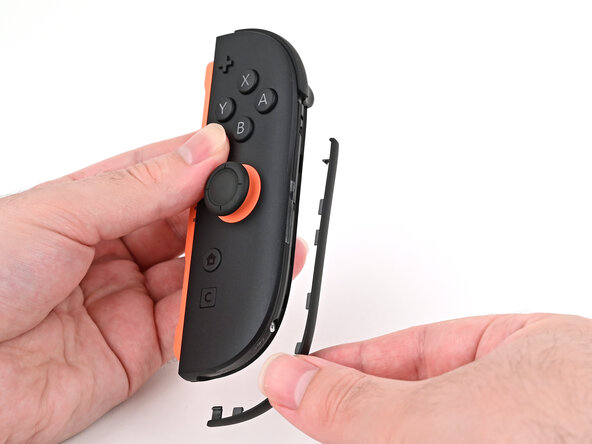
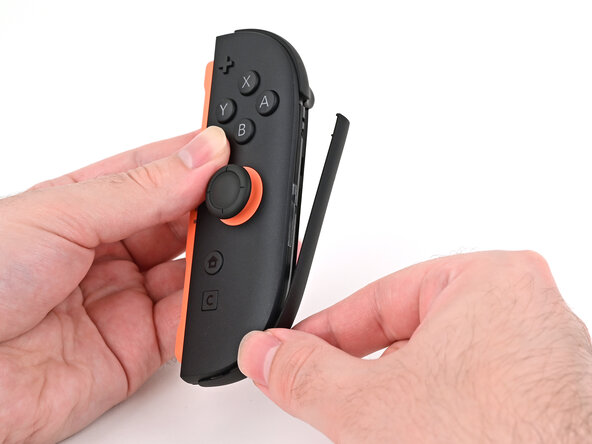
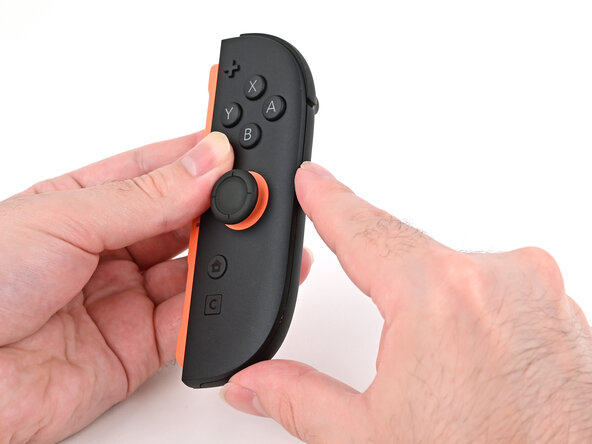
    5. Right Joy-Con 2 Back Cover Installation, Install the plastic strip: step 5, image 1 of 3 Right Joy-Con 2 Back Cover Installation, Install the plastic strip: step 5, image 2 of 3 Right Joy-Con 2 Back Cover Installation, Install the plastic strip: step 5, image 3 of 3
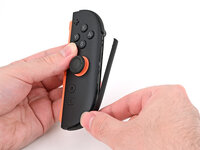
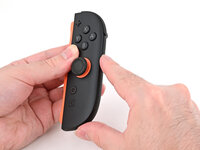
      • Align the clips on the plastic strip with their cut-outs on the right edge of the controller body.

      • Insert the clips on the bottom edge first, then insert the rest so the plastic strip sits flush.

      Ask FixBot

      Add Comment

    6. Right Joy-Con 2 Back Cover Installation, Install the left edge screws: step 6, image 1 of 2 Right Joy-Con 2 Back Cover Installation, Install the left edge screws: step 6, image 2 of 2
      • Use a tri-point Y00 driver to install the two 3.1 mm‑long black screws on the left edge of the controller.

      Ask FixBot

      Add Comment

Conclusion

To reassemble your device, follow these instructions in reverse order.

Cancel: I did not complete this guide.

Nick Schultz

Member since: 03/24/24

65,446 Reputation

343 Guides authored

0 Guide Comments

Add Comment

View Statistics:

Past 24 Hours: 0

Past 7 Days: 4

Past 30 Days: 11

All Time: 100